
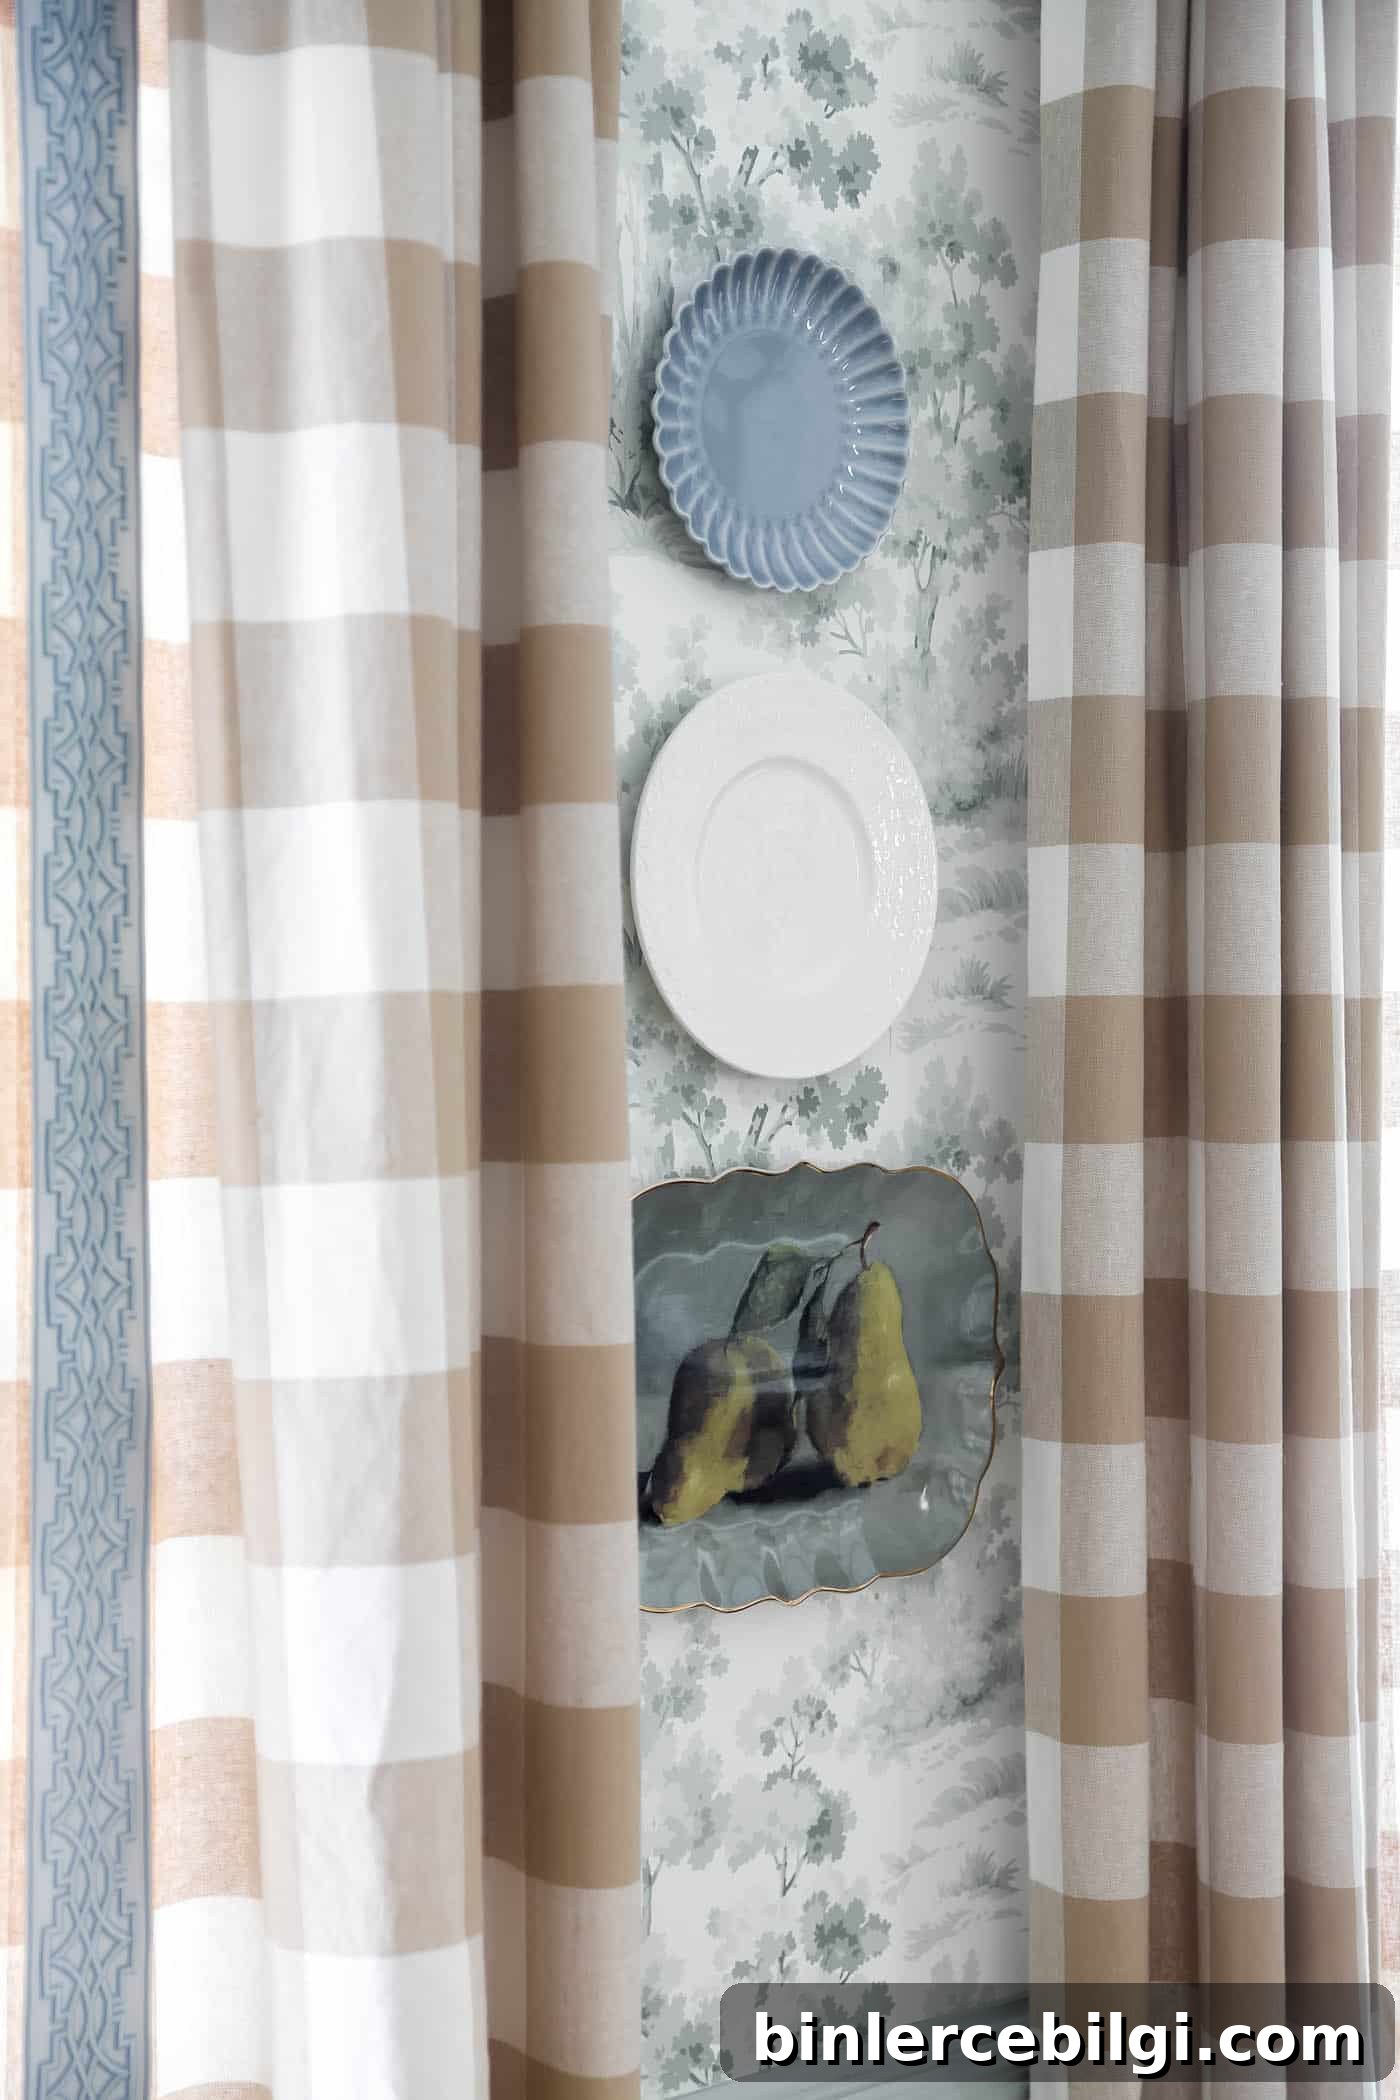
Learn how to hang plates on a wall with this clear, step-by-step guide. Get practical tips on layout, hanging methods, and creating an attractive, budget-friendly plate wall display.
There’s something instantly welcoming about a wall filled with plates. Whether you’re displaying heirloom china, thrifted finds, or colorful dessert plates, a plate wall adds personality and warmth to any room. Hanging plates is an affordable way to create a focal point that feels collected and personal.
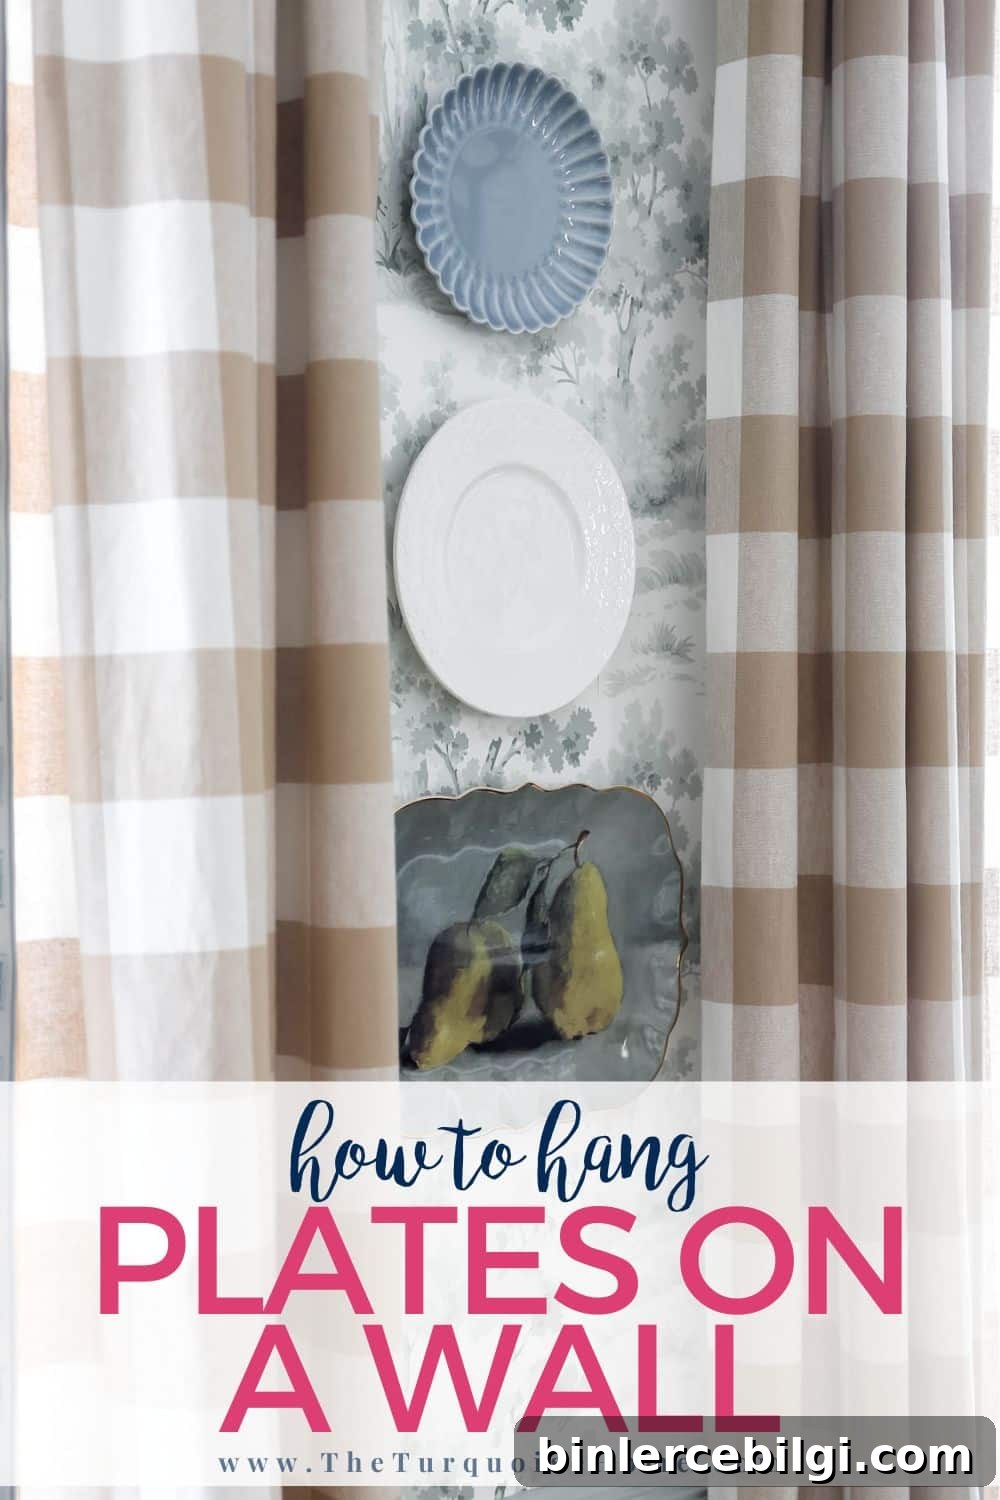
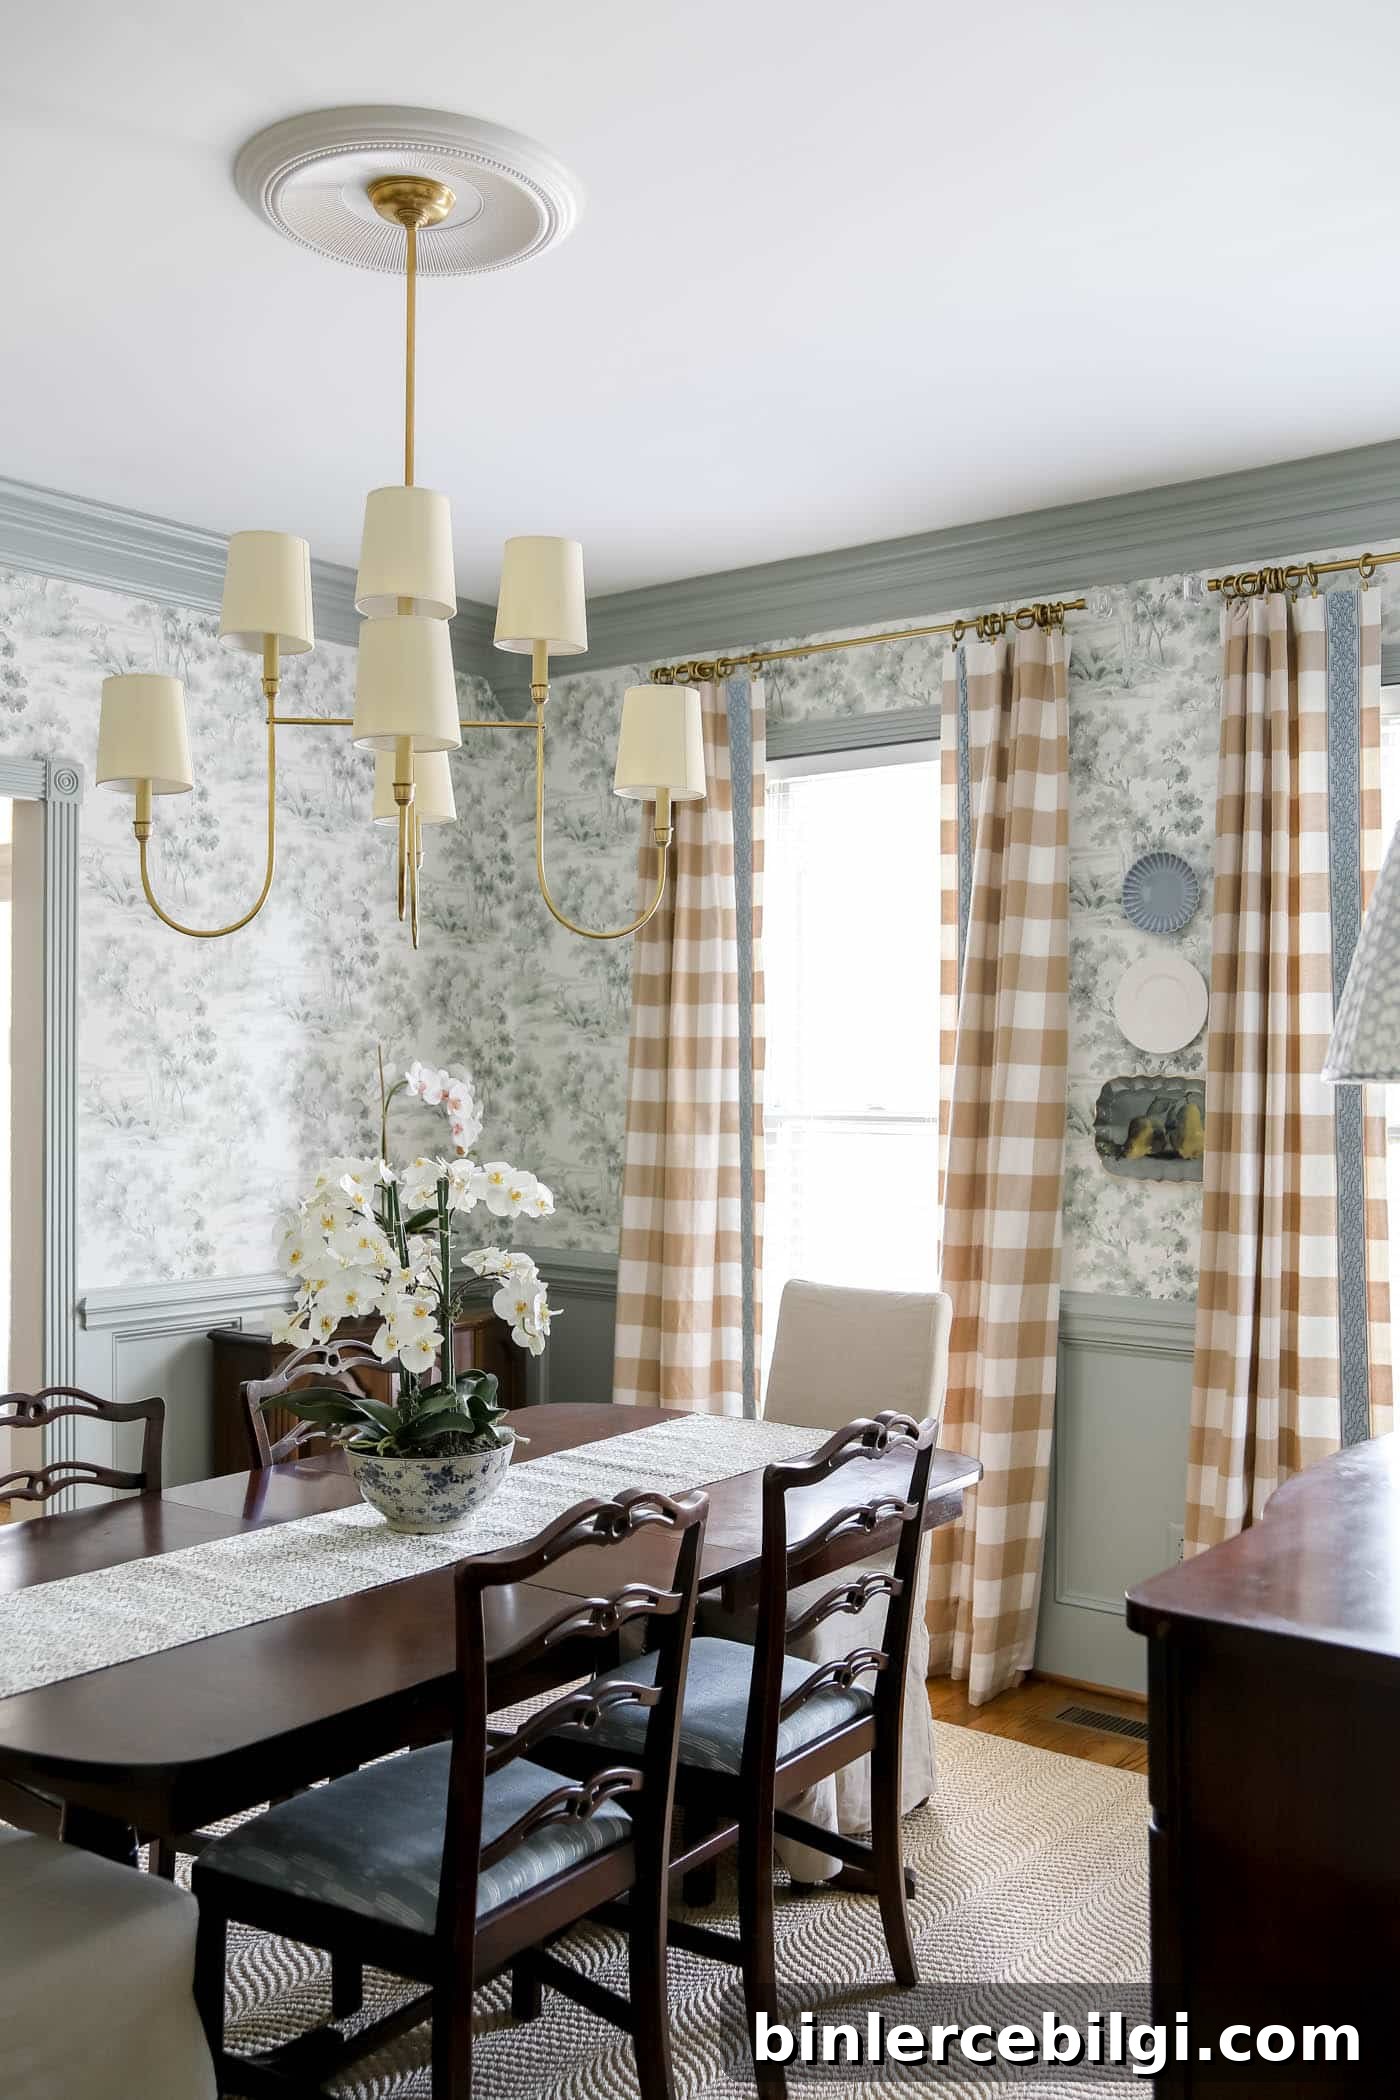
I recently put up a plate wall in our home and found the process much easier than I expected. If the idea of plates falling off the wall has made you hesitant, don’t worry — this guide covers simple, reliable methods so your display stays put. You can also build a plate rack if that feels more comfortable, but most people will find direct wall hanging quick and secure.
Why Decorate with Plates on the Wall
- Budget-friendly design with big impact. Use plates you already own, shop thrift stores, or mix in inexpensive finds. A plate wall can transform a room without a large budget.
- Plates tell a story. Plates can highlight family heirlooms, souvenirs, or pieces you simply love — creating a personal gallery on your wall.
- They add texture and charm. Mixing sizes, shapes, patterns, and finishes creates a layered, welcoming look that feels homey and intentional.
Supplies You’ll Need
- Plates — any size or shape.
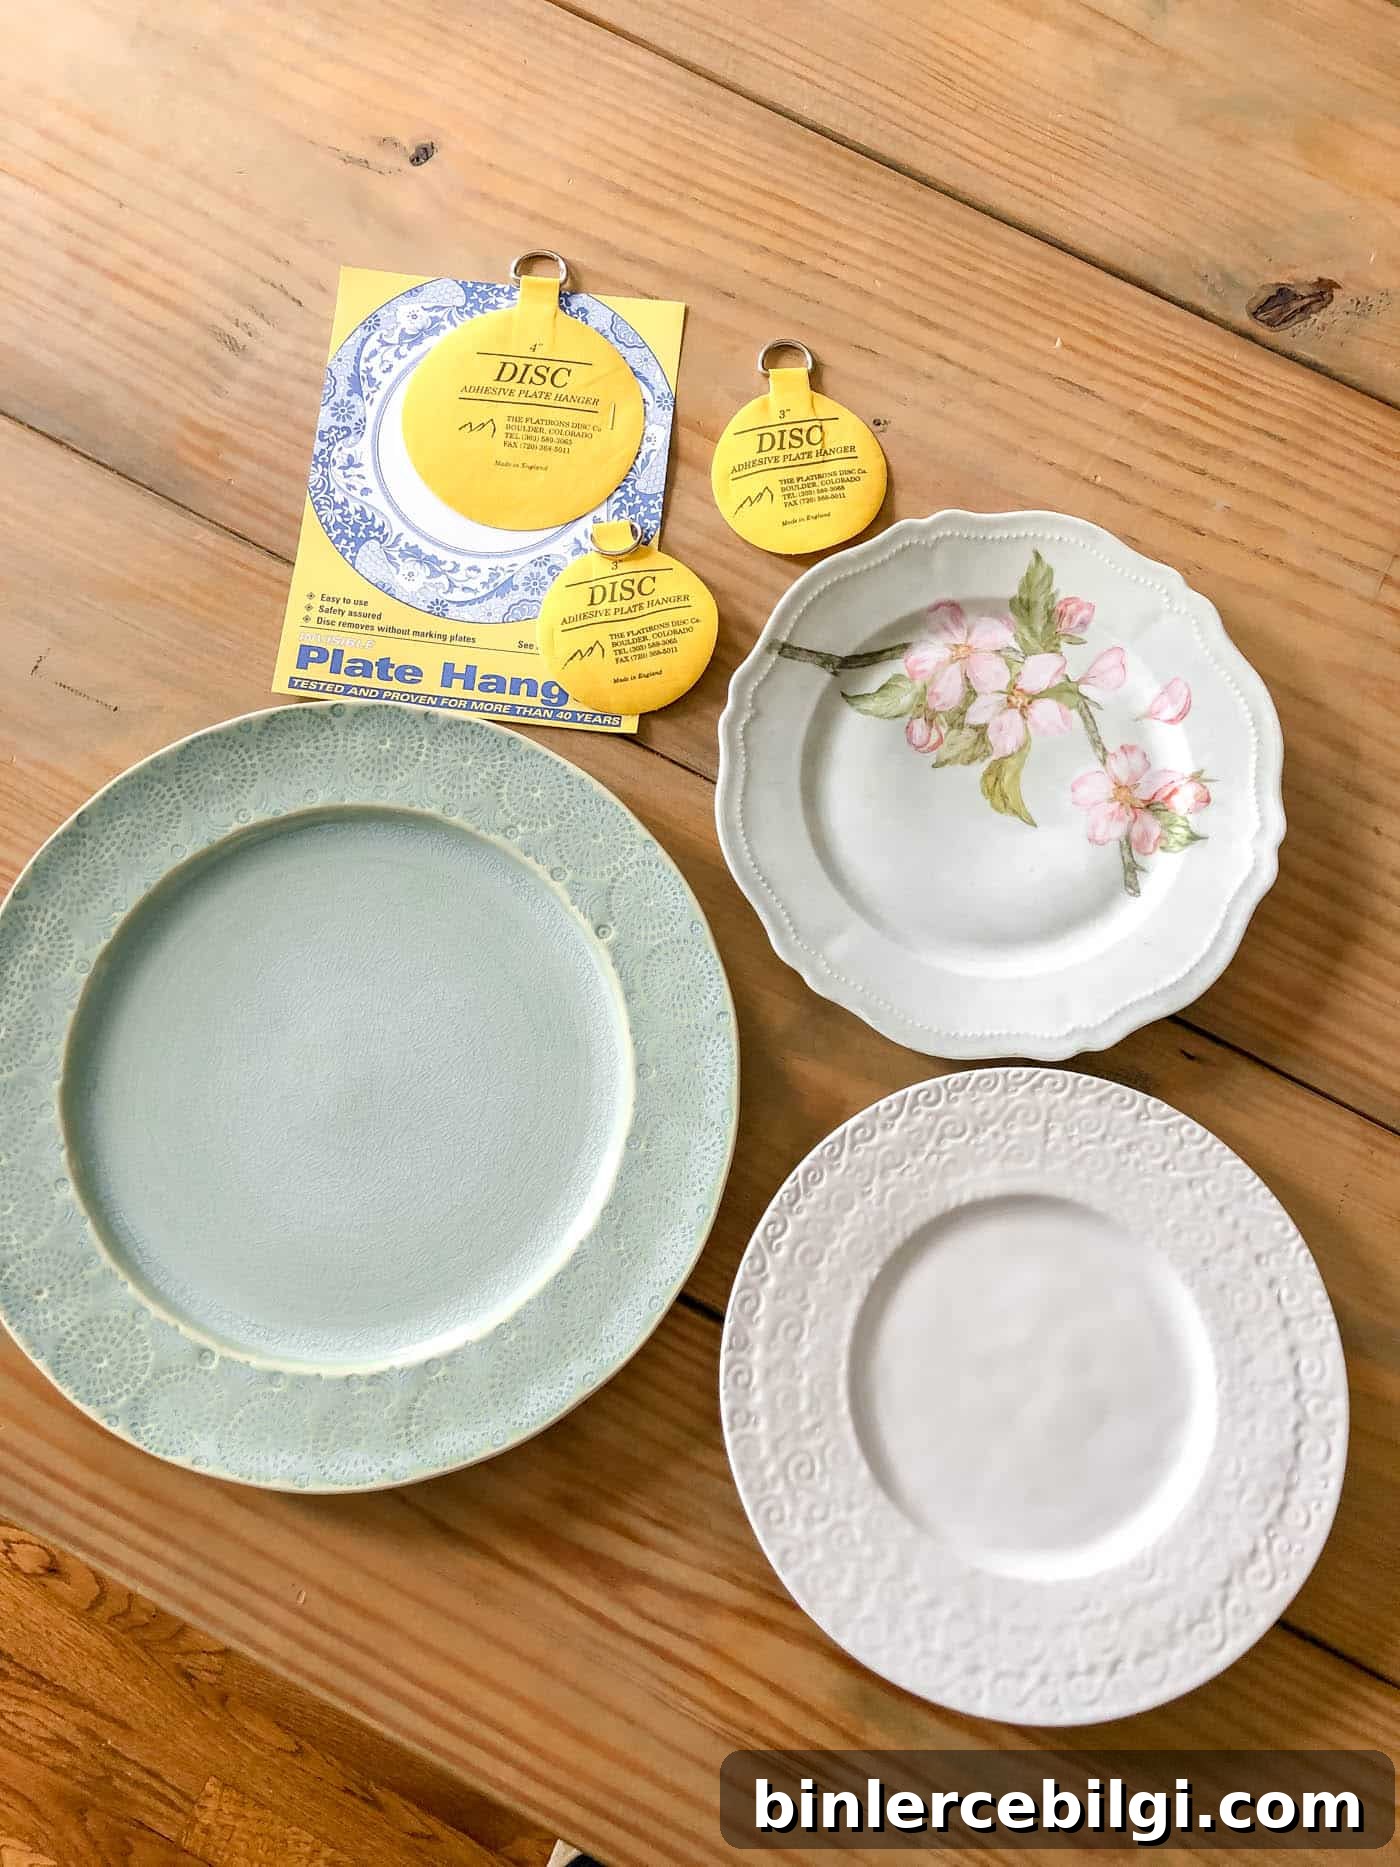
- Plate hangers or adhesive disc hangers (adhesive discs are a clean, invisible option).
- Picture hanging hooks or nails.
- Painter’s tape, scissors, pencil, and hammer.
- Optional: level or measuring tape for precise grids.
Hanging Plates on a Wall — Tutorial
1. Choose Your Plates
Gather the plates you want to display. Mixing sizes, colors, and styles—vintage and modern together—gives the arrangement a collected, layered look. Lay them out on a table or the floor first to experiment with arrangements before doing anything on the wall.
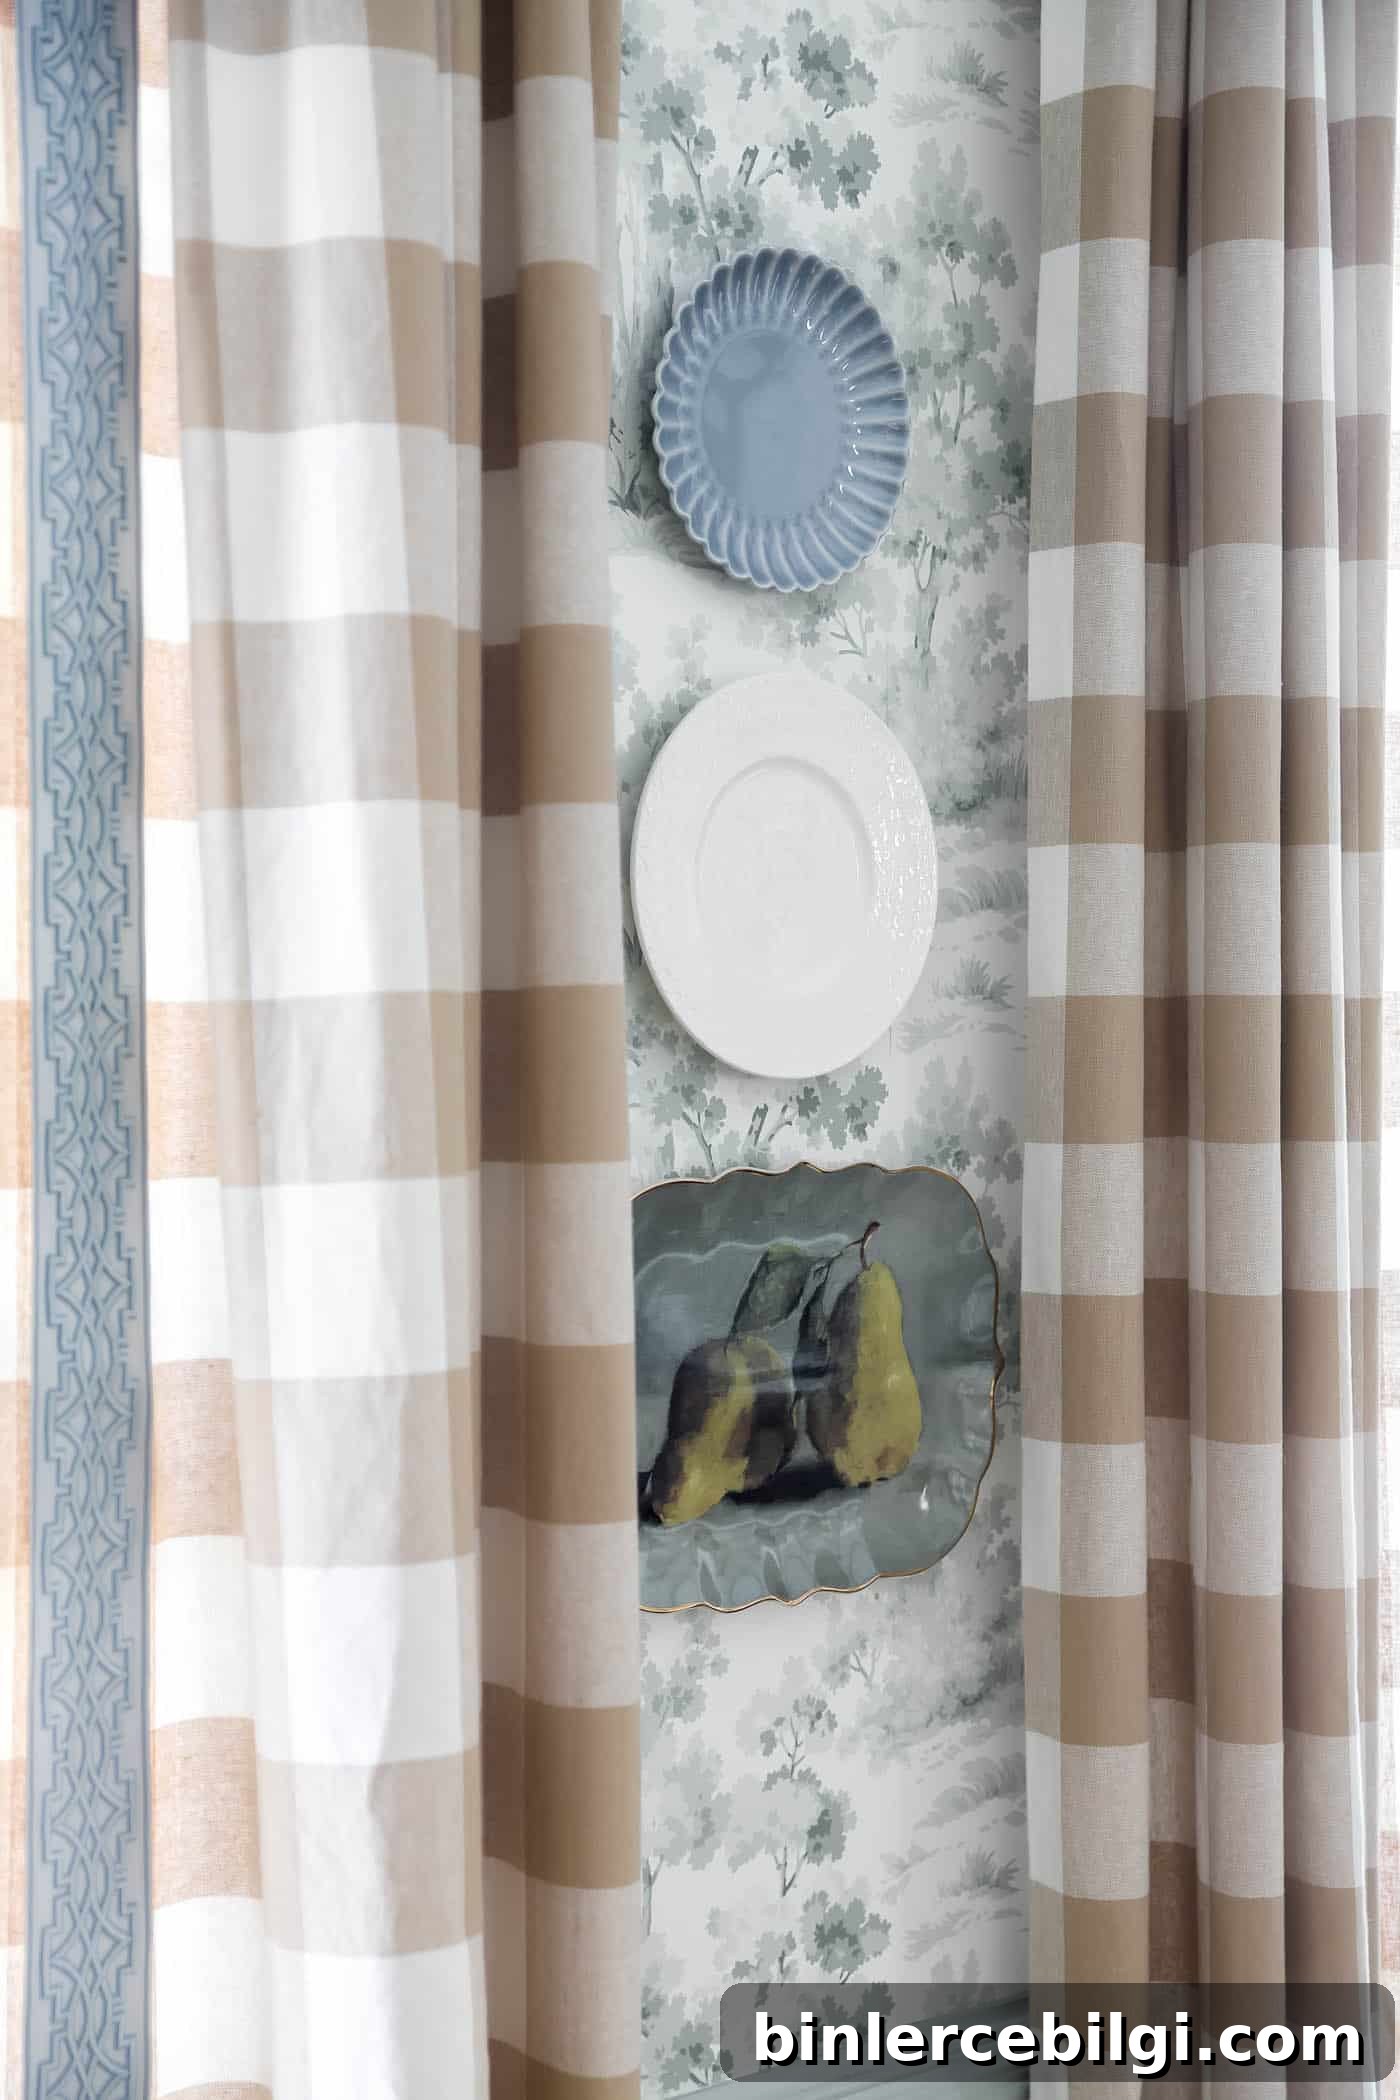
2. Plan Your Placement with a Plate Template
Once you’ve settled on an arrangement, trace each plate onto kraft paper or wrapping paper and cut out the shapes. Tape these paper templates to the wall to preview spacing and balance. Templates let you adjust the grouping without making extra holes.
Practical tip: Step back and look at the templates from different spots in the room. What looks right close up can feel off from across the room.
3. Pick Your Hanging Method
You have two main options for hanging plates: wire plate hangers or adhesive disc hangers.
Wire Plate Hangers
These springy metal hangers clip over the plate’s edge and hang from a nail or hook. They’re secure and removable but can be bulky and, in some cases, add stress to delicate edges. Make sure to choose the correct size for each plate.
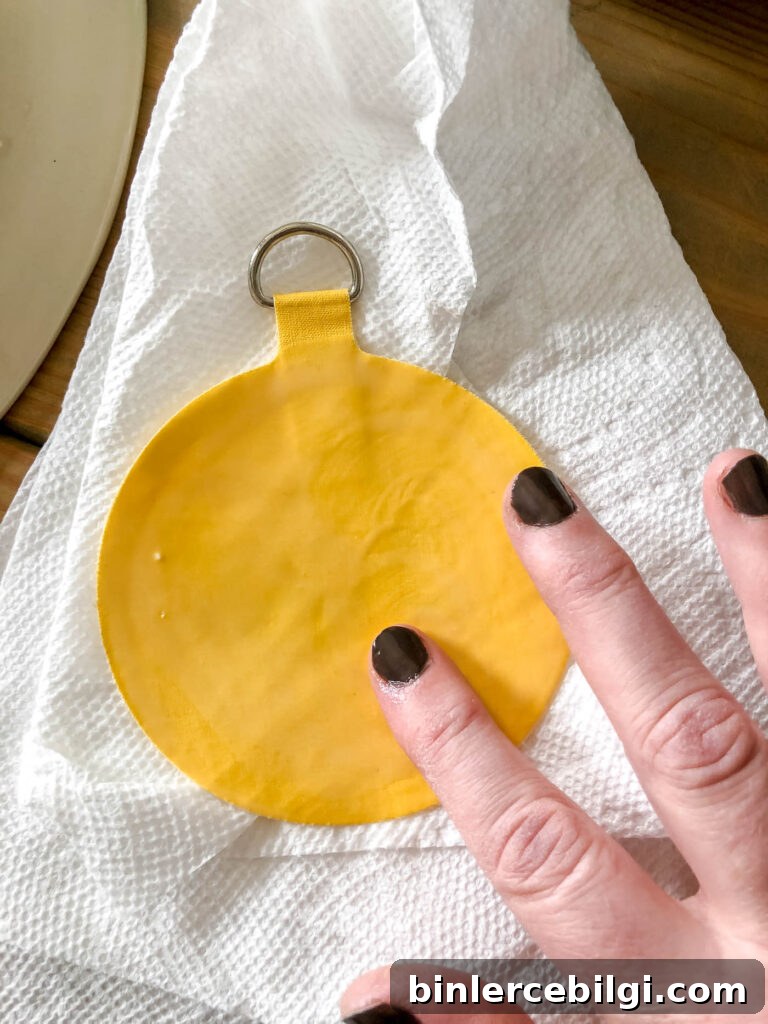
Adhesive Disc Hangers
Adhesive disc hangers stick to the back of the plate for a clean, nearly invisible look. When applied according to the manufacturer’s instructions and allowed to cure fully, they hold plates securely and don’t show from the front. Use discs rated for the plate’s weight and follow drying time recommendations carefully. Press firmly to ensure full contact and test before mounting on the wall.
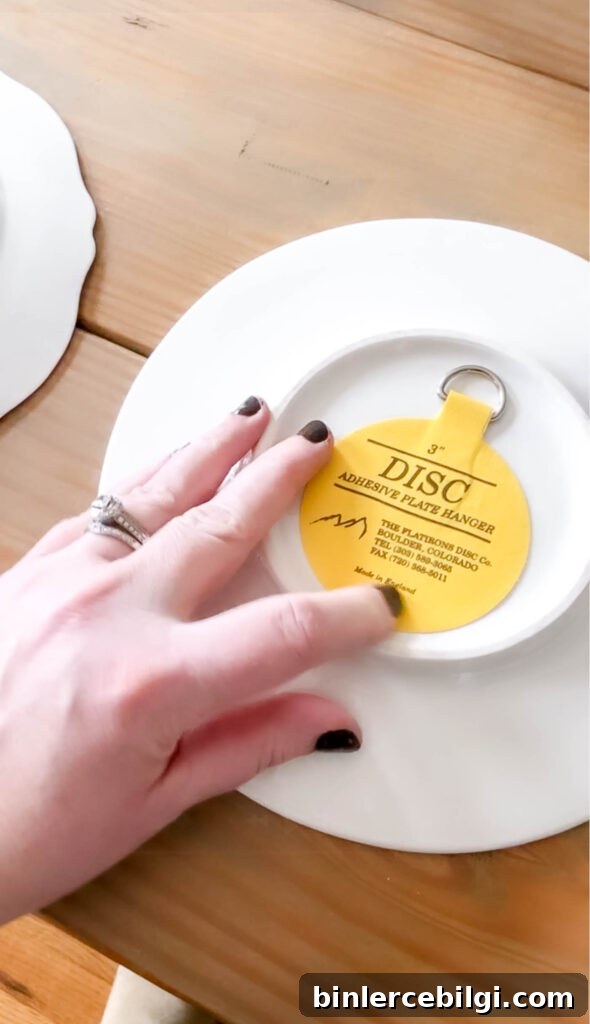
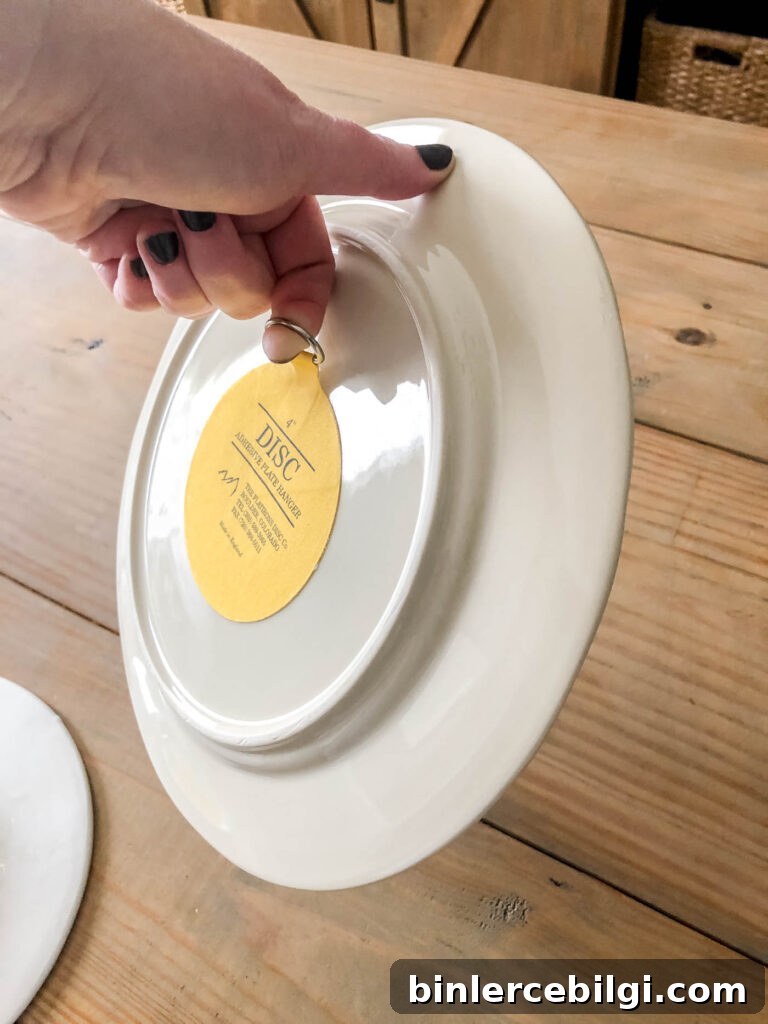
4. Hang Your Plates
With paper templates in place, mark the point for each hook or nail (usually just above the center of each template). Install the hook or nail, remove the paper, and hang the plates. Adjust the plates slightly to make sure they sit straight and at the spacing you want.
Optional: Use a level and tape measure if you want an exact grid or perfectly aligned vertical line. For a relaxed, collected look, you can simply eyeball the placement.
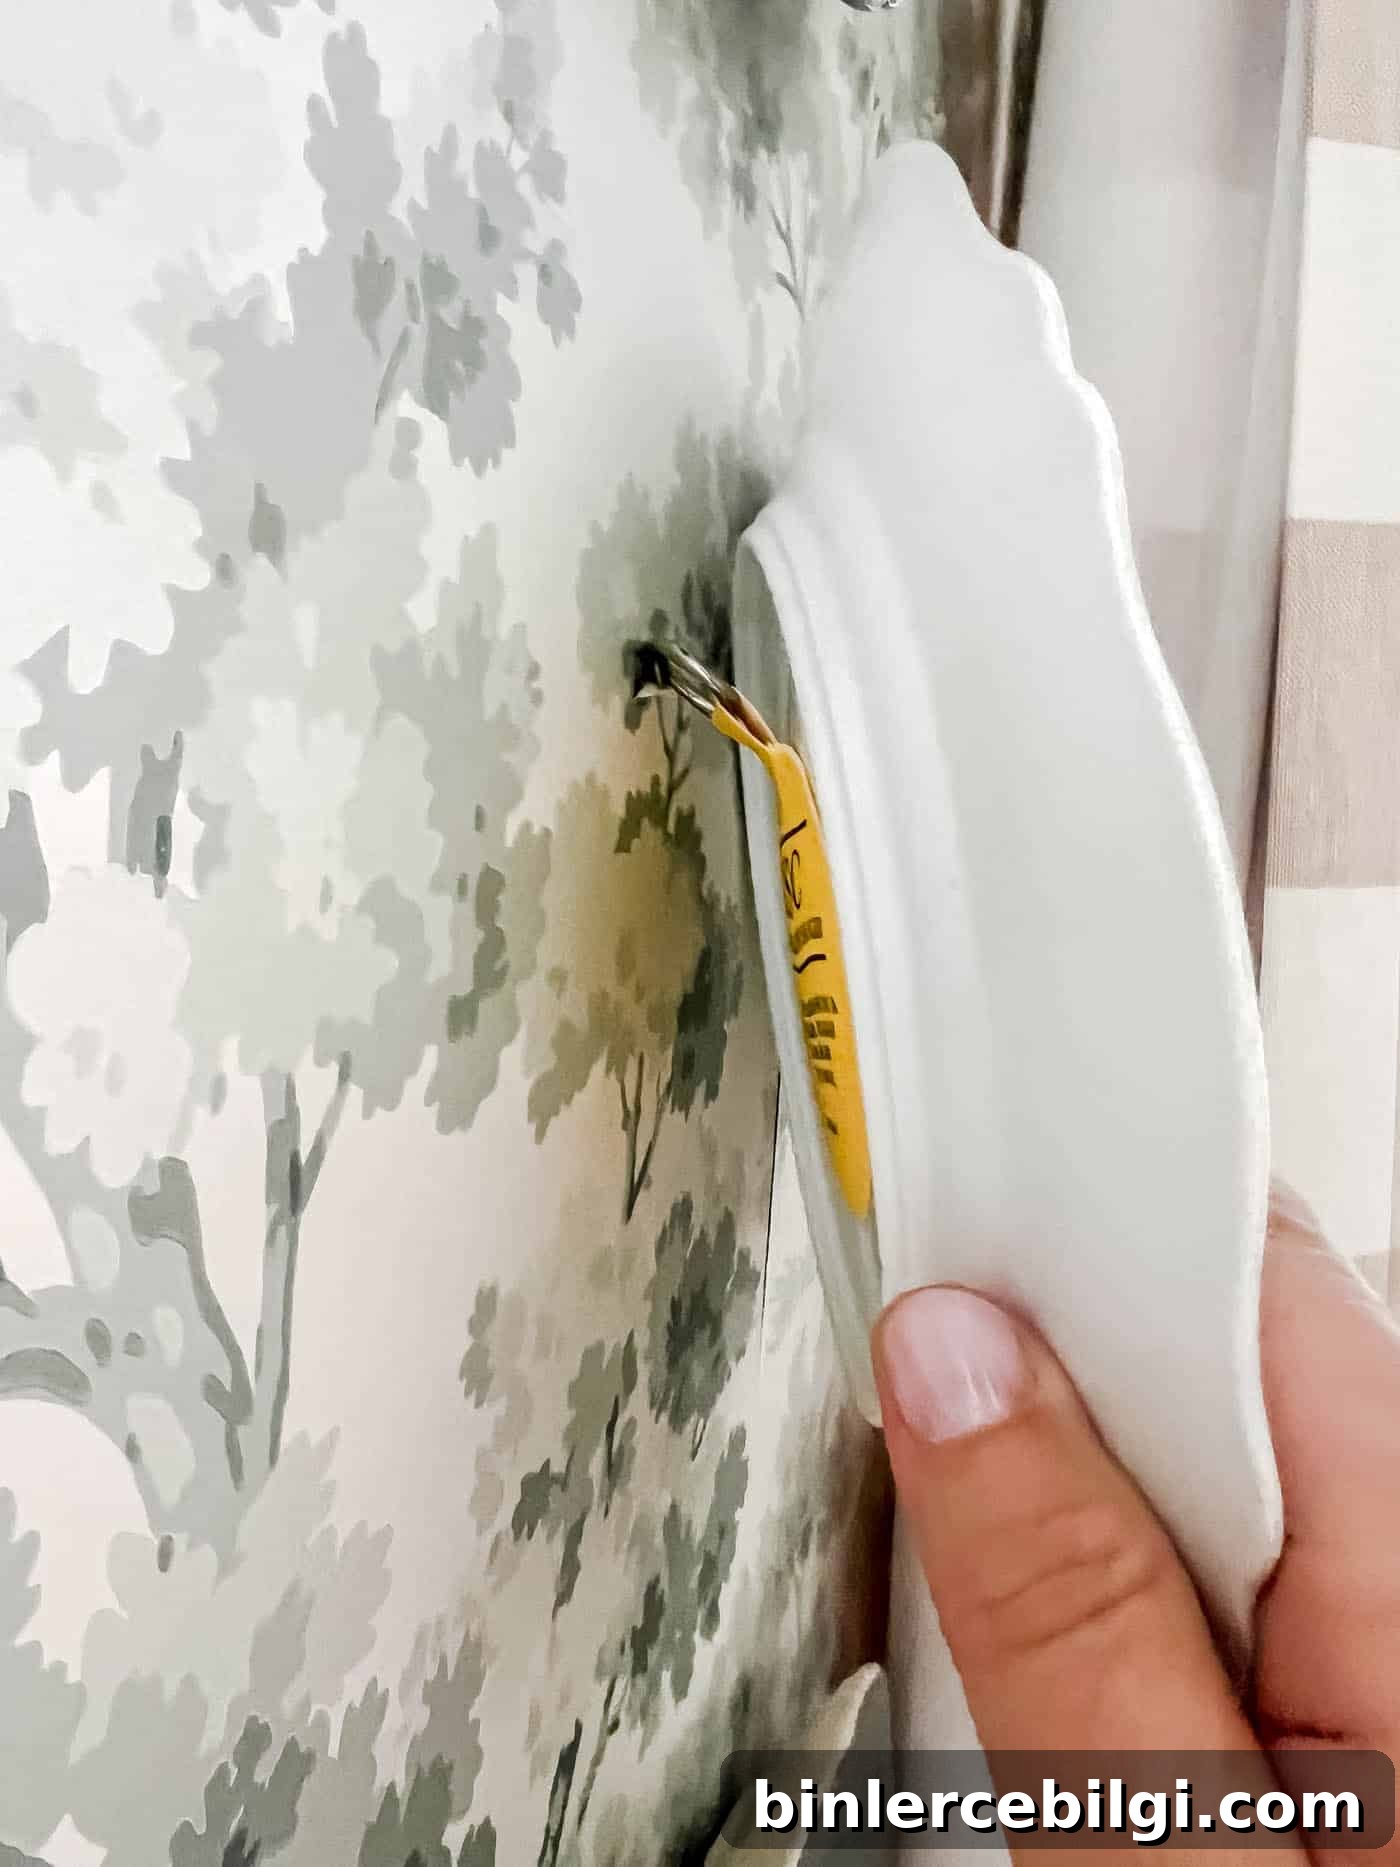
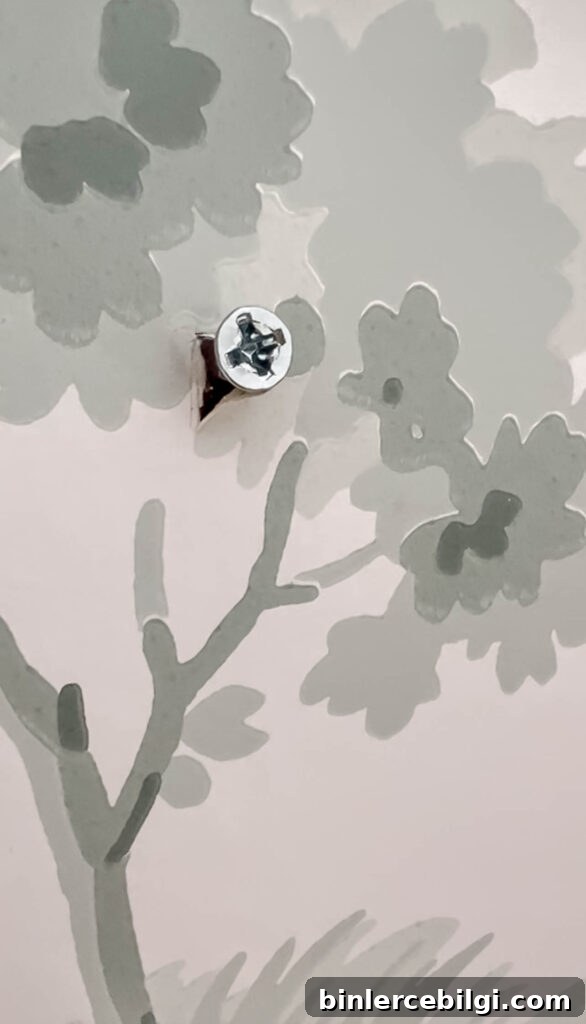
Tip for wallpapered walls: Cut a small square of wallpaper and fold it back where you’ll make the hole. Install the hook or screw through the folded edge. When you remove the hardware, fold the wallpaper back to cover the hole and minimize visible damage.
5. Step Back & Smile
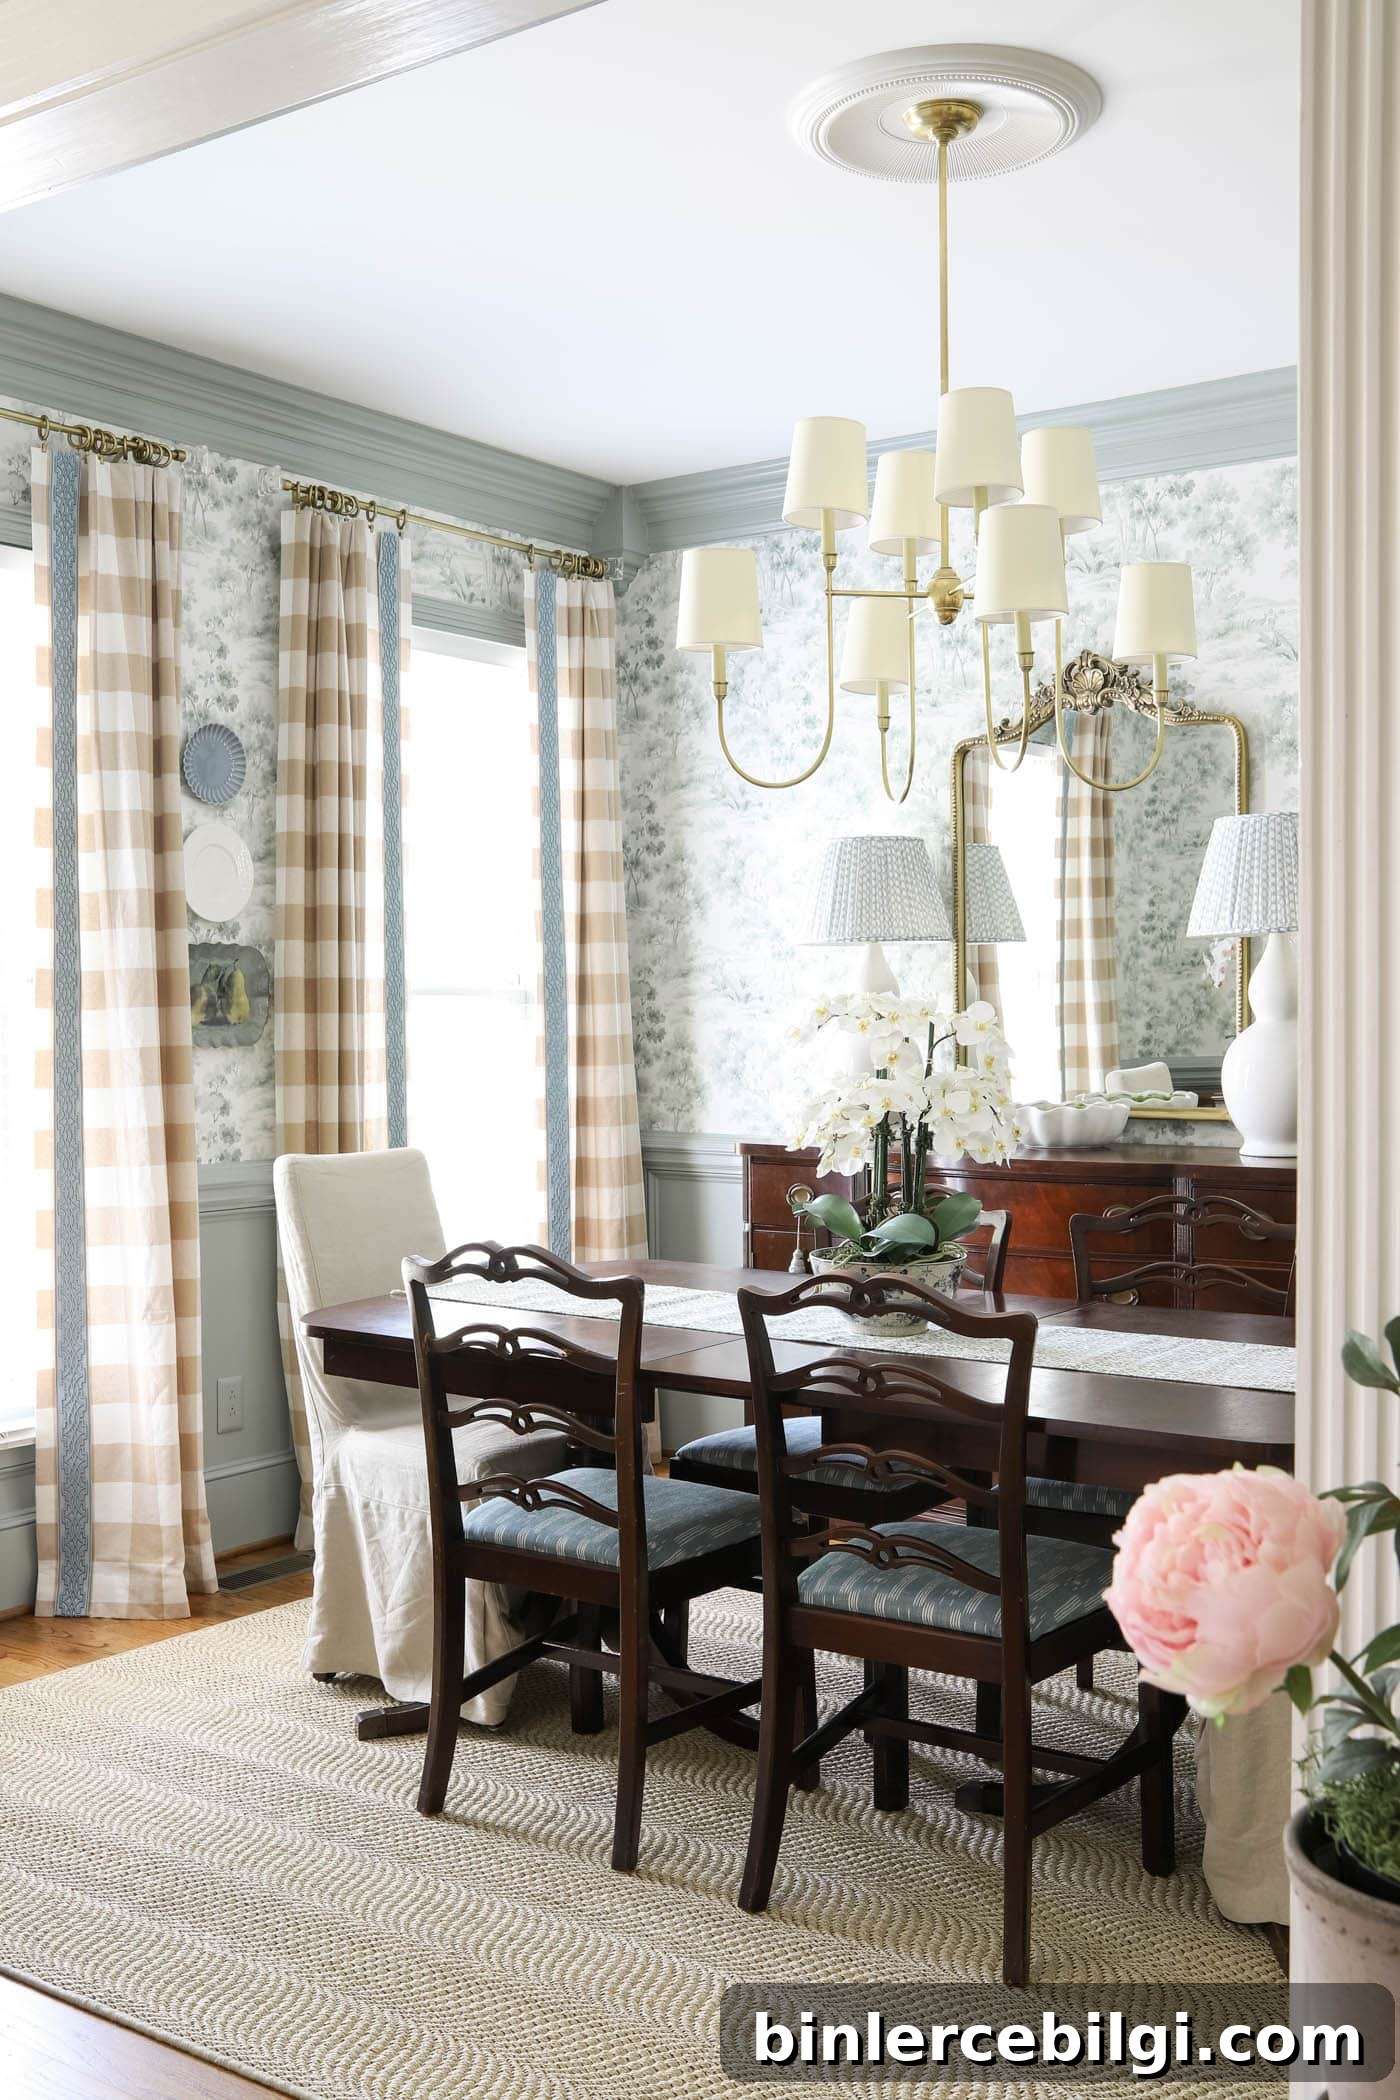
Enjoy the result. A plate wall brings instant story and charm to a dining room, kitchen, hallway, or even a bathroom. It’s a simple DIY that adds personality to your home without breaking the bank.
A Few Extra Tips
- Damage-free options: Try removable picture hanging strips if you’re in a rental or need a non-permanent option. Ensure the plate back is flat and smooth first.
- Add layers: Overlap plates slightly or mix in a small framed print or decorative object for visual interest.
- Balance the grouping: If one side of the arrangement feels heavy, swap a plate or adjust spacing until it feels right.
- Use what you love: Matching sets aren’t required — mismatched plates often feel more personal and charming.
Final Thoughts
Hanging plates is an approachable and rewarding way to personalize your home. It tells a story, adds texture, and is often an inexpensive project with a big visual payoff. If you’ve been thinking about creating a plate wall, try it — you don’t need to be a skilled DIYer to succeed.
Have you ever created a plate wall, or do you have a favorite dish you’d like to display? Share your ideas and experiences to inspire others.
Related posts you might enjoy:
- How to Name a House: A Fun and Creative Guide
- Trash to Treasure: Peacock Framed Art
- Before & After: Lighting Upgrades That Made Our Home Cozy
- Decorating with Hydrangeas
- Small Porch Decorating Ideas