
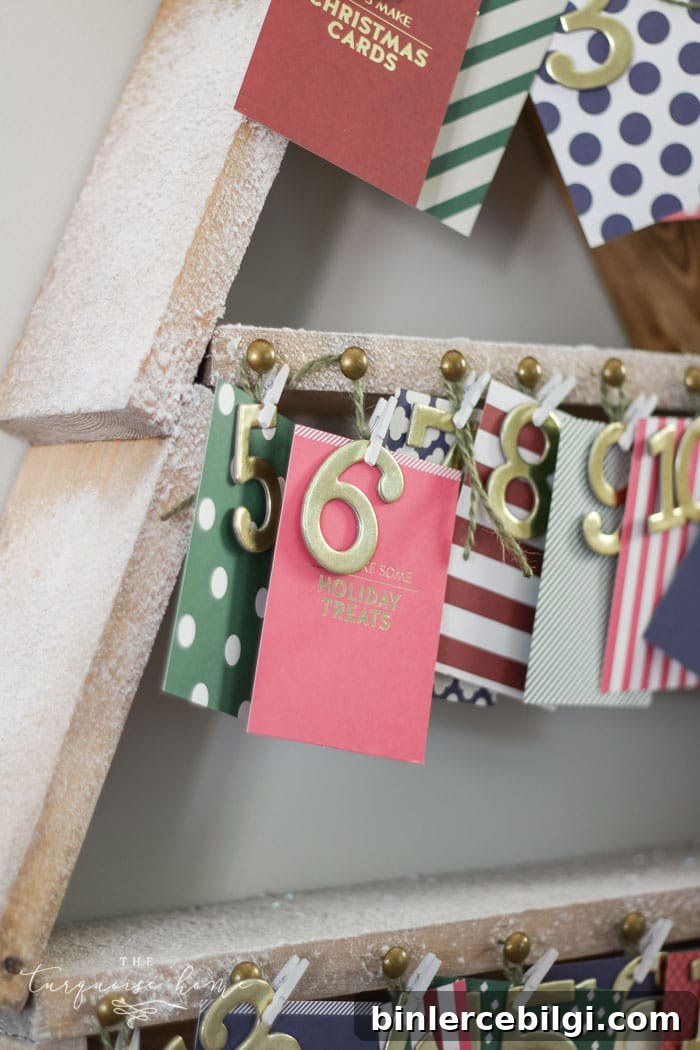
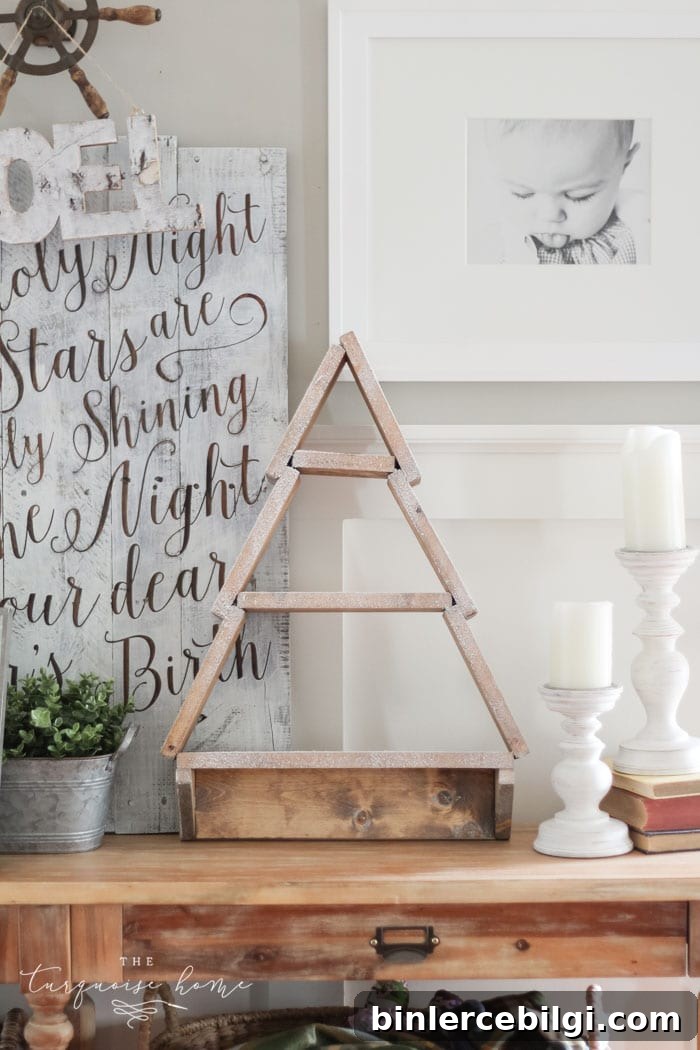
Create this charming snowy Christmas tree shelf from a few boards and basic tools you already have. Use it to display an advent calendar and count down the days until Christmas.
If you love advent calendars, this DIY Snowy Christmas Tree Shelf is an ideal project. It’s a delightful, compact display that safely houses an advent calendar out of reach of little hands and adds a cozy seasonal accent to any room.
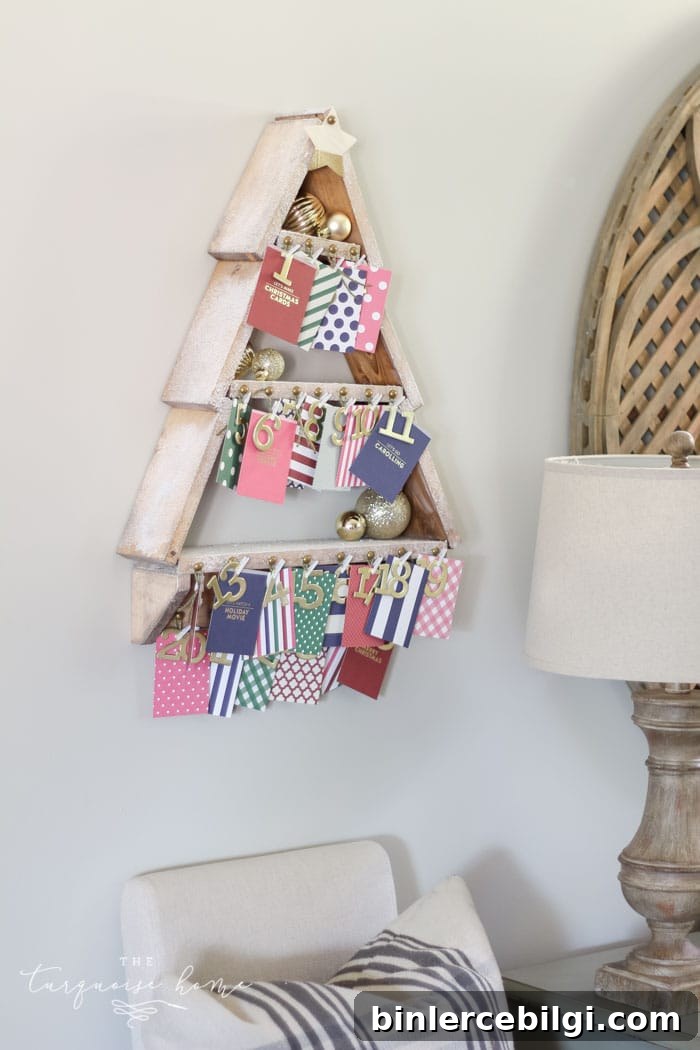
This project is budget-friendly—the supplies cost under $25 at the time of the original post—and it’s simple enough for a weekend workshop. The design originally appeared as a do-it-yourself project from a home improvement workshop, but you can adapt it to suit your style and storage needs.
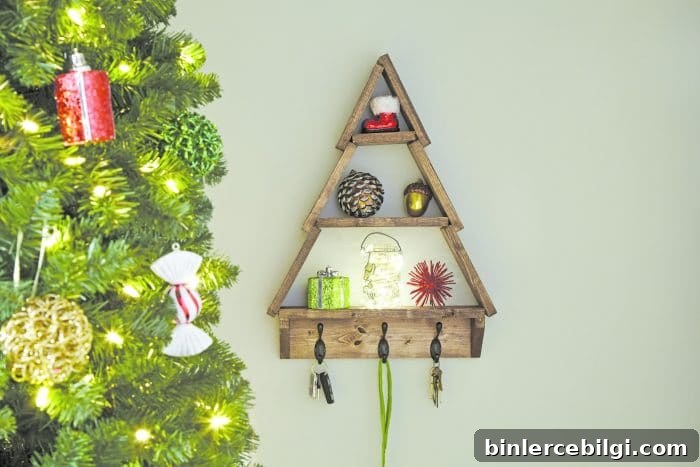
I loved the original concept but wanted it to serve a specific purpose for my family: a safe, elevated home for our advent calendar. Previously I strung the calendar cards across a kitchen chalkboard, but that was accessible to little hands. This tree shelf solves that problem and keeps the countdown visible and out of reach.
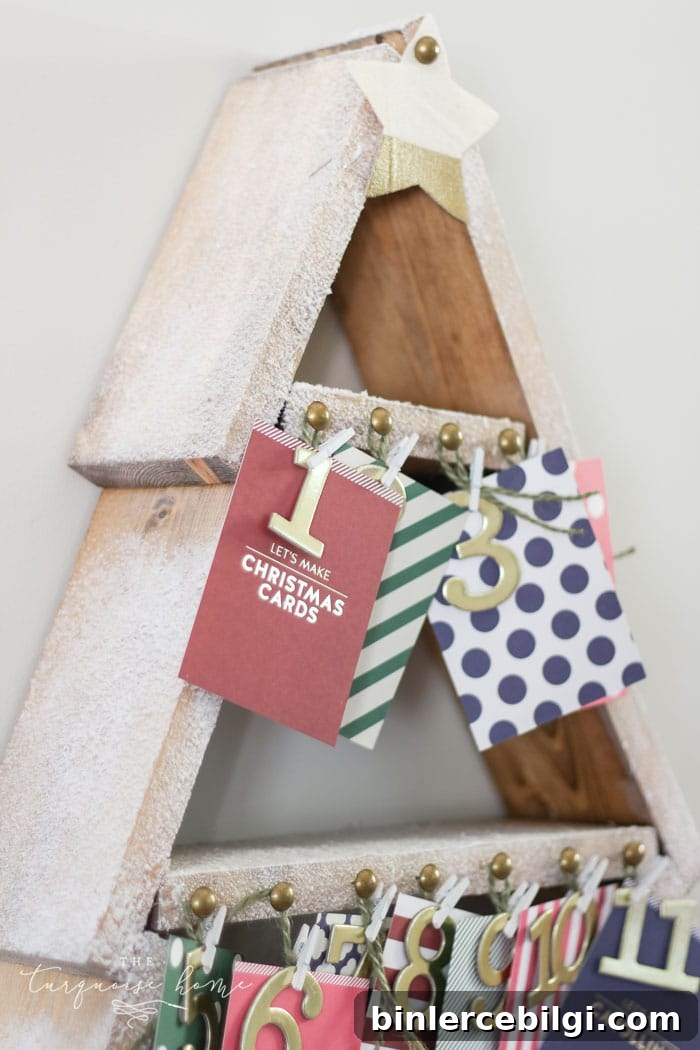
The shelf is totally customizable: paint or stain it to match your decor, use the bottom hooks for keys, or turn it into a seasonal vignette. It’s a versatile, decorative shelf that doubles as a functional advent display.
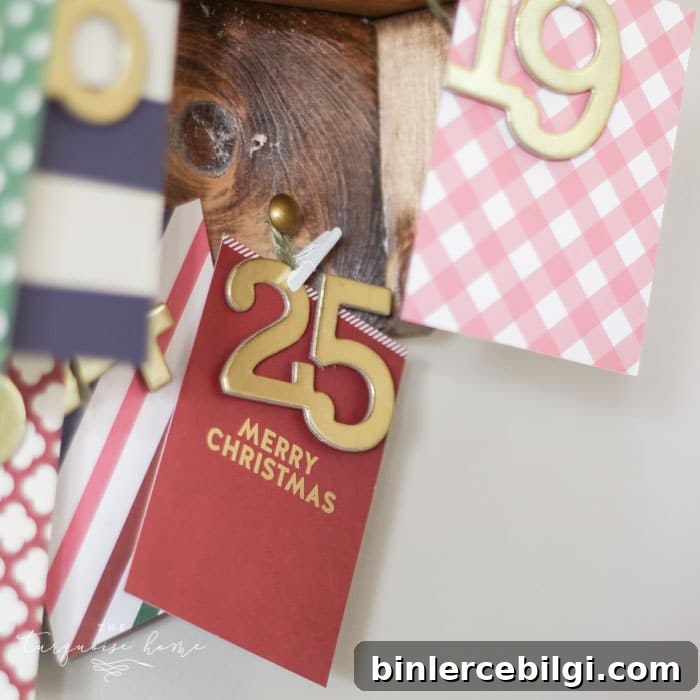
If you build this on a weekend morning, you’ll have time left to decorate it however you like—keep it simple or add ribbon, faux snow, or tiny ornaments to create a festive focal point.
What You Need to Make a DIY Christmas Tree Shelf + Advent Calendar
- 2 – 1 x 4 x 6 common pine boards
- 2″ screws (a few)
- Pack of 2″ brad nails
- Pack of 1 1/4″ brad nails
- Wood glue
- Picture hanging kit
- Stain or paint of your choice
- Brass nail tacks
- Chipboard numbers (decorate with paint or glitter)
- Scrapbook paper for advent cards
- Mini clothespins
- Optional: flat black heavy-duty hooks and 3/4″ screws if you want hooks on the bottom
Tools:
- Circular saw
- Brad nailer
- Drill
- 1/8″ drill bit
- Measuring tape
- Carpenter’s square
- Clamps
- Pencil
- Safety goggles
- Sanding block
How to Build a DIY Christmas Tree Shelf
Step 1. Measure and mark. Measure and cut the boards according to the cut list below. I measure and cut one piece at a time; when I need multiple identical pieces, I use the first cut as a template to keep dimensions consistent.
Cut list:
- 5 – 8″ boards
- 1 – 7 1/4″ board
- 1 – 16 1/2″ board
- 1 – 15″ board
- 2 – 3 1/2″ boards (trim corners to form shelf supports)
- 1 – 5″ board
- 1 – 10 1/2″ board
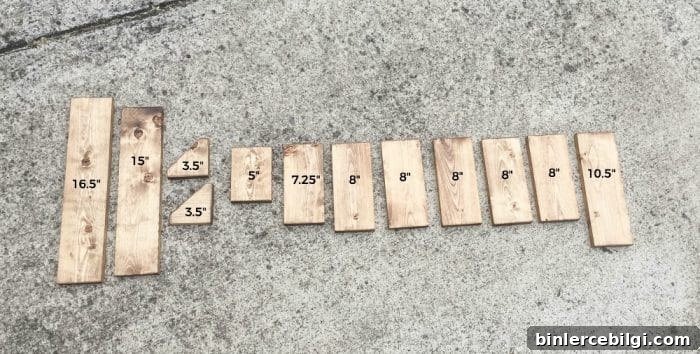
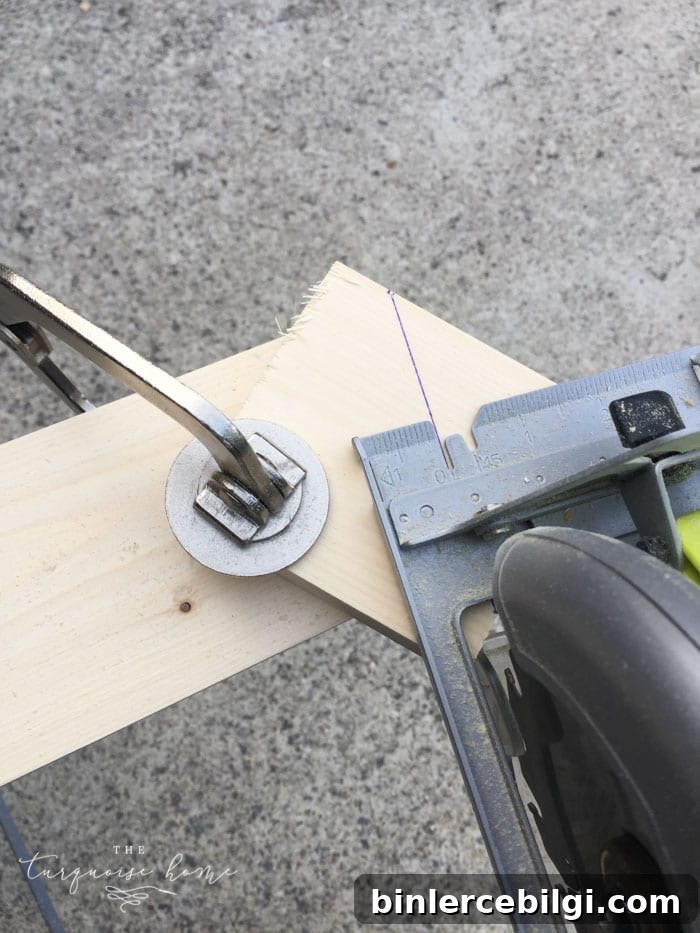
For the two 3.5″ support pieces, mark 3/4″ inward from the top-right corner and the bottom-left corner and cut off the leftover sections to form angled shelf supports. Clamp the small pieces securely before cutting and always wear safety goggles when using power tools.
Step 2. Sand the boards. Smooth any rough edges and surfaces with a sanding block so paint or stain will adhere evenly.
Step 3. Stain or paint. Finish the boards with stain or paint. For a soft, snowy look you can lighten a darker stain with white wax or apply a light whitewash after staining.
Step 4. Assemble the sides. Build Side A by overlapping three 8″ sections by 3/4″ each and secure them with 1 1/4″ brad nails and wood glue. Build Side B by overlapping two 8″ sections and one 7 1/4″ section in the same way. Allow glued joints to dry thoroughly.
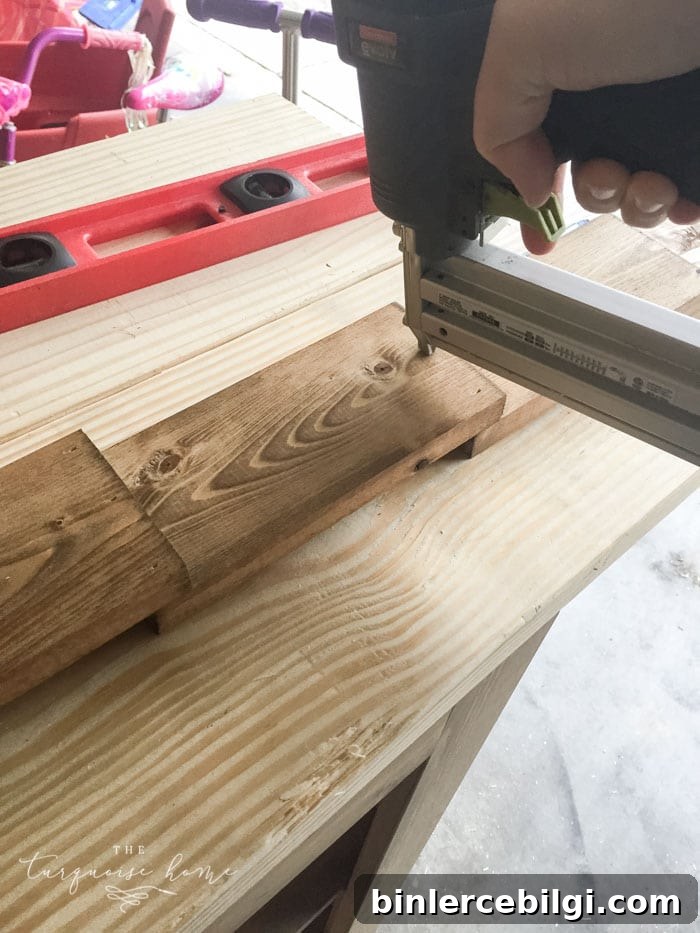
Step 5. Join the sides. Line up Side A and Side B at the top with the shorter 7 1/4″ section positioned under the longer pieces. Nail through the top of Side A into Side B with the brad nailer so the joint is secure.
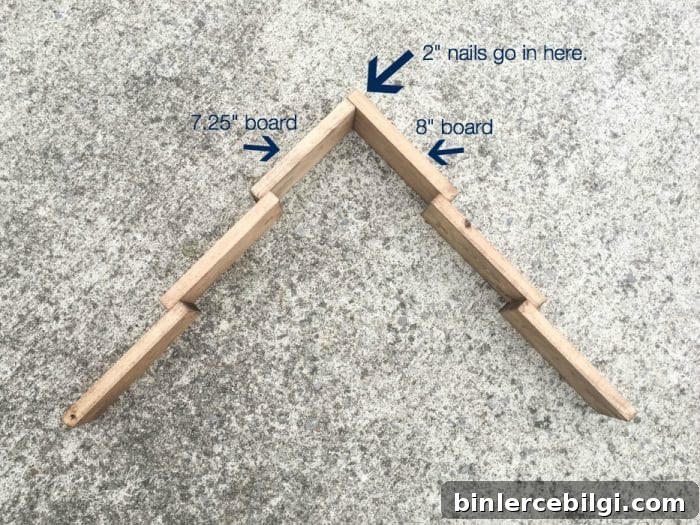
Step 6. Bend the frame. Carefully bend the assembled sides outward until they are 16.5″ apart at the points where the bottom shelf will sit. Check spacing often with the 16.5″ board to avoid overbending. Gluing the side joints before this step helps keep the frame stable.
Step 7. Attach the shelves. Attach the 16.5″ bottom shelf to the frame using wood glue and 1 1/4″ brad nails. Add the remaining shelves in their positions and secure them the same way.
Step 8. Build the bottom support. Position the 15″ board perpendicular to the bottom shelf, leaving space for the shelf braces. Attach it with brad nails and then reinforce with screws; pre-drill holes to prevent splitting. Add the shelf supports on each side with glue and nails.
Step 9. Add hanging hardware. Mount a picture hanging kit across the back of the frame. A properly installed kit will support a significant amount of weight and makes hanging the shelf simple and secure.
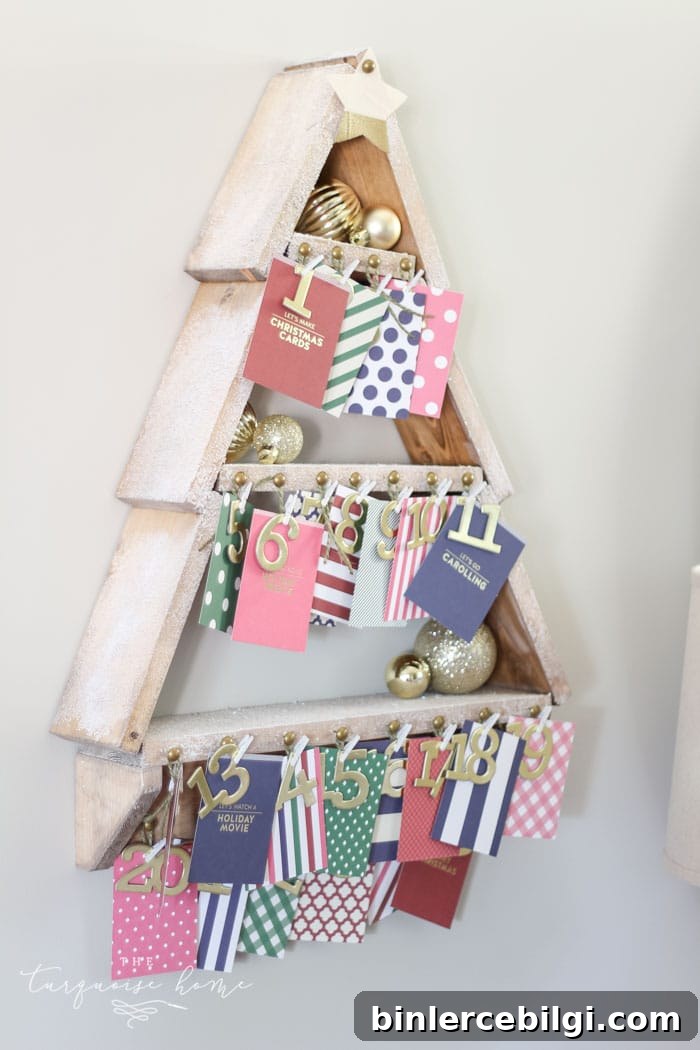
Step 10. Embellish and add the advent calendar. Decorate the shelf front by nailing brass tacks along each shelf and tying twine between them. Clip numbered cards or small envelopes to the twine with mini clothespins to create a charming advent countdown.
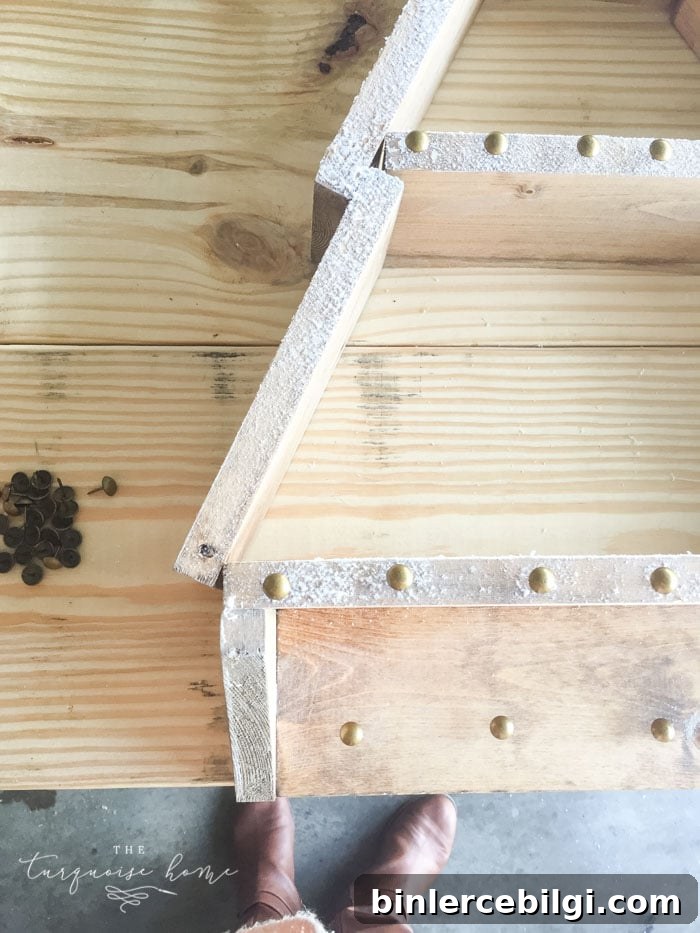
Once your advent cards are clipped in place, hang the shelf on the wall and enjoy the countdown. This setup keeps the calendar visible but out of reach of small hands.
Ideas for Making Your Own Advent Calendar
You can craft advent cards from holiday-themed scrapbook paper, then write a short activity or wish on the back. Add painted chipboard numbers for a polished look. Here are activity ideas you can use for each day:
- Make a paper chain countdown for the kids’ bedrooms
- Write a letter to Santa
- Create handmade Christmas cards
- Make paper crowns and talk about the wise men
- Bake holiday treats with the family
- Watch a short, funny Christmas clip together
- Decorate the tree
- Visit a holiday market or see Santa
- Wrap a small gift and add a handmade tag
- Open a small present as a family
- Read a Christmas story aloud
- Make and sip hot chocolate
- Go ice skating or take a winter walk
- Decorate cookies or gingerbread houses
- Make playdough snowmen
- Give a small gift to someone in need
- Have a Christmas movie night
- Host a holiday music dance party
- Go caroling or sing together
- Make paper snowflakes and decorate windows
- Take a drive to look at neighborhood Christmas lights
- Leave milk and cookies out for Santa
Use these ideas as inspiration or swap in family favorites—there’s no wrong way to organize an advent countdown.
Additional sources: Advent calendar cards from a past collaboration of designers; chipboard numbers and small clothespins work well for this project. If you try this build, feel free to adapt sizes, finishes, and decorations to match your home and holiday style.
More posts you will love: use your favorite seasonal papers and small embellishments to personalize this shelf and create a meaningful holiday tradition.