
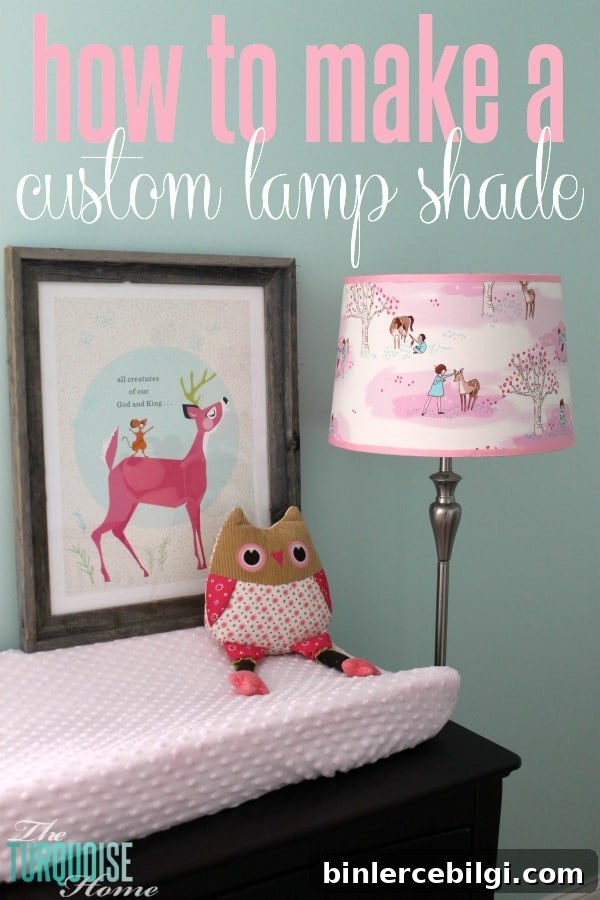
Use your own fabric to create a custom lampshade for your home
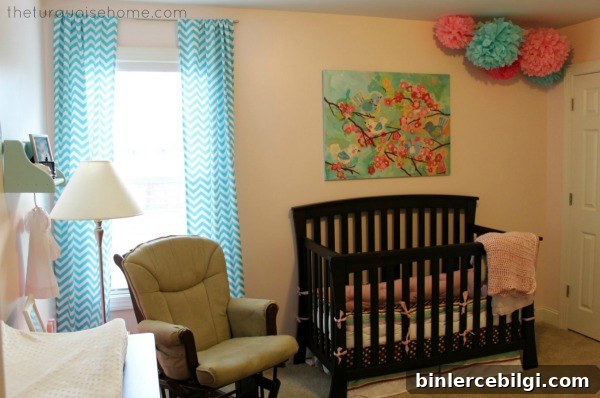
I love finally finishing a project that’s been on my to-do list for years. When we finished Miss A’s pink and turquoise nursery nearly three years ago, I wanted a custom lampshade but never found the right fabric — and I never bought a new shade. The lamp base has been with me since college and the shade had been swapped a few times. The shade that lived on the silver base in Miss A’s room was an ill-fitting empire style that simply wouldn’t take fabric well.
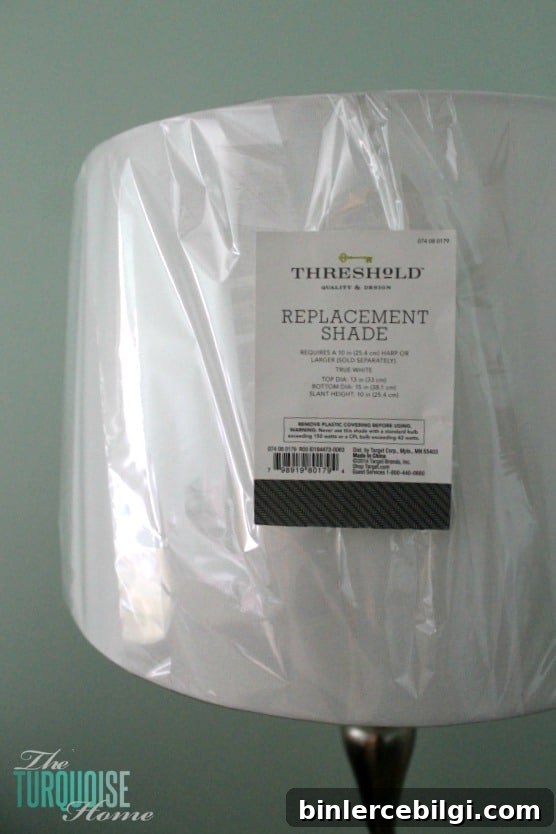
After putting together the nursery for Baby G, I finally picked up a replacement drum shade during a sale — I paid about $12. A simple drum shade is the easiest shape to cover with fabric, so I chose that to create a clean, custom look that fits the woodland nursery theme.
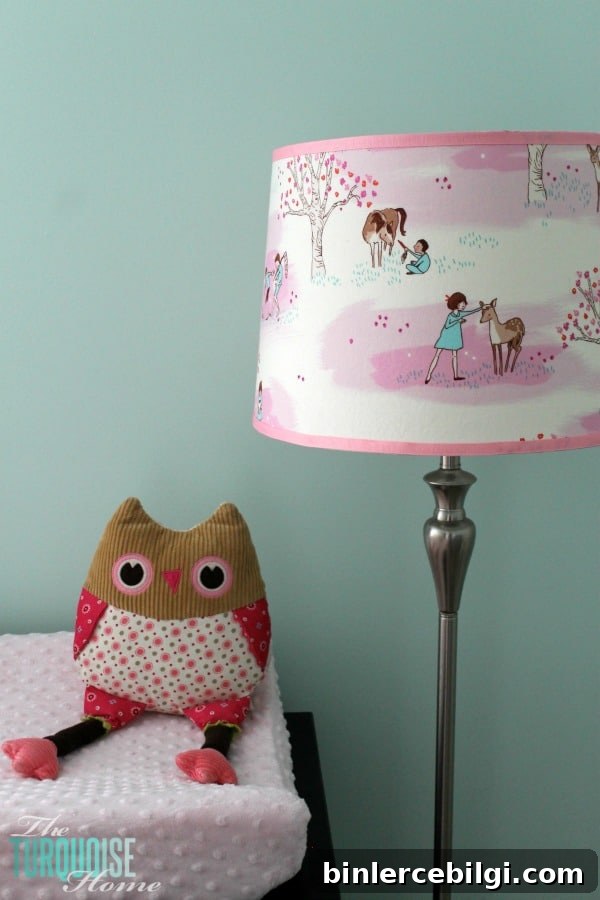
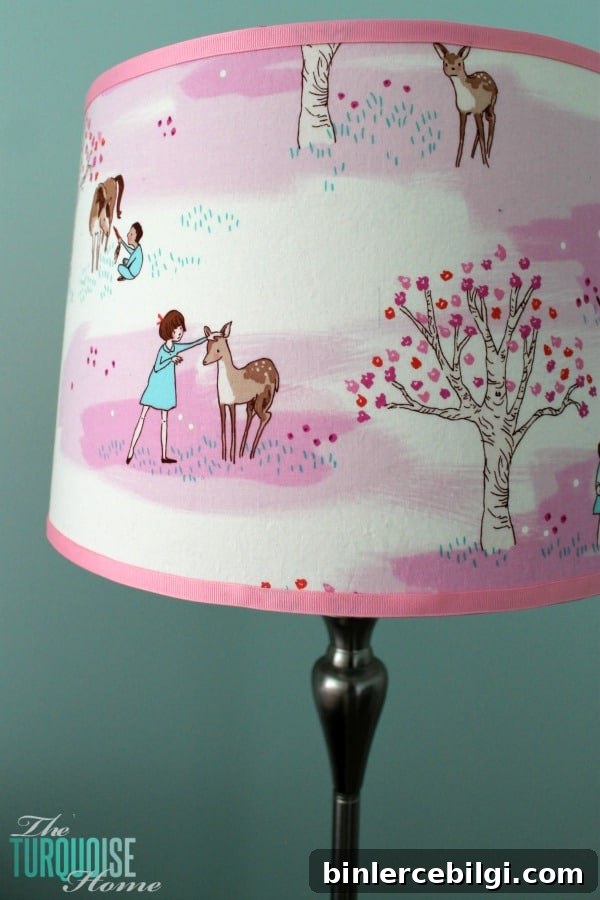
The fabric I chose is Michael Miller Wee Wander Woods Petal — a whimsical print with a little girl and a deer that suited the woodland nursery perfectly. At first I had an entirely different fabric in mind, but this one felt just right for the space.
With fabric and shade in hand, I gathered supplies and set aside a couple of hours. This is a straightforward DIY that refreshes a room and adds a bespoke touch without expensive custom work.
Supplies for your custom lampshade
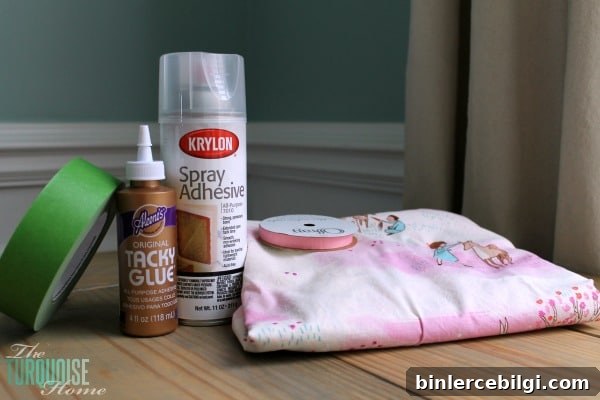
- Fabric glue or tacky glue
- Spray adhesive
- Newspaper or large paper for a template
- Pen or marker
- Drum lampshade
- Painters tape or similar
- Fabric (enough to wrap the shade)
- Ribbon or trim (optional)
Start by rolling the drum shade across a spread of newspaper and mark the top and bottom edges as it rolls. That traced outline becomes your paper template. Cut the template out and wrap it around the shade to check fit — tape sections together if your template needs multiple sheets, and temporarily tape it to the shade to see where pattern elements will fall.
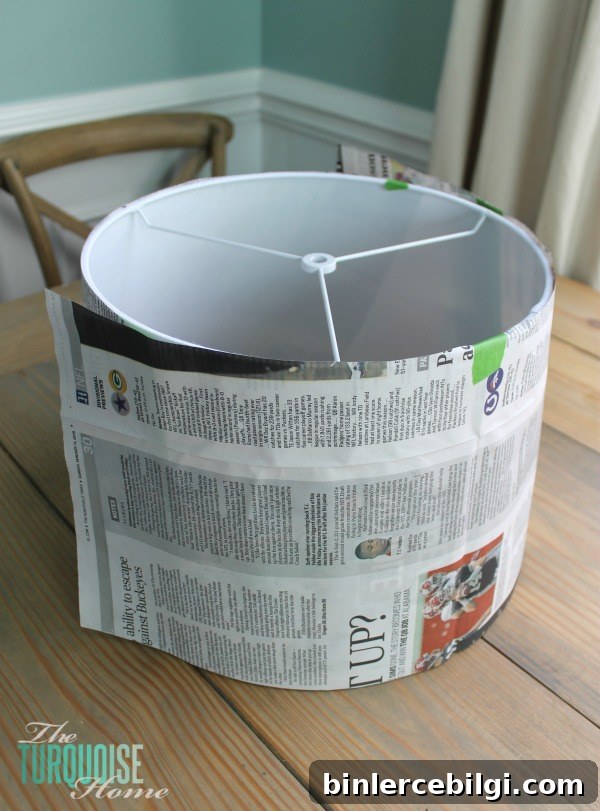
If your fabric has a directional print or scenes, decide which design elements you want centered on the front of the shade before cutting. I had just one yard, so I pieced a second strip at the back where it would be less visible; this is a handy trick when fabric is limited.
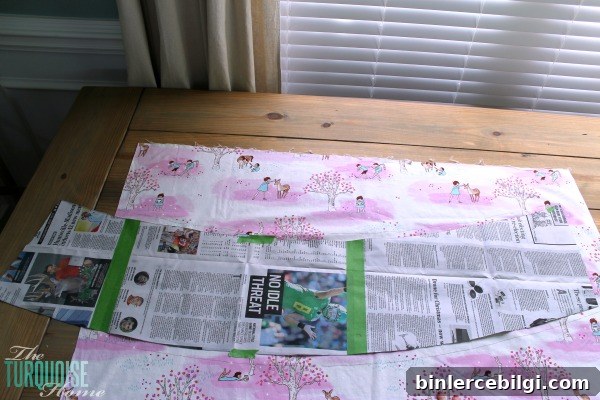
Cut your fabric using the template, leaving about an extra inch around the edges for overlap. This margin gives you wiggle room while wrapping and positioning the fabric on the shade.
Lay newspaper beneath your work and apply spray adhesive to the back of the fabric in a well-ventilated area or outdoors. Press the fabric firmly onto the drum shade, smoothing out air bubbles as you go. Work slowly and keep the fabric taut so the print lies flat.
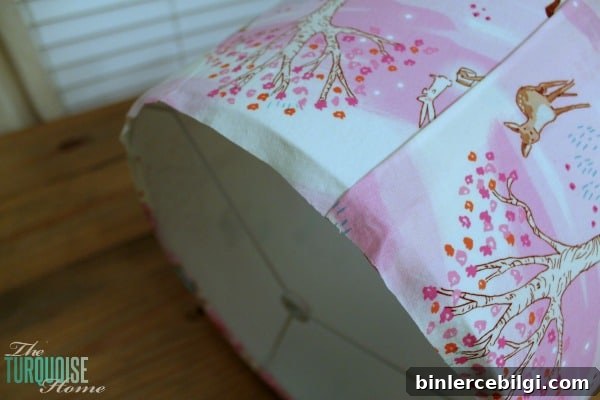
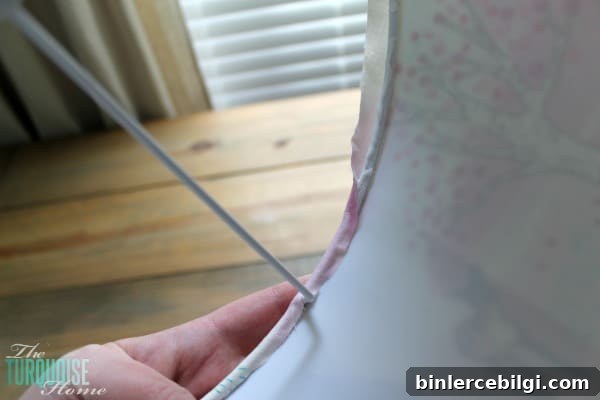
Trim excess fabric to about 1/2 inch from the top and bottom edges. Inside the shade, run a bead of tacky glue along the inner frame and wrap the remaining fabric around the edge, pressing it onto the glue. Many drum shades have an inner lip or piping that makes this edge neat once wrapped.
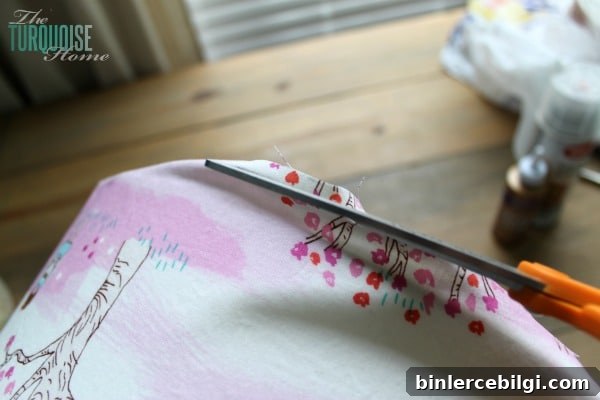
To finish, add ribbon or grosgrain trim along the top and bottom edges for a polished look. I used pink grosgrain and attached it with tacky glue — this step is optional but helps conceal cut edges and reinforces the seam.
The result is a custom fabric lampshade that ties the room together and adds personality. This project is quick, affordable, and makes a big visual impact — perfect for nurseries, bedrooms, or any room that could use a small bespoke touch.
More posts you might enjoy:
- 25+ Amazing Table Lamps For Your Home
- How to Recover a Lamp Shade (for cheap!)
- 15 Flush Mount Lighting Ideas For Your Home