
Learn how to organize an arts & crafts storage cabinet in six simple steps in under an hour—and enjoy the benefits for years to come.
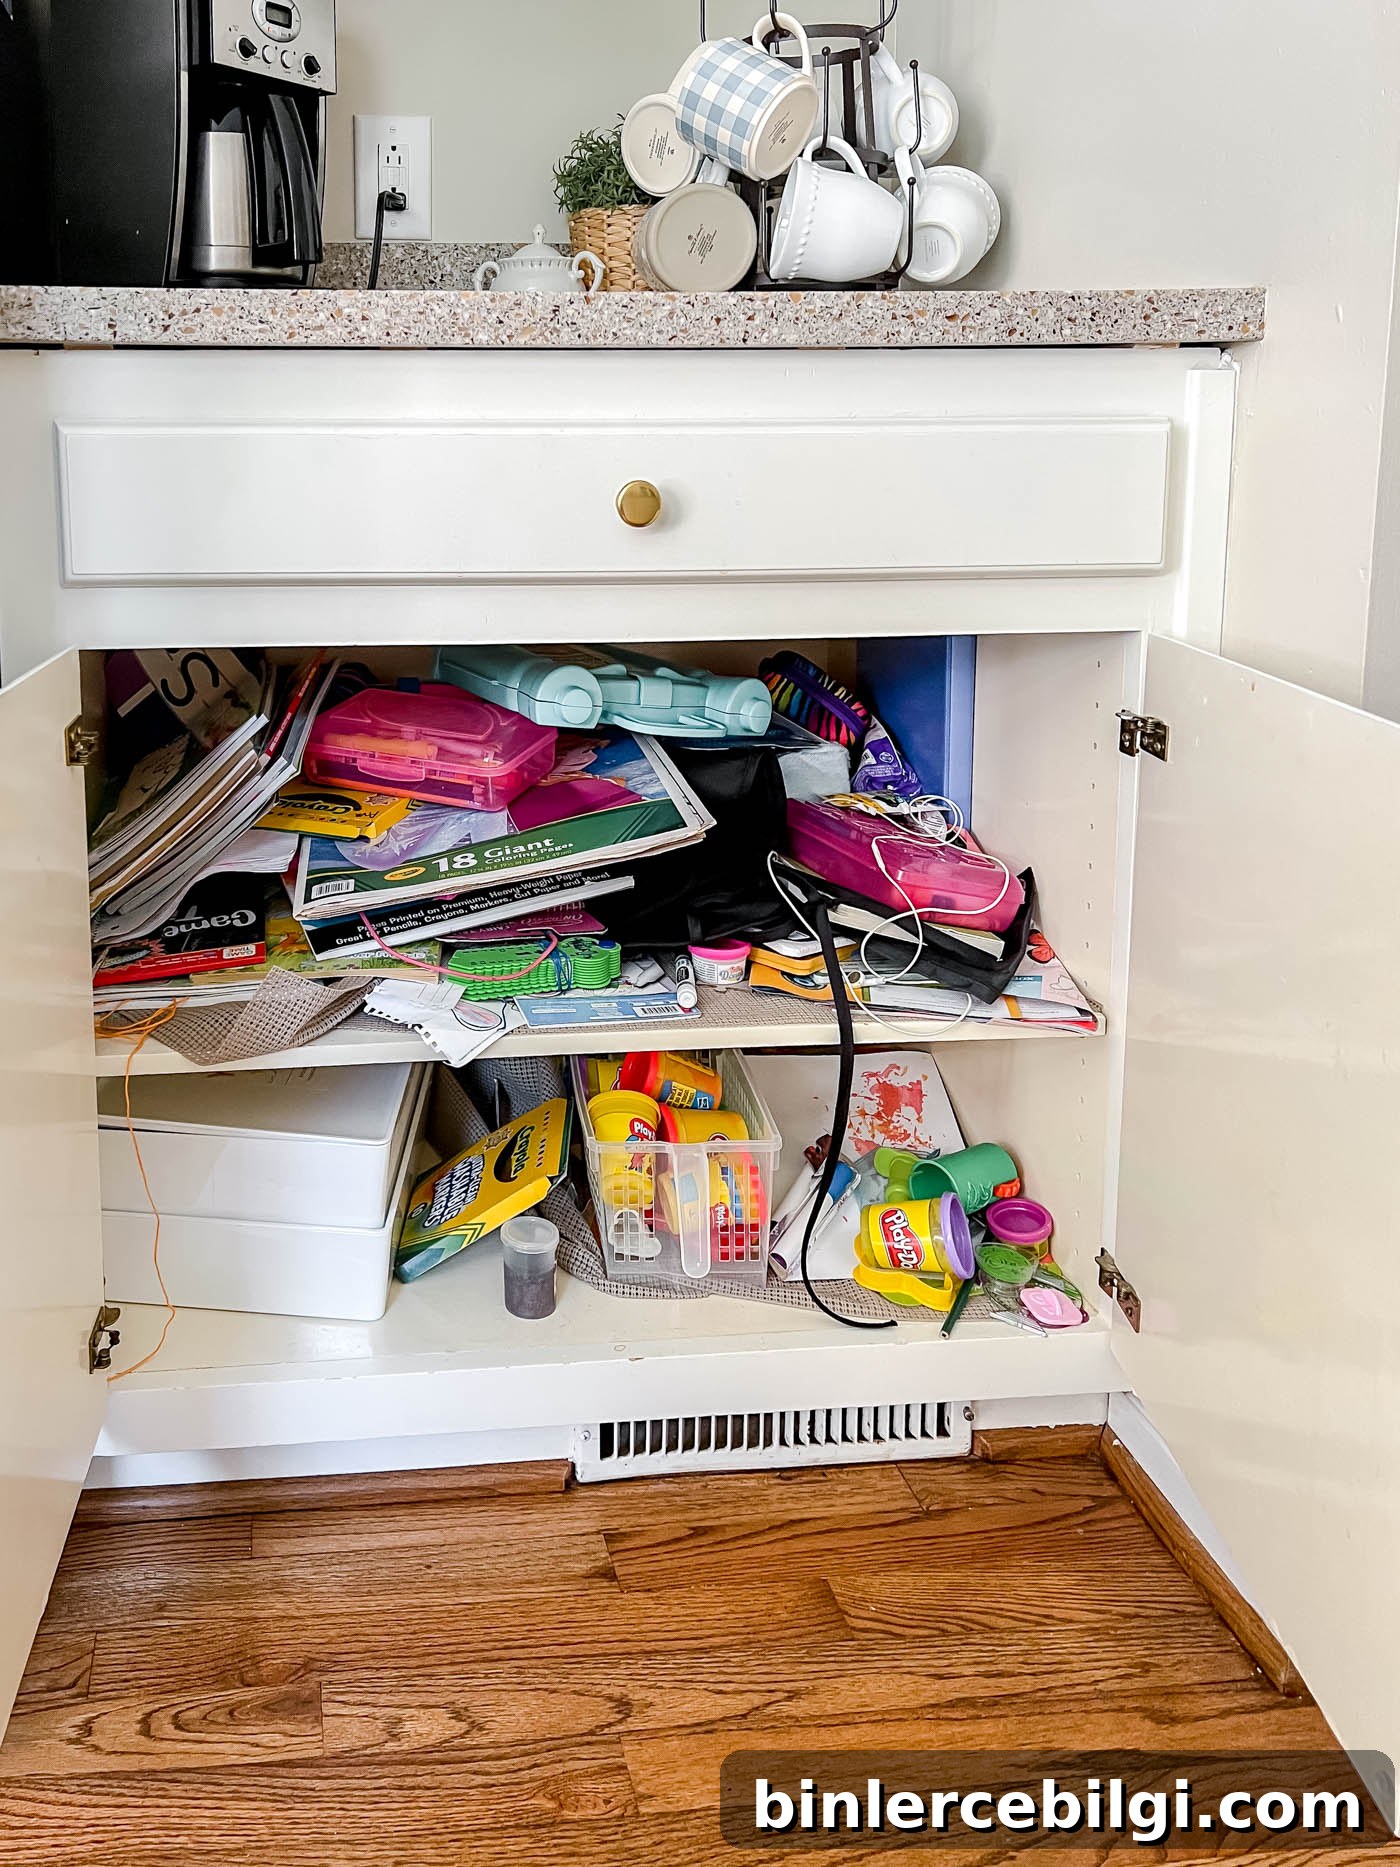
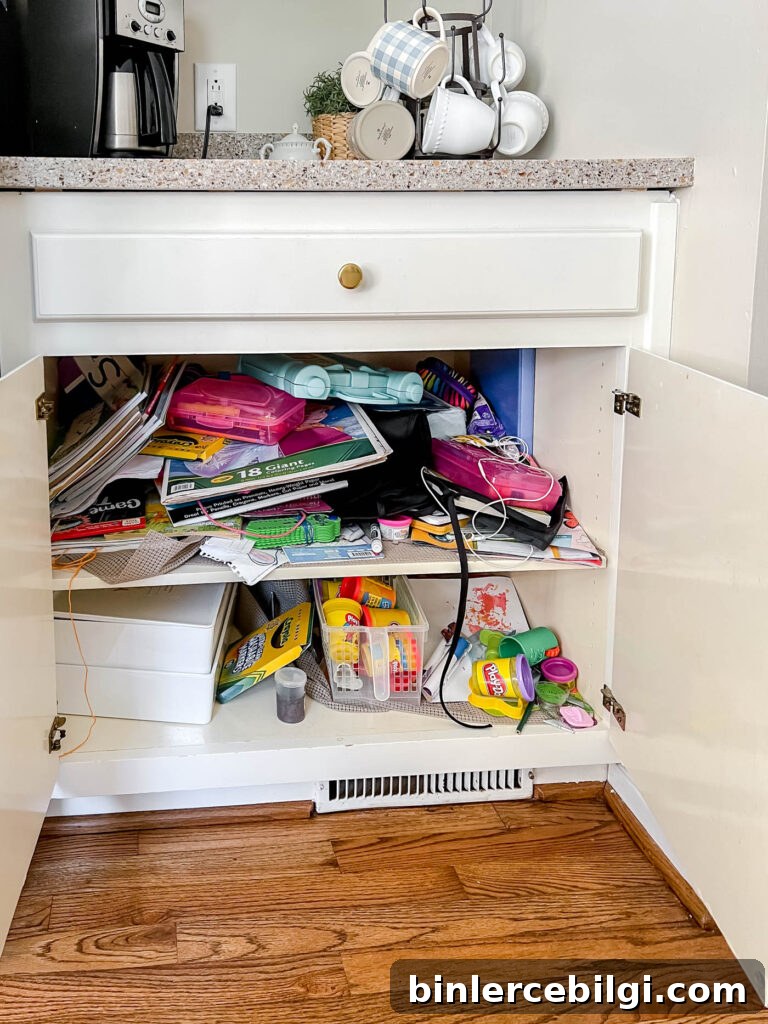
Do you have a cabinet that’s chaotic, but you simply close the doors and ignore it? That was our kids’ art cabinet in the kitchen for years. It might seem odd to store art supplies in the kitchen, but it made sense for us: the girls do most of their drawing and crafting at the kitchen table, so keeping basics nearby was practical.
Over time, the cabinet became a jumbled mess—papers teetering, markers loose, notebooks shoved in every direction. I finally decided to tackle it because every time we opened the doors I expected everything to tumble out.
This post contains affiliate links for your convenience. See my full disclosure policy.
Tips for Organizing Cabinets
Before you begin a small organization project, keep a few practical tips in mind. These will help you create a system that’s simple to maintain and actually used by the whole family.
1. Keep Categories Simple
Aim for broad, flexible categories rather than overly specific ones. For our cabinet we use categories like notebooks & coloring books, markers & crayons, games, headphones, play dough, and utensils. This keeps things adaptable—if your needs change, the categories can shift with you without requiring a whole new system.
2. Make It Easier to Return Items Than Get Them Out
Design the cabinet so putting things away is quick and effortless. Open bins or baskets where items can be dropped in make cleanup faster and more likely to happen. If returning items requires effort, they’ll be left out. A simple, easy-to-access place to drop things makes daily tidying painless.
3. Use Clear Bins
Since storage is behind a door, clear bins let you quickly see what’s inside without pulling everything out. For art supplies I prefer transparent containers so markers, glue sticks, and paper stacks are immediately visible—especially useful when kids are searching for a specific item.
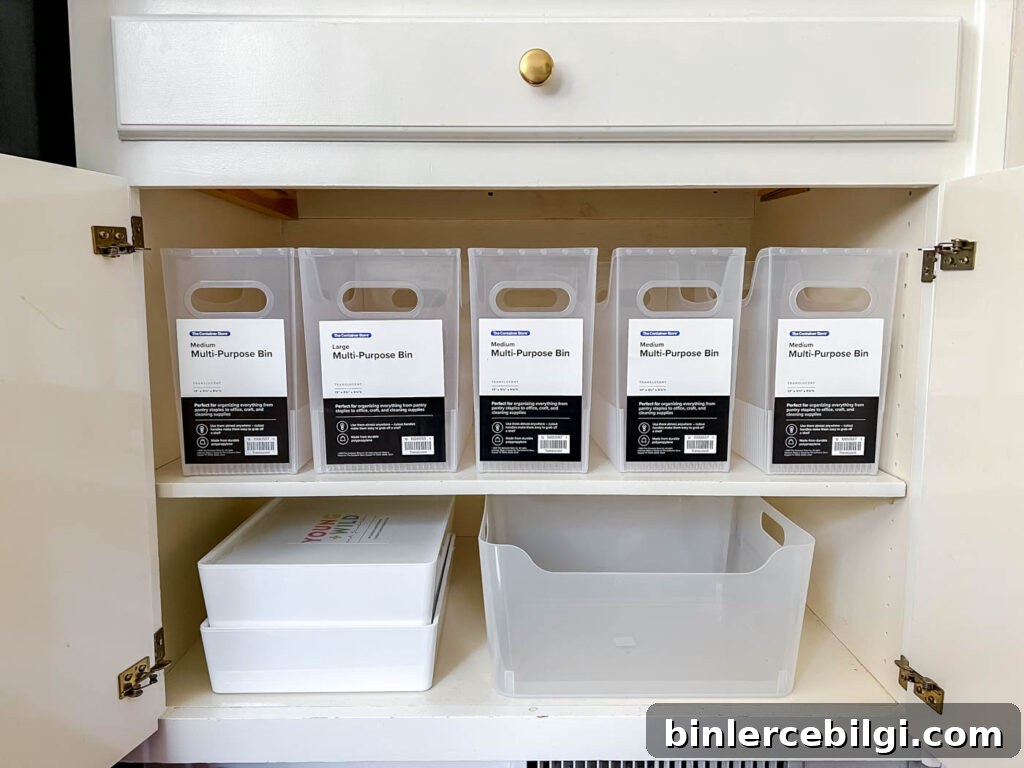
Shop favorite arts & craft organization pieces such as multi-purpose bins with handles and stackable clear tubs for paper and supplies.
I took inventory of how we actually used the cabinet: mostly books, papers, games, play dough, markers, and crayons. That guided my choice of containers. Always measure your cabinet before buying bins so they fit the shelves and allow for easy removal.
I chose tall multipurpose bins with handles to stand up notebooks and coloring books. Handles make it easy to pull a bin to the table for a project and just as easy to slide it back in the cabinet. For the bottom shelf I used clear storage tubs—also with handles—that hold stacks of construction paper, plain paper, and our utensils. One tub sits behind another to maximize space.
The result: cleanups are faster and less stressful.
Steps for Organizing Any Cabinet
When organizing a cabinet, follow these straightforward steps to get the best results:
- Pull everything out of the space. Empty the cabinet so you can see the full scope of what you have.
- Sort into similar piles. Group like items—papers, books, writing tools, games—so you know what needs a home.
- Throw away or donate what you don’t need. Remove broken or dried-out supplies and duplicate items you won’t use.
- Clean the surfaces of the cabinet. Wipe shelves and allow them to dry before replacing items.
- Organize everything into bins and containers. Use clear, labeled bins and place frequently used items at the front for easy access.
- Label. Labels remove the guesswork and help everyone put things back where they belong.
The whole process took me about 45 minutes. My daughters loved the result—my oldest called it a crafter’s dream. Best of all, having a designated place for everything makes clearing the kitchen table for dinner fast and painless.
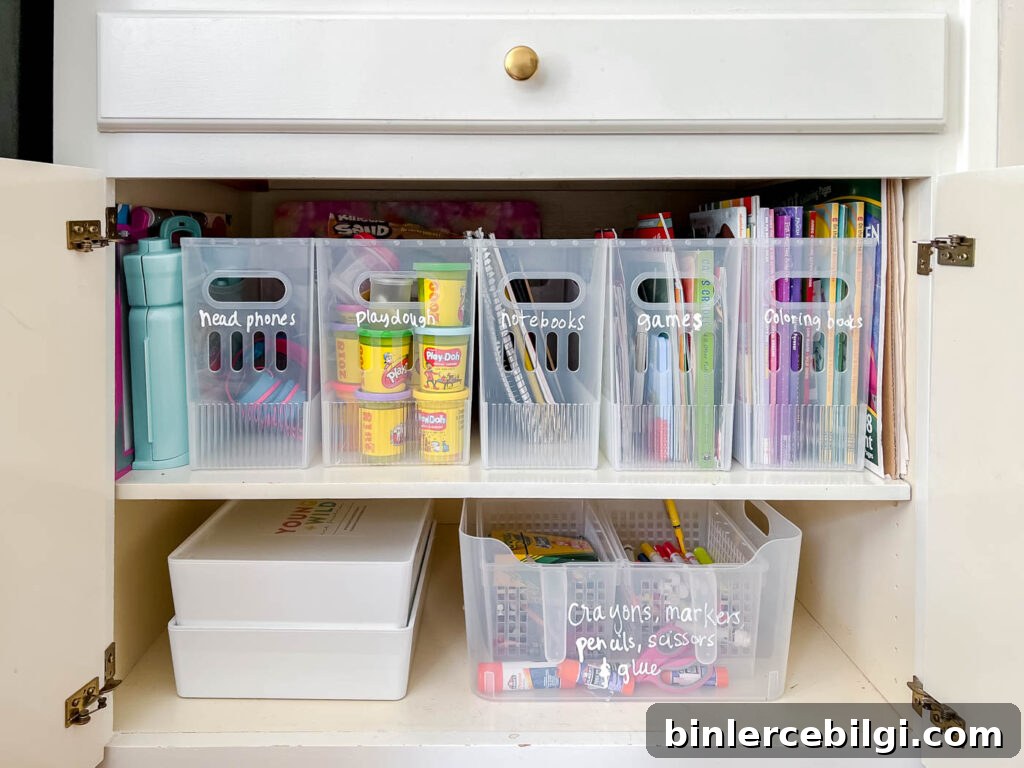
Those two boxes on the bottom left are our sensory kits from Young, Wild & Friedman. I’m waiting on a new power cord for my label maker, so for now I used a chalk marker on the bins. The marks wipe off easily when I make permanent labels, but the temporary labels already help everyone know where to put things.
Labels are a simple, powerful tool to keep a space tidy. In our home, any area I’ve fully organized and labeled—like the pantry and garage—stays tidy with minimal effort. Taking the time to create a clear system is worth it: you’ll save time daily and enjoy less stress at cleanup time.
I hope these arts and crafts storage ideas inspire you to organize one space in your home. You’ll feel accomplished immediately, and you’ll enjoy the benefits for years to come.
More Posts You Will Love:
- Organizing Kids’ Art and Memorabilia
- How To Organize Your Home in 4 Simple Steps
- My Favorite Organizing Products
- Bedside Cord Organization Ideas