
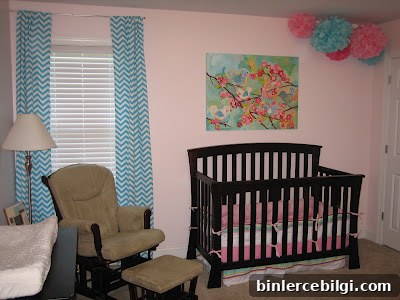
DIY Rod-Pocket Curtains for A’s Room
I finally mustered the courage to try my sewing machine, and my very first project was a set of curtains for A’s room. It felt like a small step toward creating a cozier, more finished space, but the process taught me a lot about patience and problem solving.
My initial attempt did not go smoothly. I spent a frustrating evening wrestling with the bobbin thread, which kept breaking, and by the end of the night I was ready to give up. After a good night’s sleep I decided to try once more. I undid what I had sewn, started over, and took a slower, more methodical approach. That second try made all the difference — everything finally came together.
For this project I followed a simple rod-pocket panel method. Rod-pocket curtains are forgiving for beginners because they create a soft ruffle at the top and don’t require grommets or rings. I measured the window carefully, considered the desired length and fullness, and selected a fabric that would complement the rest of the room.
Some practical things that helped me move past the early frustration: I rewound a fresh bobbin, checked that it was threaded correctly, and adjusted the machine tension slightly. I also pressed each seam as I went, which makes a huge visual difference. Taking time to pin and remeasure before cutting prevented mistakes and reduced waste. I used simple hems, reinforced the rod pocket with an extra topstitch, and trimmed loose threads as I went.
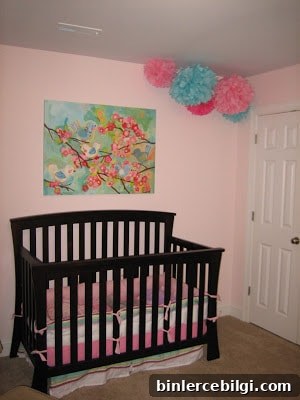
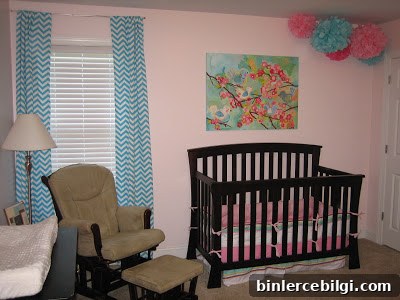
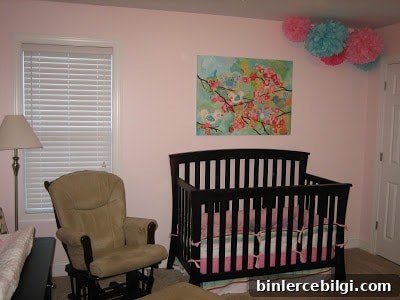
Curtains can transform a room. Before, A’s window felt bare and the walls looked unfinished. After hanging the panels, the room instantly felt warmer and more intentional. The fabric and texture add softness while still keeping the space playful and light, which suits a child’s room perfectly. The rod-pocket style gathers nicely along the curtain rod and is simple to open and close.
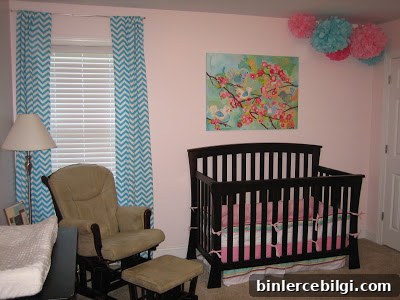
Completing this project boosted my confidence with the sewing machine. I learned that many problems have straightforward fixes: rechecking the bobbin, adjusting tension, and making sure the feed dogs and presser foot are aligned. Patience and small adjustments helped more than rushing through the work.
I’m also working on a design board for A’s room to coordinate the curtains with other elements like bedding, wall art, and lighting. The board is helping me visualize color combinations and textures so the finished space feels cohesive. It’s a fun way to plan and keep the overall design moving in the right direction.
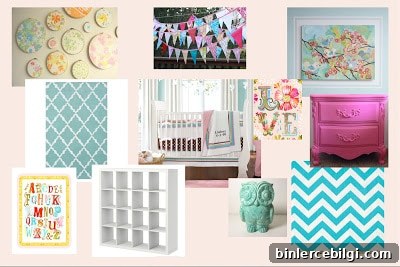
If you’re considering making your own curtains, start simple: choose a forgiving pattern like rod-pocket panels, prewash your fabric, measure twice, and press as you go. Small projects like this are a great way to build sewing skills and make meaningful changes to a room without a large investment. I’m excited to keep refining techniques and working on more pieces for A’s space.
If you enjoyed this update and found it helpful, please consider pinning it to save the idea. Have a wonderful day!