
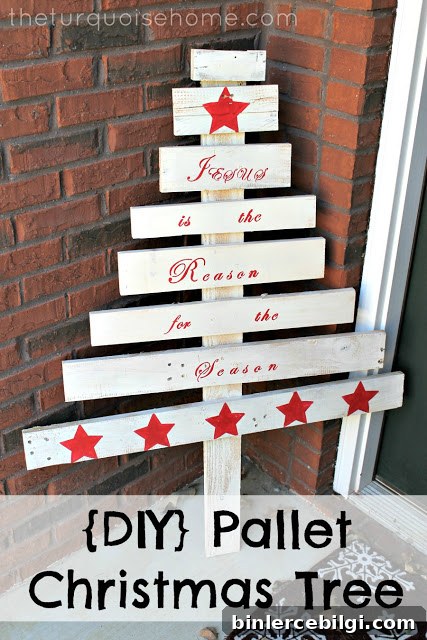
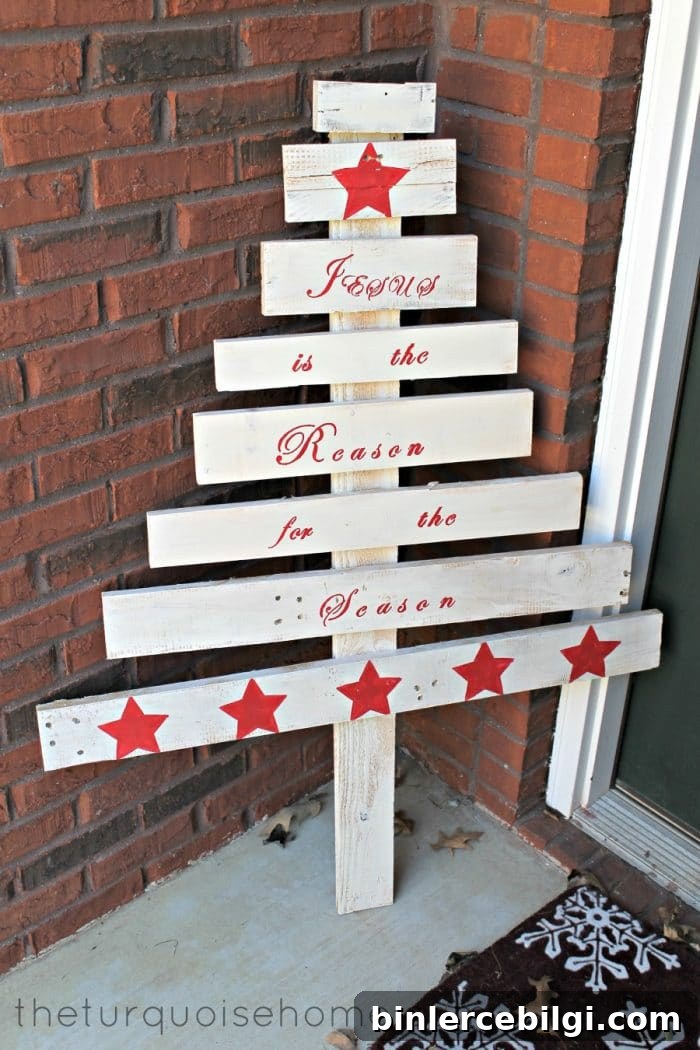
Make this easy DIY pallet wooden Christmas tree before the holidays end. I put this together in under 30 minutes using scrap wood from my garage.
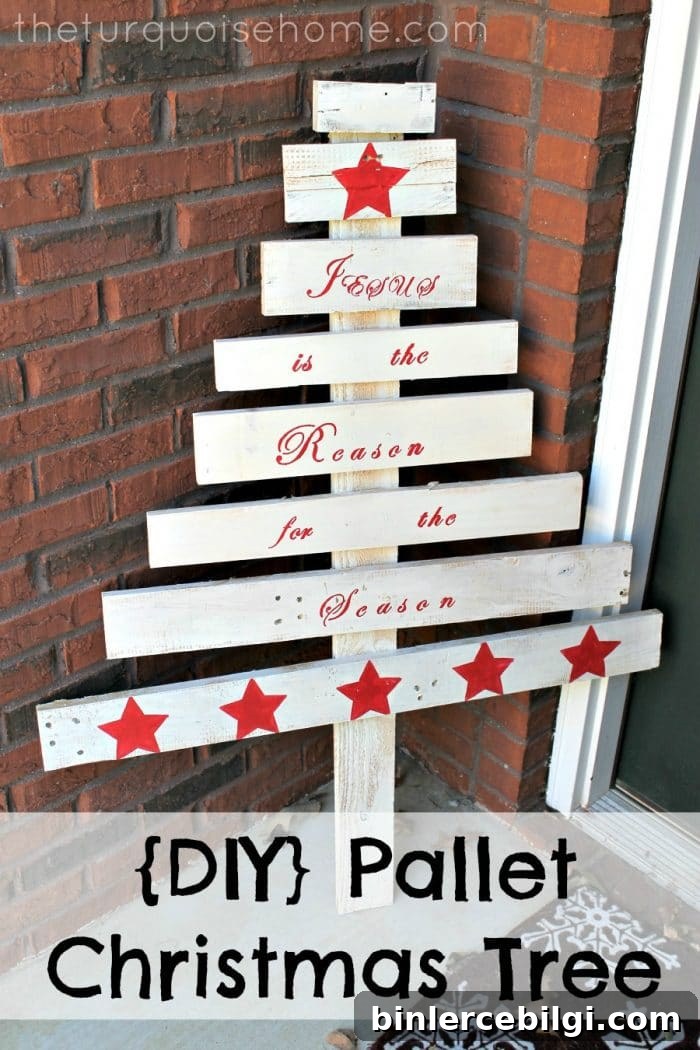
A friend shared a pin with me months ago and when she visited in early December we made one for her. I had my pieces laid out for weeks and finally assembled mine the night before a get-together — perfect for last-minute decorating.
Power Tools You’ll Need
- Drill (with countersink bit)
- Miter saw or circular saw for cutting boards
- Reciprocating saw (only if you need to break down old pallets)
- Orbital sander or sanding block
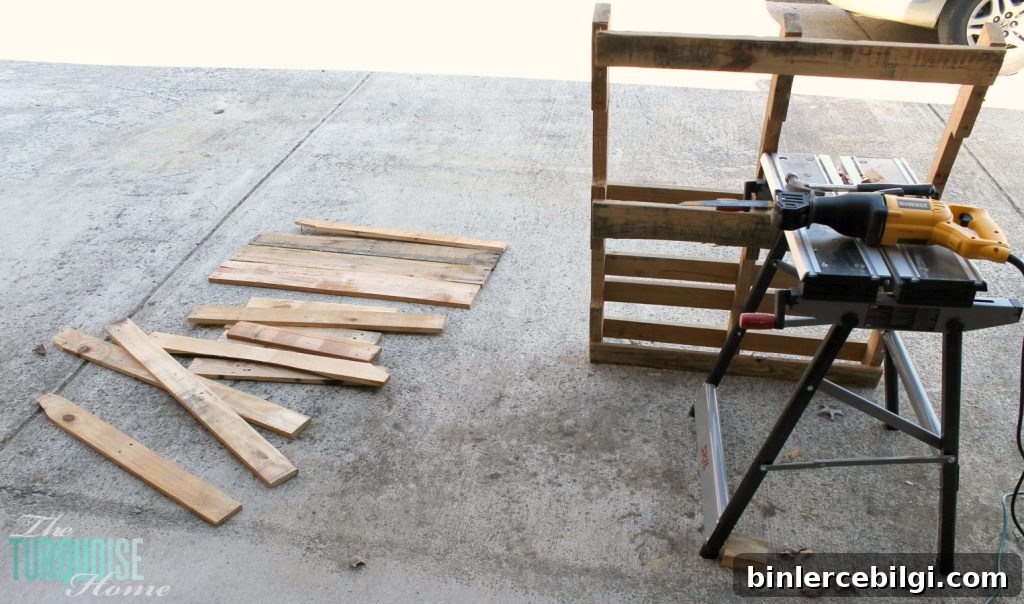
Supplies You’ll Need
- Reclaimed wood planks (length and width are up to you)
- Background paint or wood stain (choose a base color)
- Accent paint for stencils or decorations
- Screws long enough to go through the front boards into the backer board
- Wood glue for stronger joints
- Lettering stencils (if you plan to add a message)
- Stencil brushes for clean painted letters
- Outdoor sealer if you plan to place the tree outside
How to Make a DIY Pallet Christmas Tree
1. Cut the Boards
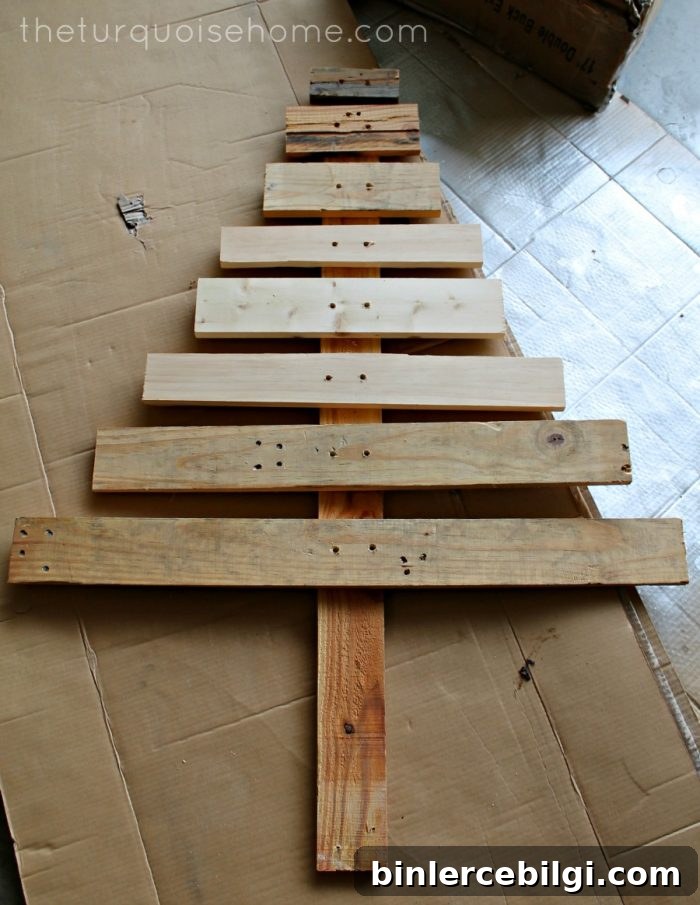
Start by cutting a main backer board to the height you want — mine is about 4 feet. Next, cut the front “branches” to staggered lengths so they form the triangular tree shape. I used eight boards ranging from about 2 feet for the widest row down to 6 inches for the top. Most of my pieces were leftover scrap wood; I only trimmed a few to size.
2. Sand the Boards
Give each board a quick sanding to remove splinters and rough edges. An orbital sander speeds this up, but a sanding block works fine. Smooth edges make the finished tree safer and more polished.
3. Attach the Boards
Lay the front boards across the backer board, spacing them to form the tree silhouette. Apply wood glue to each joint, clamp if possible, then pre-drill and countersink screw holes so screws sit flush. I left the screws visible on the front for a rustic look, but you can drive screws in from the back to hide them. If your nail gun isn’t working, drilling and screwing is perfectly fine.
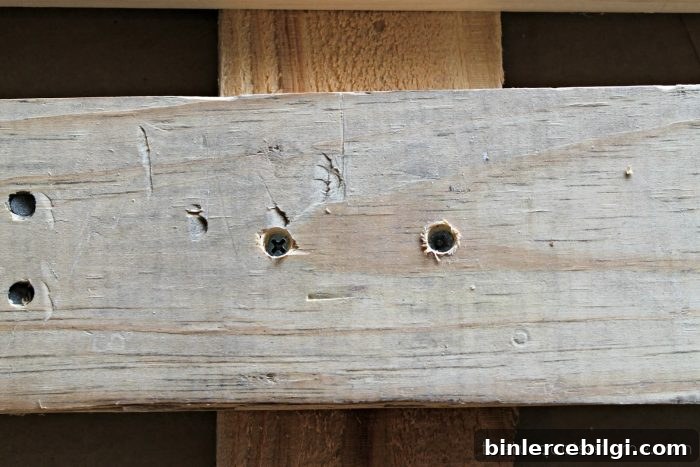
Fill any visible screw holes with wood putty and let it dry. Lightly sand the putty once set to blend it with the wood.
4. Paint or Stain the Wood Christmas Tree
Choose whether to stain for a natural finish or paint for a more graphic look. I brushed on a quick coat of Antique White paint that I had on hand — it only took about ten minutes. You can leave the base plain or distress it slightly for a vintage feel. Allow paint or stain to dry fully before moving on to stencil work.
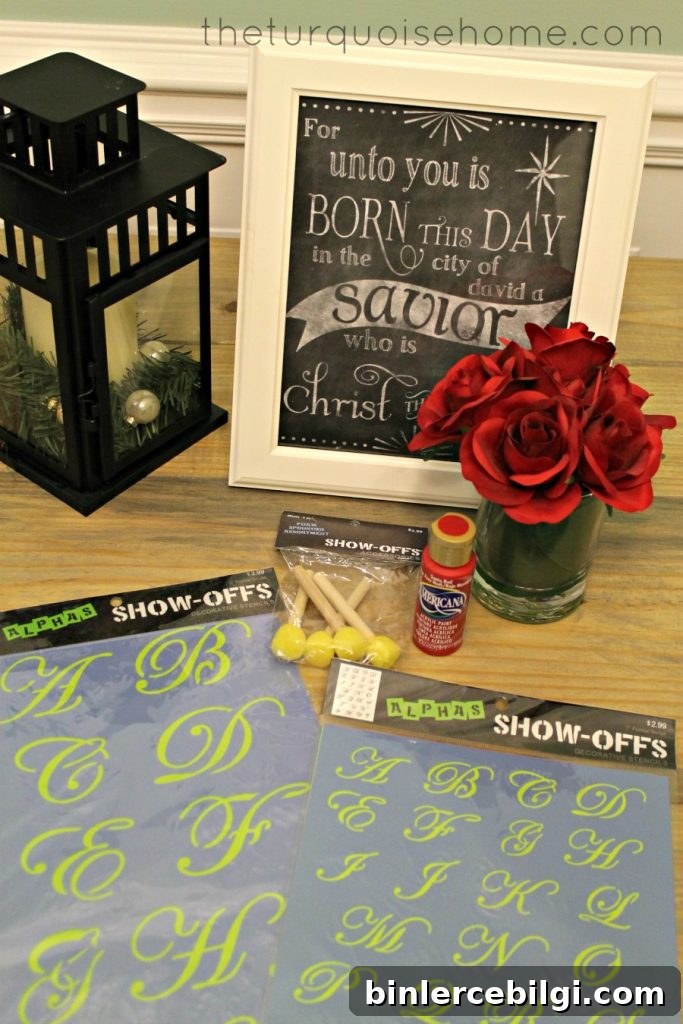
5. Stencil Decorations or a Holiday Message
Stenciling adds personality — I painted a red star at the top and stenciled “Jesus is the Reason for the Season” down the front planks. Use stencil brushes or a foam pouncer and apply paint lightly to avoid bleed. You don’t need perfect centering; a relaxed, handmade look is part of the charm.
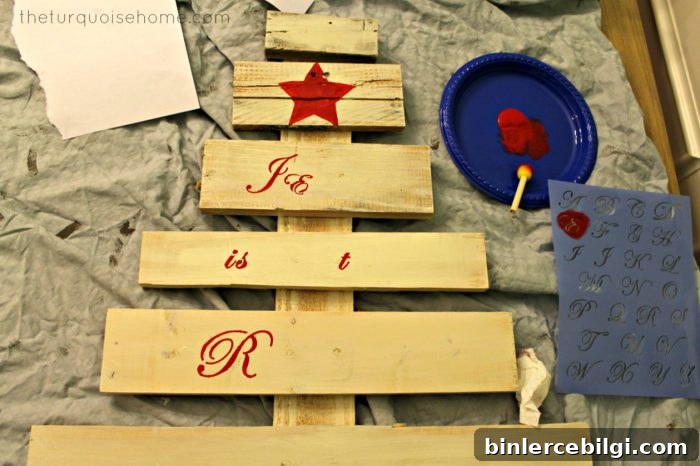
Other stencil ideas include simple phrases, numbers for an advent countdown, or small motifs like stars and snowflakes. Let each paint layer dry before adding details or a seal coat.
6. Display the Rustic Christmas Tree
Place your finished tree by a doorway, on a porch, or leaning against a wall. I wrapped a string of lights around the front like garland so it glows after dark. If the tree will be outdoors, apply an outdoor sealer to protect the paint and wood from weather.
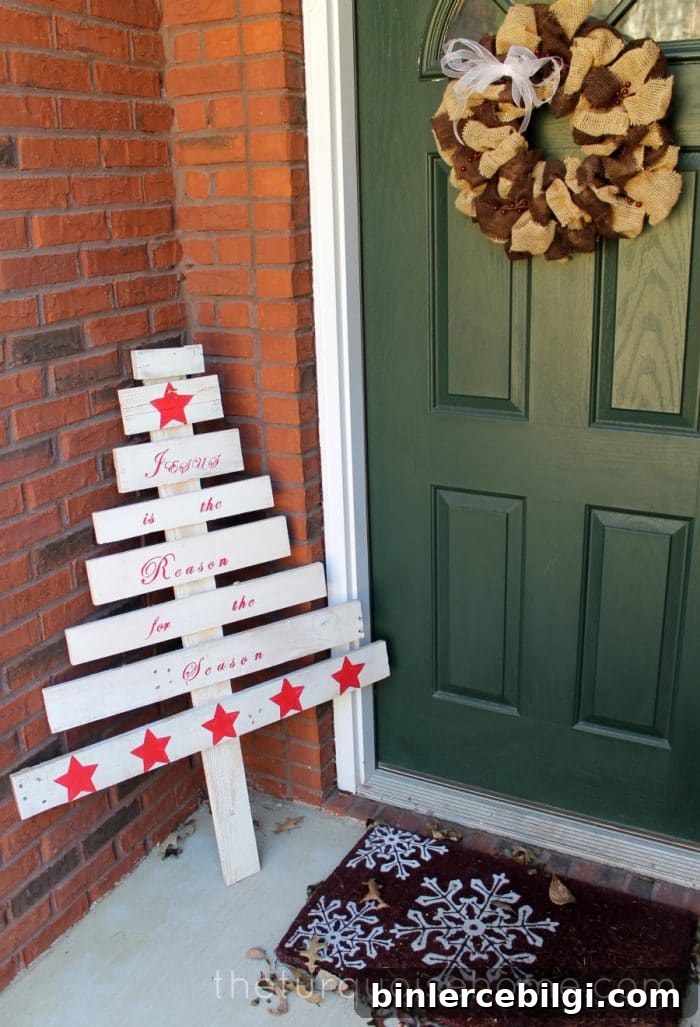
This project is a gentle reminder of the season for me. It was nearly free since I used scrap wood and only bought stencils and a small amount of paint. You can customize it in so many ways — hang ornaments, attach clothespins for an advent idea, or top it with a handmade embellishment.
Final Thoughts
I love how simple and charming this pallet wood Christmas tree turned out. It’s a fast weekend project that makes a big visual impact and invites creativity. Consider adding hooks for hanging ornaments, a small shelf for seasonal decor, or pockets for daily advent notes. Weatherproofing with a sealer makes it suitable for covered porches too.
If you build one, I’d love to see your version — tag @turquoisehome on Instagram to share your creation and variations.
More Posts You Will Love:
- DIY Christmas Decorations on a Budget
- Red, White and Gold Christmas Decor
- How To Decorate With Christmas Bells (7+ Must-Try Ideas)
- The Most Beautiful Christmas Tree Decorating Ideas
- 40+ Amazing DIY Christmas Gift Ideas