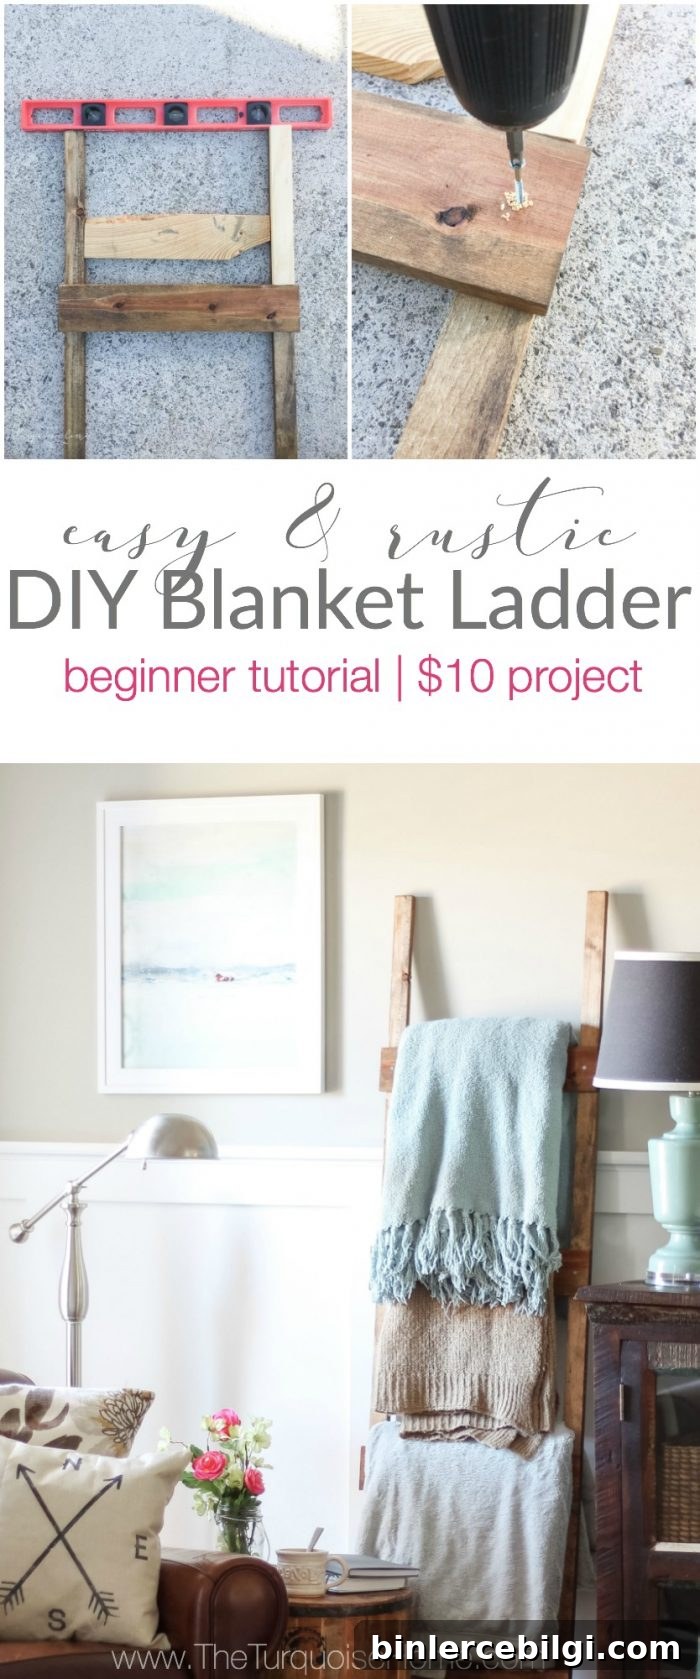
Build an easy DIY blanket ladder that stores and displays blankets neatly while adding simple farmhouse charm to your home. This quick, affordable project uses basic lumber and tools—total cost can be under $10 and it takes less than 30 minutes of assembly once pieces are cut.
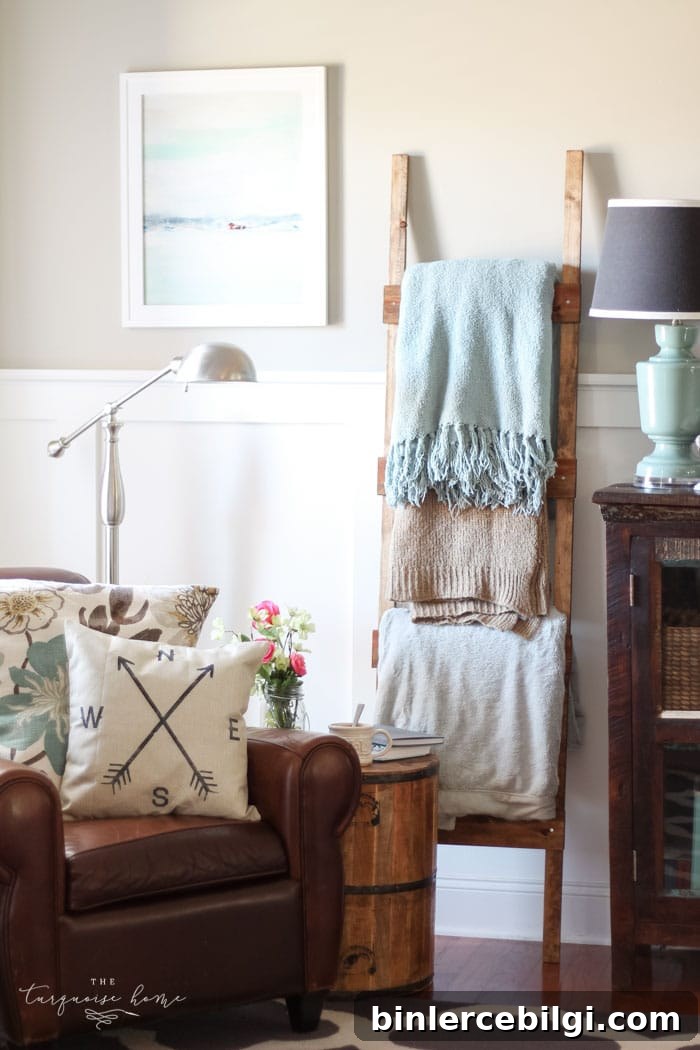
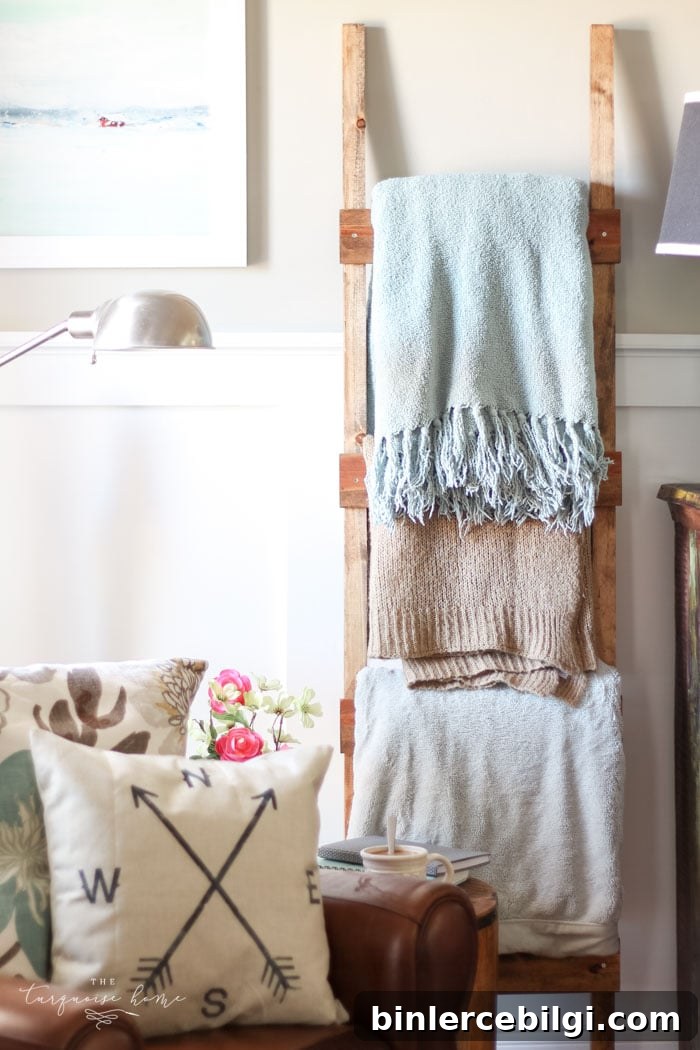
I’d been wanting a blanket ladder for a while and finally made one myself. It was a simple build and I kept asking myself why I waited so long. This ladder is both decorative and functional—perfect for displaying throws, quilts, or towels in a bathroom, living room, or bedroom.
The materials are minimal and inexpensive. I counted the cost of lumber even though I already had one of the boards on hand; if you need to buy everything, total material cost is often below $10. With basic tools and a few simple steps, you can have a rustic-looking ladder to lean against a wall or tuck into a corner.
Supplies You’ll Need for a DIY Blanket Ladder
- 2 × 1 x 2 x 72 boards. These will be the ladder sides. If you buy them at this length, verify they are equal length and straight.
- 1 × 1 x 4 x 96 board. This board will be cut into rungs. You only need about 6 feet of material for six rungs, but an 8-foot board gives extra margin for cuts and mistakes.
- Drill and a basic set of drill bits (for pre-drilling holes).
- Circular saw or miter saw. A miter saw makes straight, repeatable cuts easier, but a circular saw works too.
- Wood screws (1 to 1.5 inch wood screws are ideal).
- Tape measure or ruler for accurate spacing and cuts.
- Wood glue (optional for extra strength).
- Paint brush or foam brush for stain or paint application.
- Stain or paint in your preferred finish and color.
- Some scrap wood pieces to use as spacers or guides (optional).
Note: When buying lumber, lay boards on a flat surface in the store to check for warping. Straight boards make the build much easier and yield a neater ladder.
How to Build a DIY Blanket Ladder
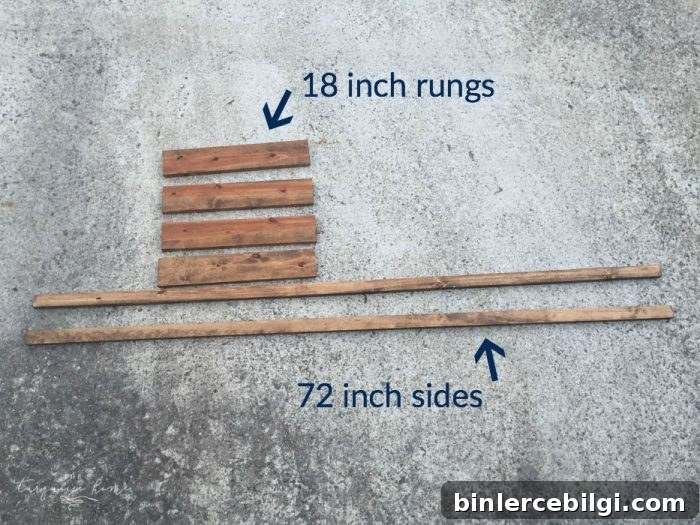
Step 1. Cut the 1 x 4 x 96 into 18-inch pieces for rungs.
Measure and cut the 1 x 4 into equal 18-inch lengths to form the ladder rungs. These are comfortable for folding blankets over and create a balanced look. Make sure each cut is square so the rungs sit flush against the ladder sides.
Step 2. Sand all wood pieces to remove rough edges.
Smooth any splinters or sharp corners so your blankets won’t snag. Start with a medium-grit sandpaper and finish with a finer grit for a pleasant, soft surface. Wipe the dust off before staining or painting.
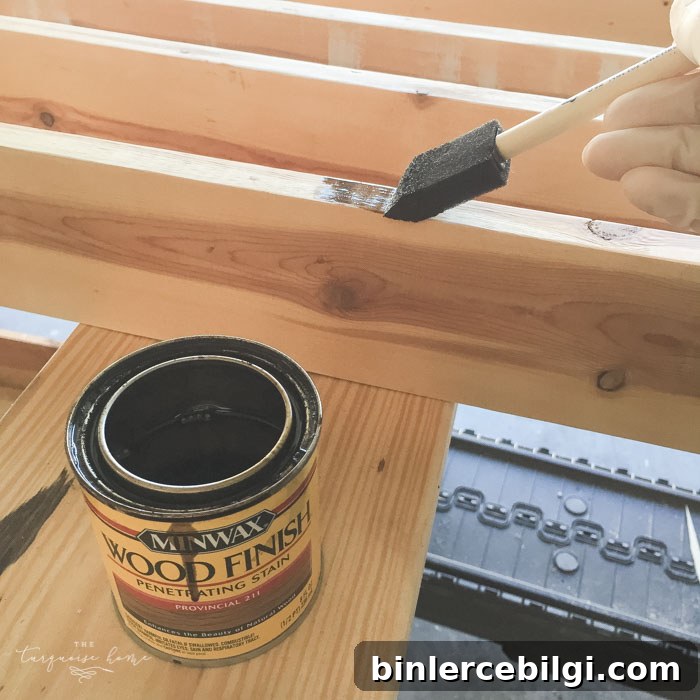
Step 3. Apply stain or paint and allow to dry.
Choose a finish that complements your decor. I stained mine with Minwax Provincial, which created a warm farmhouse look, but darker or lighter stains work equally well. Allow stain or paint to dry fully—often a day or two—before assembly to avoid odors and smudging.
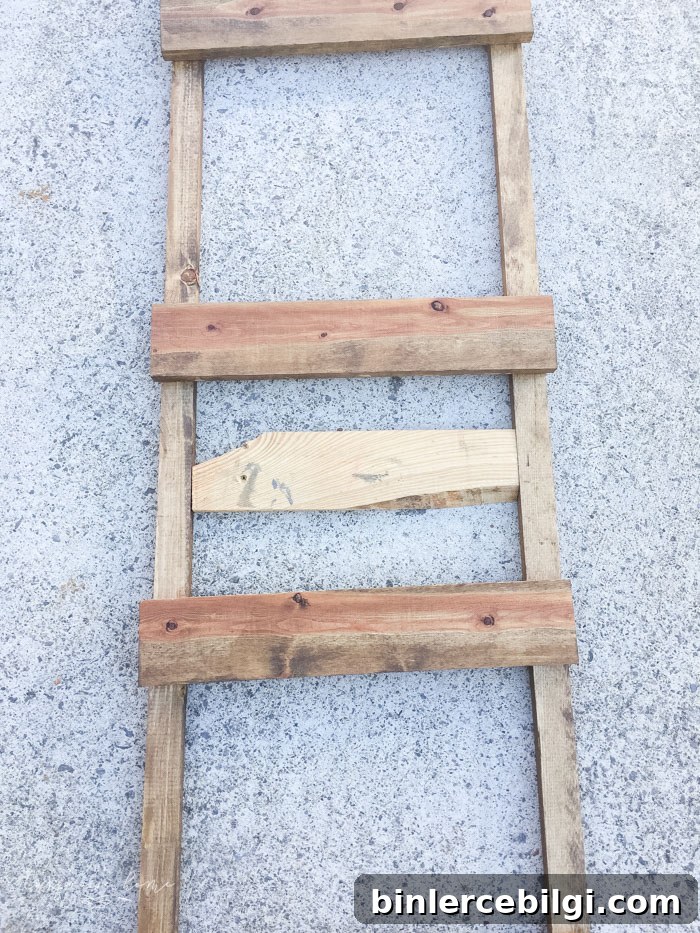
Step 4. Lay the ladder sides flat on a level surface.
Work on a perfectly flat surface so rungs align straight. A driveway can be uneven—use a garage floor or workshop bench if possible. Keeping pieces level during assembly ensures a professional-looking final result.
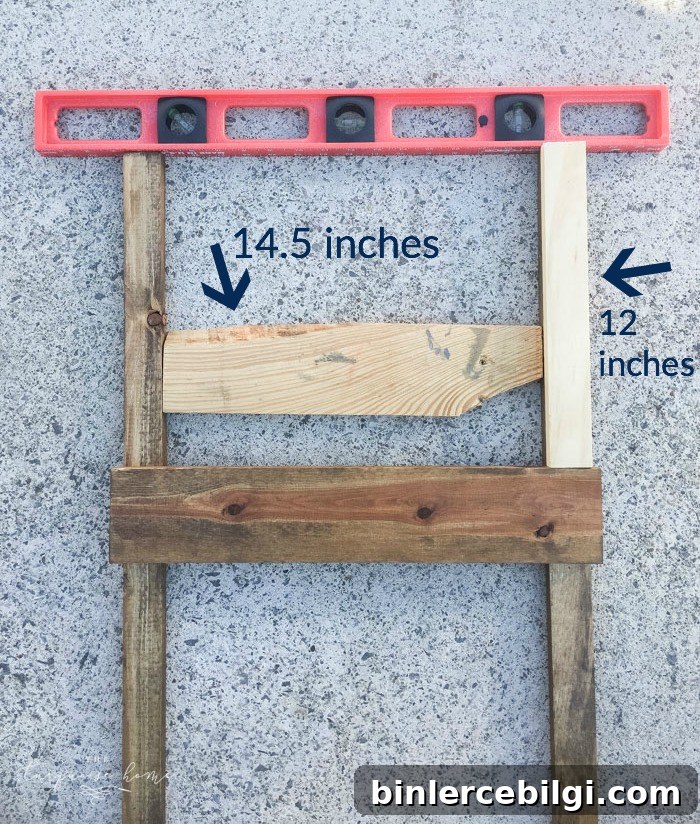
Step 5. Make simple guides from scrap wood for consistent spacing.
Cut scrap pieces to act as spacers so each rung sits at the same distance from the next. For my ladder I used a 14.5-inch spacer to fit between the side rails and a 12-inch spacer to set the vertical distance from the top rung to each successive rung. Consistent spacing improves both function and appearance.
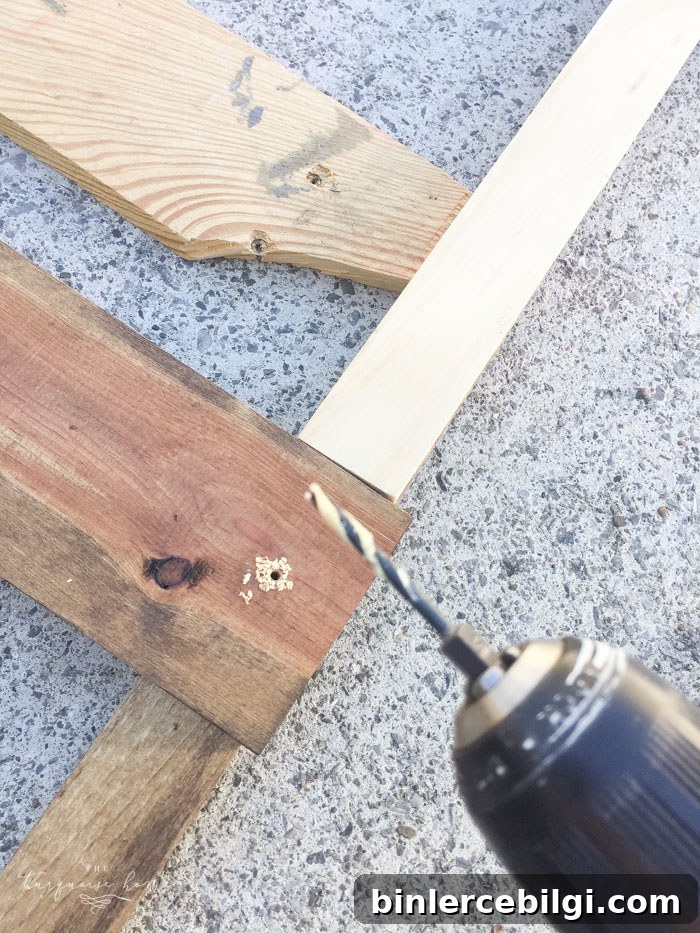
Step 6. Pre-drill pilot holes to prevent splitting.
Set each rung in place, then pre-drill pilot holes before driving screws. Pre-drilling keeps the wood from splitting and helps screws go in straighter. A small drill bit matching the screw core diameter works best.
Tip: Use two screws per rung—one on each side of the rung—so it’s more stable. I recommend placing screws near the edges of the side rails to keep rungs secure.
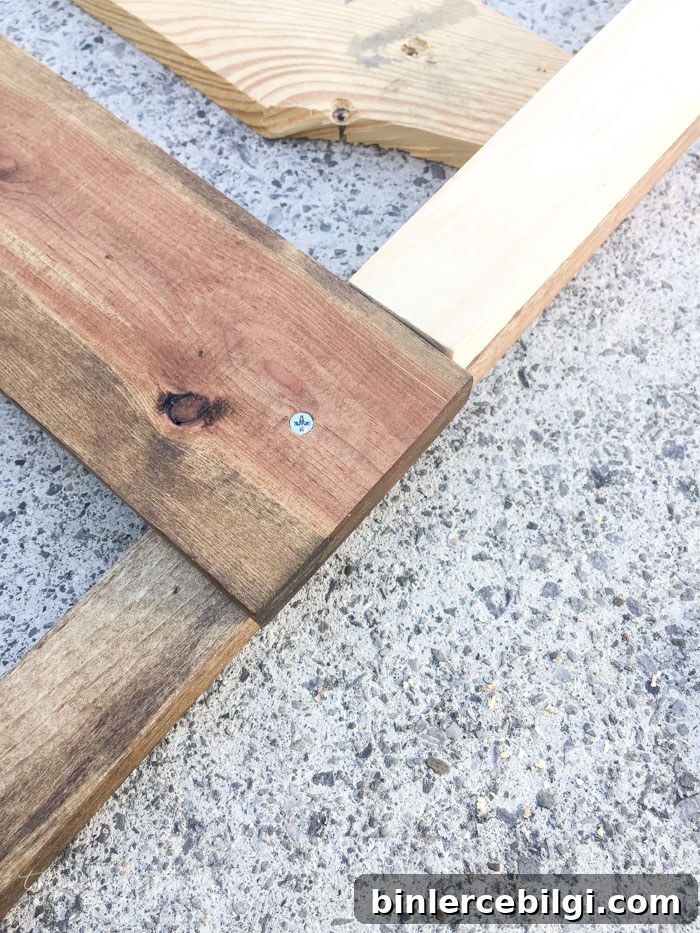
Step 7. Fasten each rung with wood screws.
Drive 1 to 1.5 inch wood screws through the pilot holes to attach the rungs. If you used wood glue, clamp or hold pieces briefly while the glue sets. Double-check that each rung is level before fully tightening screws.
Step 8. Finish assembly and style your ladder.
Repeat the placement, pre-drilling, and screwing for each rung until the ladder is complete. Once assembled, lean it against a wall or over a mantel and drape blankets across the rungs. This ladder adds texture and farmhouse-style charm to any room while keeping blankets organized and within reach.
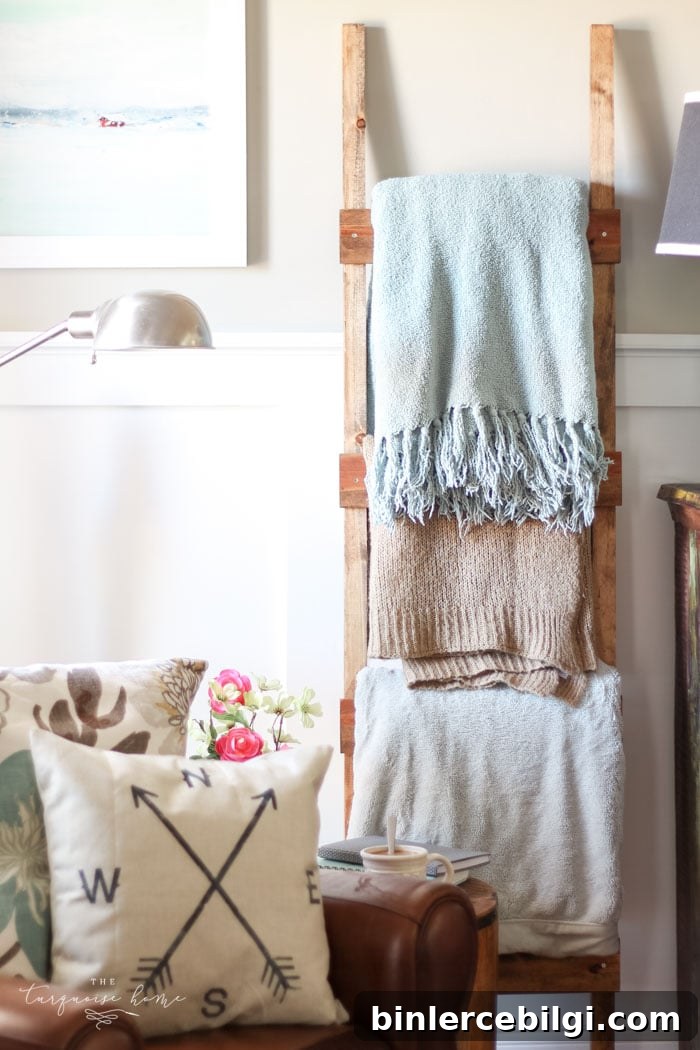
Now fill it with your favorite throws and enjoy the new focal point in the room. The project is forgiving, fast, and makes a big visual impact. Whether you lean it in a living room corner, by a reading chair, or in a bathroom for towels, this DIY blanket ladder is a practical and decorative addition.
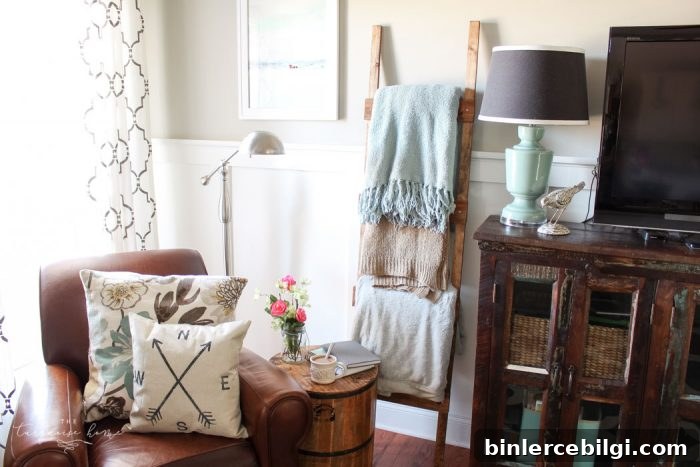
With basic materials, a few tools, and a little time, this project is well within reach even for beginners. Give it a try—you’ll have a charming, functional ladder that enhances your decor and stores blankets neatly.