
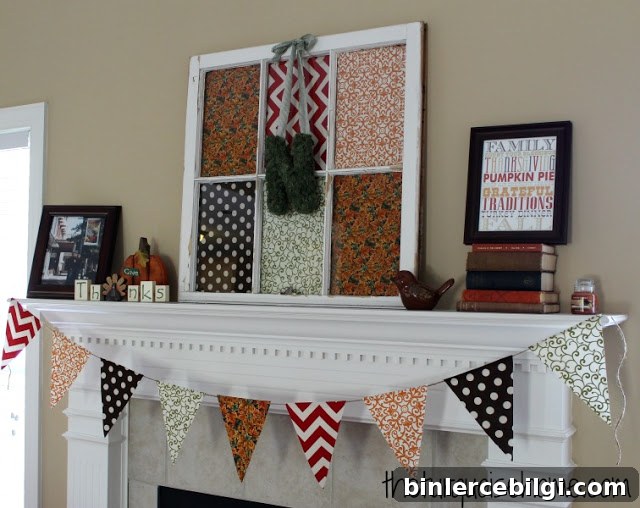
Learn how to make a simple DIY bunting using just a few basic craft supplies. It’s a quick, affordable way to use fabric scraps and add charming seasonal or everyday decor to a mantel, wall, or doorway.
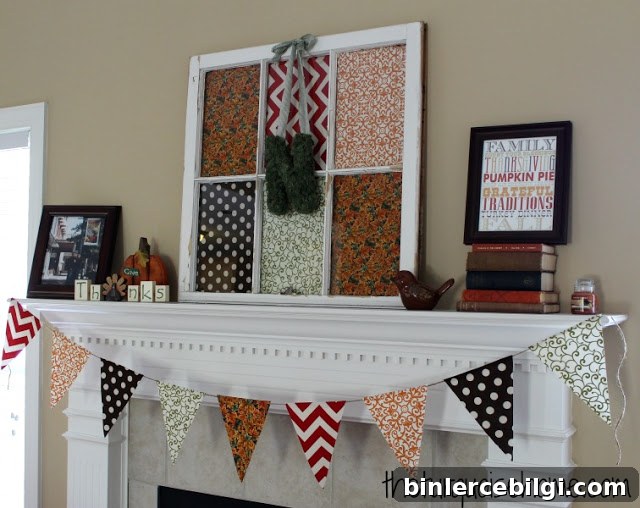
I promised to share the bunting I used on my fall mantel. This project is straightforward and beginner-friendly — perfect if you want a handmade touch without sewing. Below is a clear step-by-step tutorial, plus tips to adapt the bunting for different looks and spaces.
Supplies Needed to Make Bunting
- Jute, string, or ribbon long enough to span the space where you’ll hang the bunting
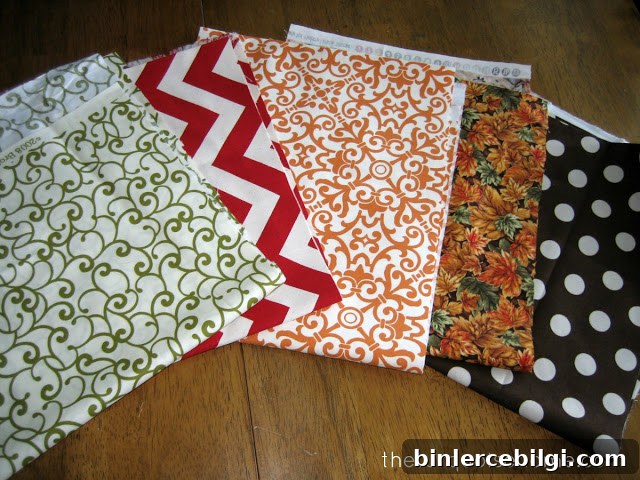
- Fabric scraps or fat quarters in coordinating colors and patterns
- Graph paper or plain paper for a template (optional)
- Card stock or thin cardboard to make a sturdy template
- Hot glue gun and glue sticks
- Ruler or measuring tape
- Iron and ironing board
- Scissors or a rotary cutter
Instructions for Making DIY Bunting Decor
1. Make a Template
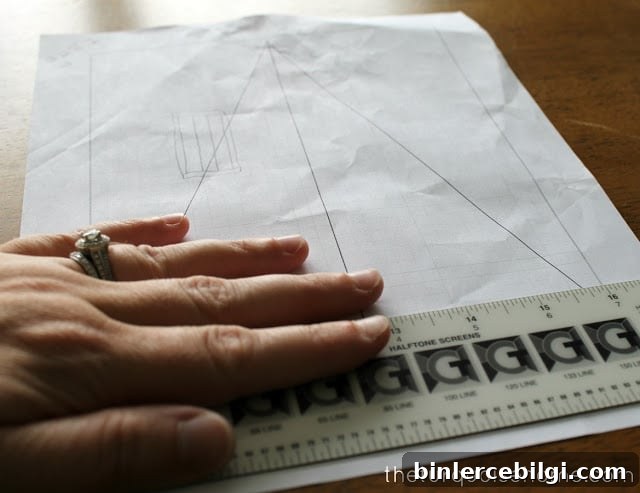
Start by creating a paper template. I used graph paper because the grid makes measuring easier, but any paper will work. Measure 7 inches across for the top width of each flag. From the middle of that top edge, measure 9 inches down to form the point and draw a triangle shape.
Add about 1 inch to the top edge to create a flap that will fold over the jute or ribbon. The flap can be slightly narrower than 7 inches so it folds cleanly. Cut the shape out of paper, then trace it onto card stock or thin cardboard and cut that out — this makes a sturdy template you can reuse for all the flags.
2. Cut Out Fabric with the Template
Lay your fabric pieces flat and trace the card-stock template on the wrong side of the fabric. Cut carefully around the template. If you want a double-sided flag, cut two matching pieces and place them wrong sides together with the flap edges aligned. For a no-sew version, single-layer flags with a folded flap work well.
3. Iron Down the Top Flap
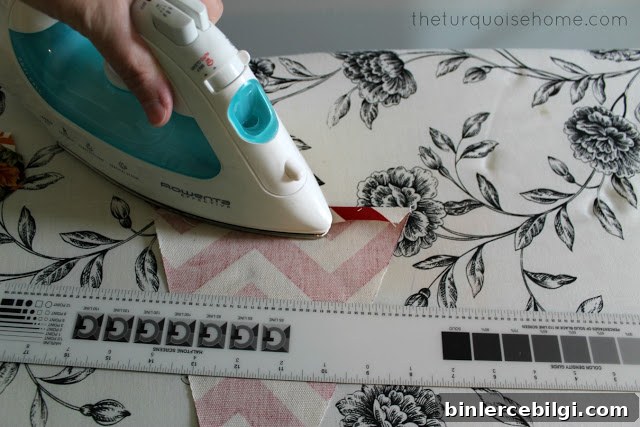
Press each flag with an iron to remove wrinkles and to create a crisp fold for the top flap. Use a ruler or bone folder to crease the flap before ironing: place the ruler along the fold line and press the fold with the iron, pulling the ruler away as you go to keep the crease straight. This results in a neat edge that will fold over the jute cleanly.
4. Attach the Flags to the String or Jute
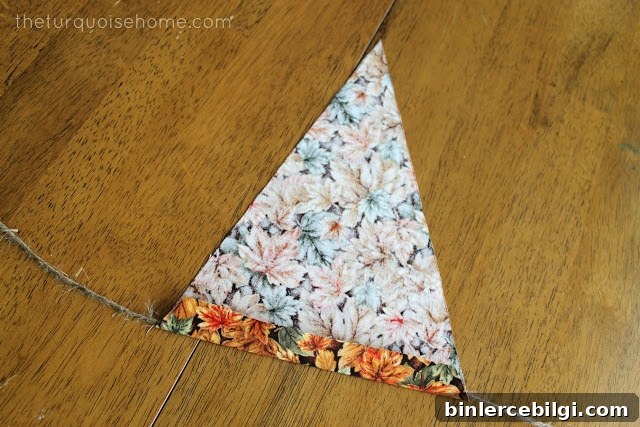
Lay the jute or ribbon along a flat surface and position the top flap of a flag over it. Run a thin line of hot glue along the underside of the flap, press it down over the jute, and hold until the glue sets. Work in small batches so the glue doesn’t set before you position the flag. Repeat for each flag, spacing them evenly.
For spacing, a good guideline is 3 to 6 inches between flags, depending on how full you want the bunting to look. If you need to reposition flags, use a fresh glue line rather than trying to pull up and re-stick a cooled glue seam.
Finishing and Hanging Tips
Once all the flags are attached, trim any excess jute at the ends and add small loops or ties for hanging. If the jute frays, a dab of glue or a touch of clear nail polish on the cut ends will help prevent unraveling.
Hang your bunting on a mantel, above a doorway, or across a window. It’s easy to change the look by switching fabrics: use fall tones for autumn, pastels for spring, or bold prints for parties and celebrations.
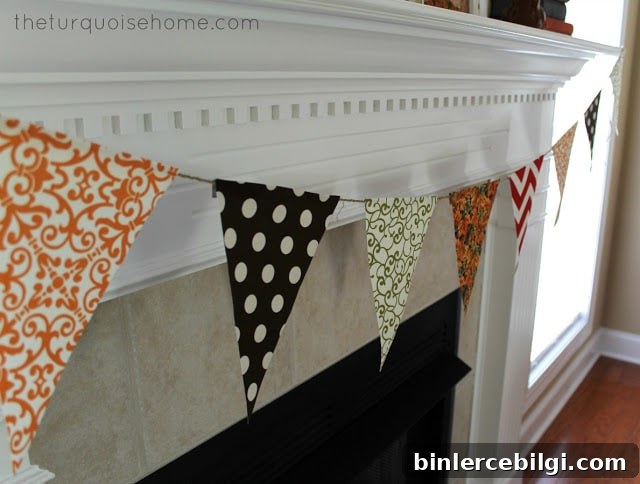
I loved how mine looked on the mantel and plan to make a smaller version for Miss A’s room. This no-sew fabric bunting is fast to make, customizable, and a great way to use leftover scraps from other projects.
More posts you might enjoy:
- DIY Rag Garland for Spring
- How to Make a Felt Garland + Valentine’s Day Chalkboard
- How To Hang Garland On the Stairs