
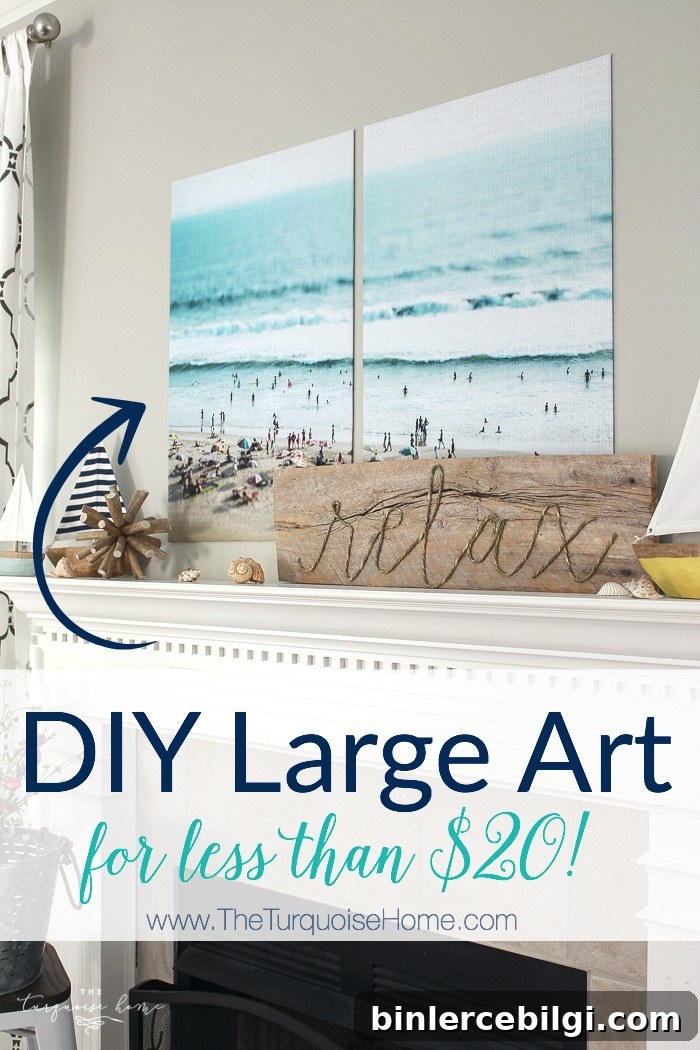
Color engineer prints offer an affordable way to achieve bold, large-scale wall décor. I created a striking pair of prints for my mantel without spending much—an easy DIY that looks high-end on a budget.
When I began planning my summer mantel, I wanted a bright horizontal focal point that delivered a big dose of color. I had some vertical abstract DIY art, but the mantel needed something wide and horizontal. Framing a large print felt expensive, and building a custom frame wasn’t the look I wanted this time. I started exploring budget-friendly alternatives and discovered color engineer prints as the perfect solution.
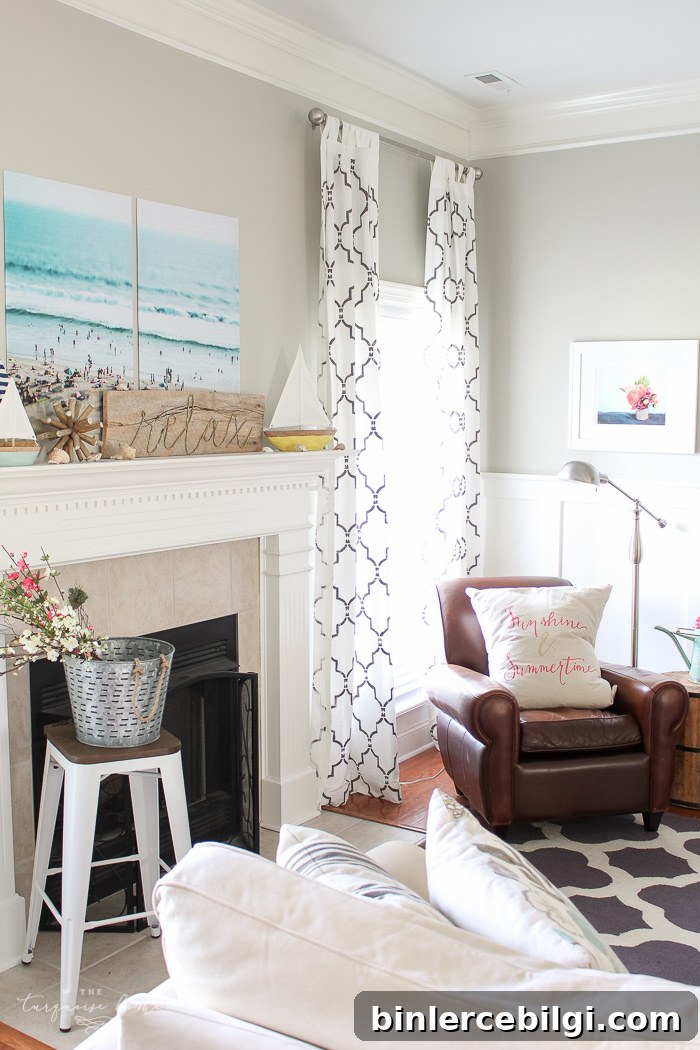
At first I searched through my vacation photos without finding a strong candidate for a horizontal display. Then I remembered a split-photo wall art idea and realized I could get large-format prints called engineer prints from copy shops. Engineer prints are often offered in black-and-white at very low cost, but many print shops also provide color engineer prints for just a few dollars more. With that discovery, this project came together.
I purchased a downloadable, colorful beach image from an independent photographer and had it printed as a large color engineer print at my local copy center. I ordered a single 36″ x 48″ color engineer print and picked it up the next day. The result was a lightweight, inexpensive sheet perfect for mounting on foam board.
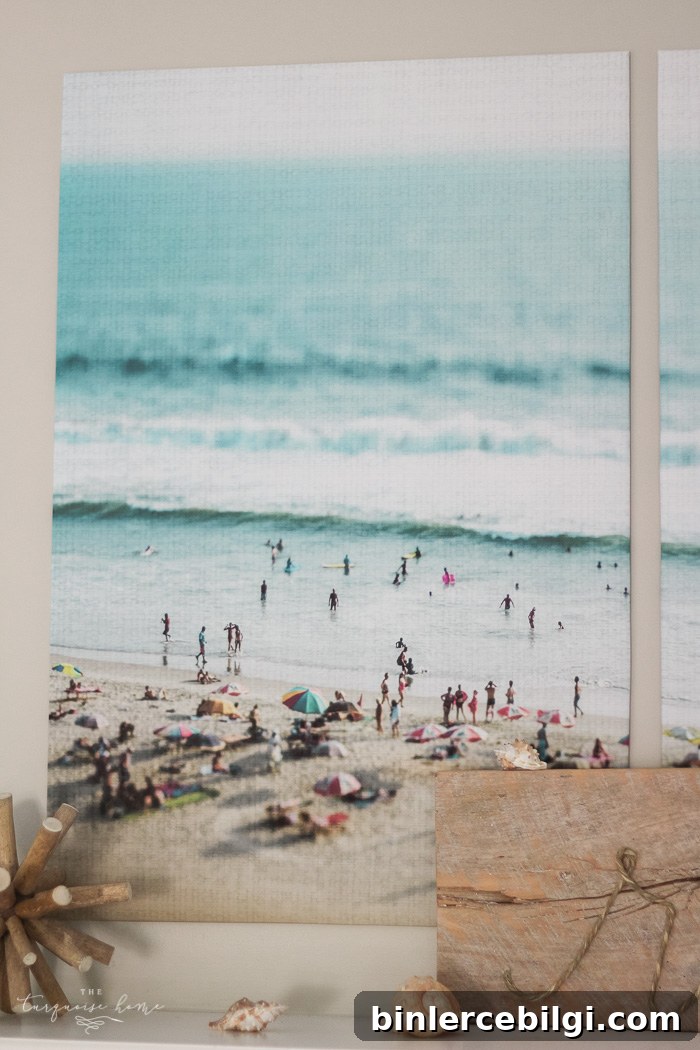
Instead of a traditional frame, I mounted the print to two foam boards and wrapped the print edges around them for a clean, gallery-style look. The whole project took just a short afternoon and cost only a few dollars in supplies—an ideal approach for anyone who wants large-format wall art without the framing expense.
What You’ll Need to Make Large Color Engineer Prints
- Large color engineer print (choose a high-resolution image sized for the print dimensions to ensure crisp detail)
- Two 20″ x 30″ foam boards
- Sharp scissors or a craft knife
- Double-sided tape or a strong adhesive suitable for paper and foam board
- Optional: foam-safe hanging strips or picture hanging hardware
That’s everything required—simple, inexpensive materials you can find at most craft or office supply stores.
How to Make DIY Engineer Print Wall Art
This is a straightforward step-by-step process to create impressive large wall art from a single color engineer print.
1. Prepare a clean workspace.
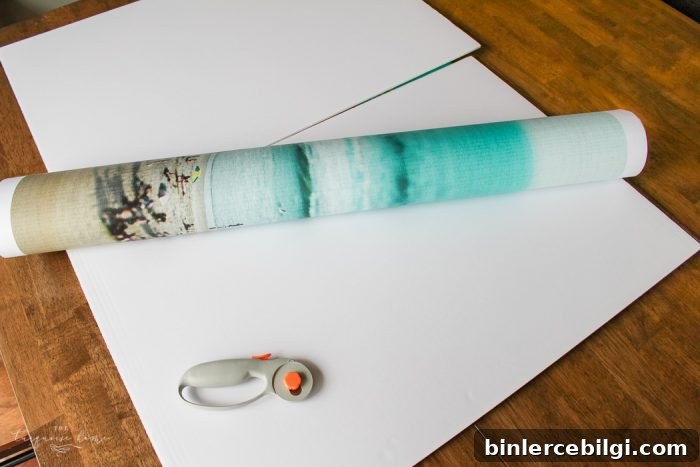
Lay the engineer print flat on a large, clean surface such as a dining table. Because this paper is like standard printer paper, keep the surface dry and free of dirt or spills to avoid damaging the print.
2. Measure and cut.
Decide how you want the print divided. For a split-panel look, cut the print down the middle into two equal sections. Position each foam board under each section, leaving roughly a 1″ gap from the cut edge so you can wrap and secure the edges around the foam board.
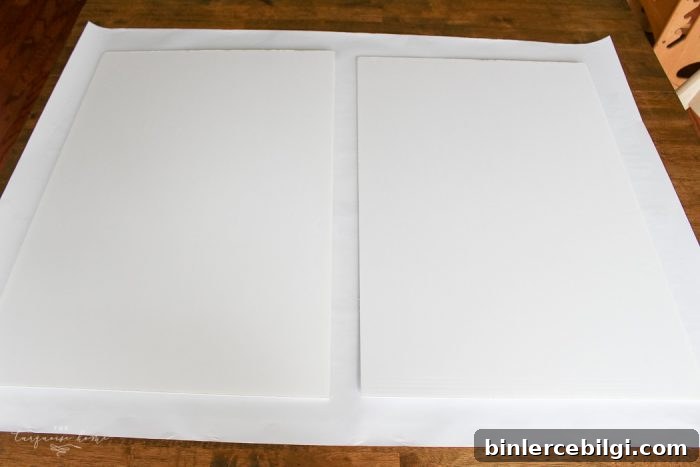
3. Trim the excess and create flaps.
Draw a cut line about 1–2 inches beyond each foam board edge so you can fold the paper around the board. Cut carefully to form a uniform flap on all sides.
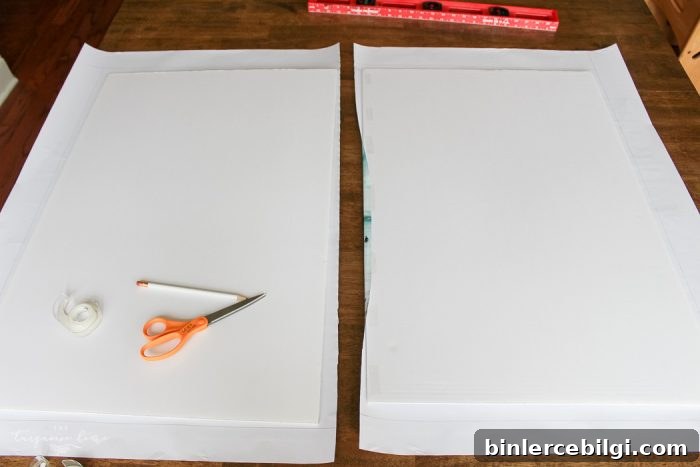
4. Secure the print to the foam board.
Apply double-sided tape to the foam board edges and smooth the print flaps over the tape, starting from the center of the long edge and working outward to avoid wrinkles. Make sure the print is taut and aligned before pressing the edges down. Fold corners neatly for a clean finish.
5. Add hanging hardware and mount.
Flip the pieces over, attach foam-safe hanging strips or other hanging hardware, and arrange the panels on your wall. A slight gap between the panels enhances the split-photo effect and adds a professional touch.
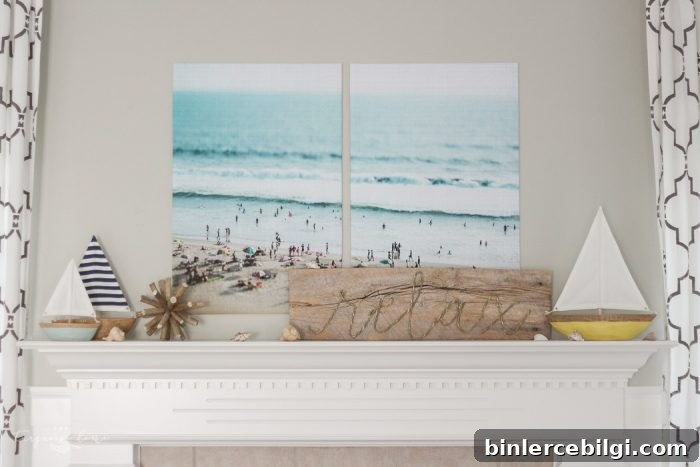
The finished display looks polished and substantial, yet the entire project costs only a fraction of a framed print. I love how the colorful panels transformed my mantel—no heavy framing required. The foam board backing makes the pieces light and easy to move or store, and if I ever want a new look I can reuse the foam board for a different print.
Have a favorite photo or illustration? This technique works with any high-resolution image, from vibrant beach scenes to abstract art or family photos. The result is a large-scale focal point that elevates your décor without breaking the bank.
More Posts You Will Love:
- The Best Summer Decorating Ideas
- How to Plant Flowers in a Pot, Planter or Container
- 15+ Large Wall Decor Ideas
- My Summer Lake Mantel
- My Lazy Summer Decor