
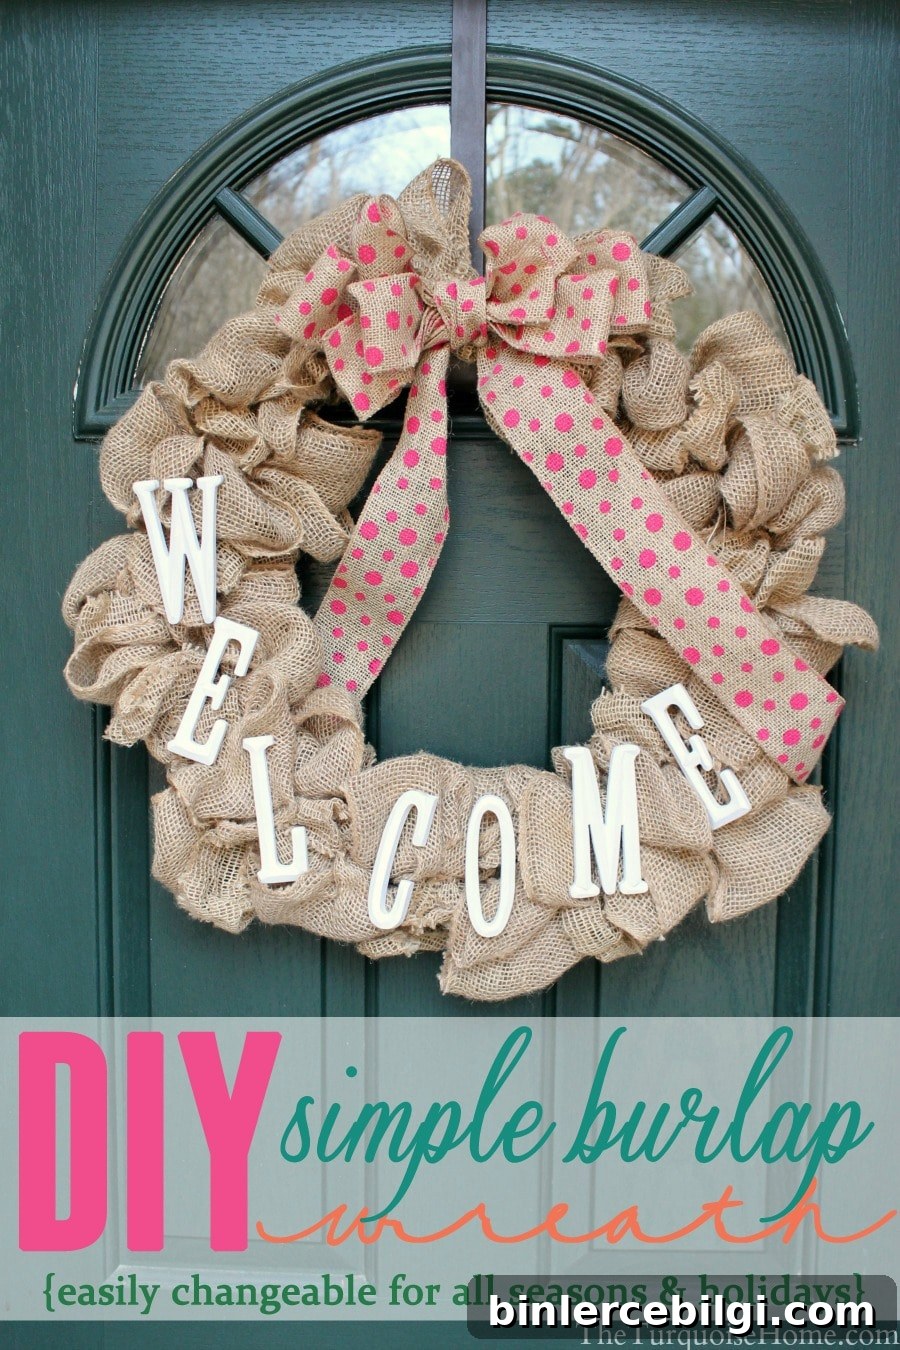
This simple DIY burlap wreath is easy to update for every season. Dress it up for holidays and birthdays or keep it plain for everyday use.
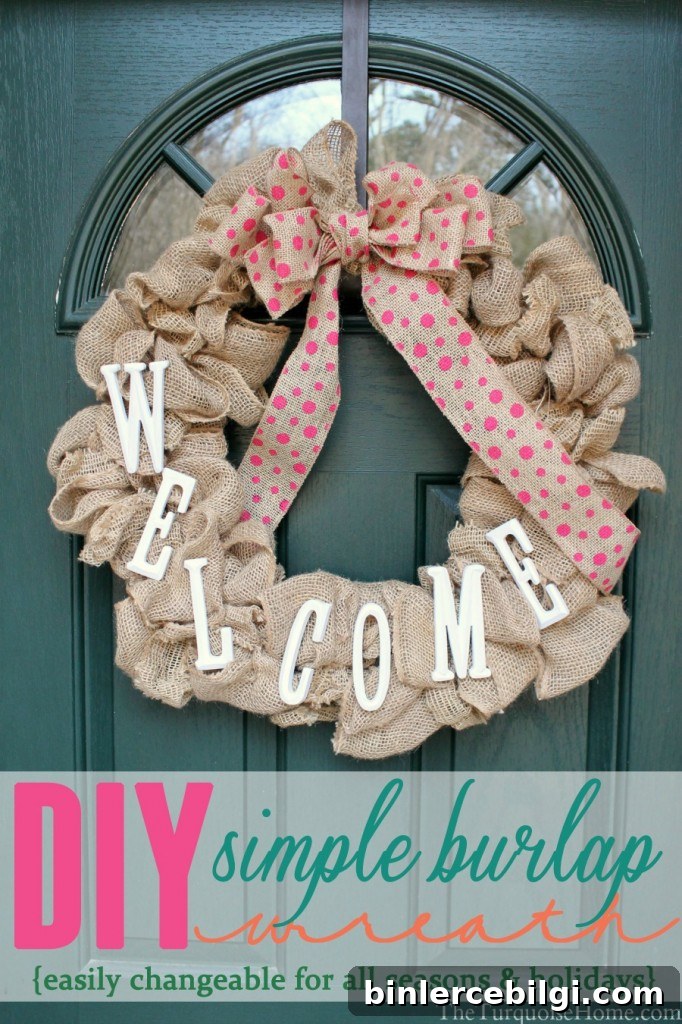
Last year I made a small burlap wreath for Christmas and loved how it looked. I went back to the craft store intending to buy a larger wire frame to make a bigger version, but it sat in my craft stash for months. I finally finished this larger wreath in time for my daughter’s birthday party this year—proof that a simple project can wait until the perfect moment.
Burlap wreaths are popular for good reason: they’re versatile, affordable, and easy to personalize. I was especially inspired by my sister-in-law’s wreath, which she updates for different seasons and occasions using wooden letters and a few seasonal ribbons. During football season she swaps on team letters and colors; for birthdays she adds numbers or letter sets to match the celebration.
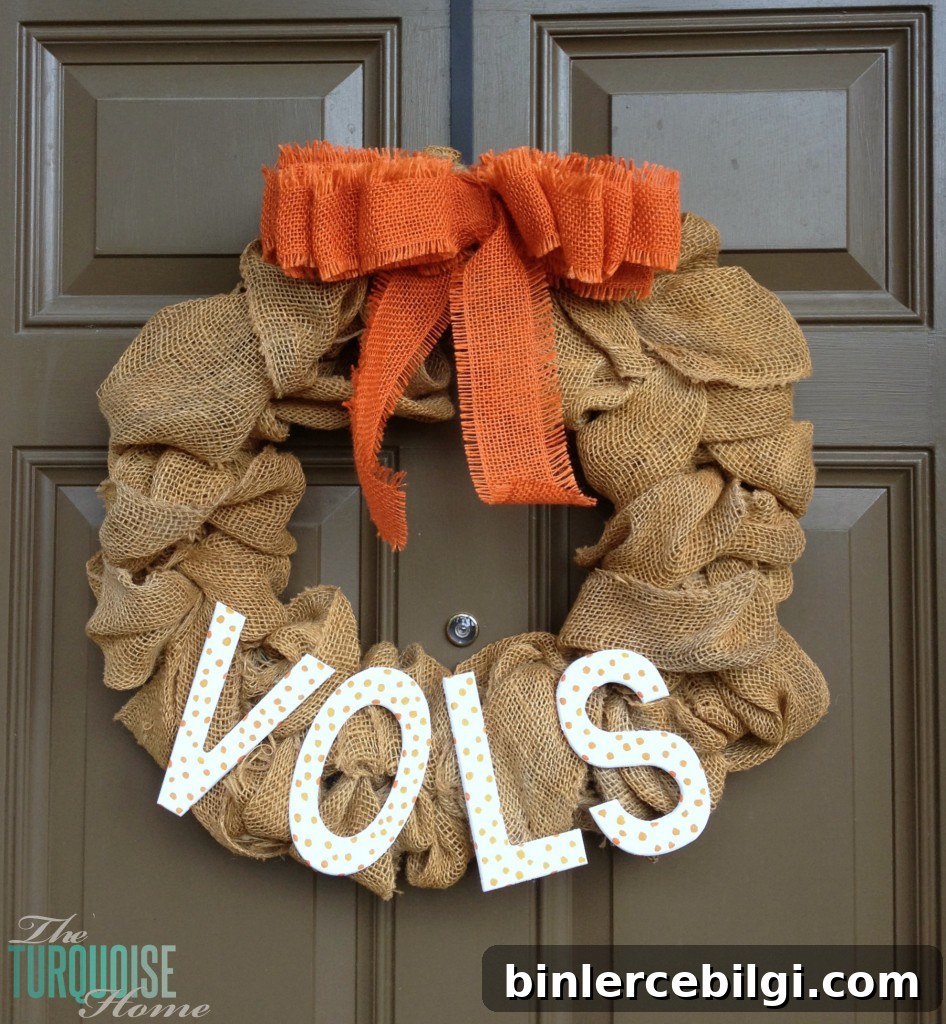
For my daughter’s party I reused the idea and added wooden letters that spelled out her age. Later I turned the same wreath into a winter/anytime decoration by swapping out the letters and switching the top ribbon. That is the beauty of this design—you can change it quickly to match holidays, seasons, or parties without rebuilding the whole piece.
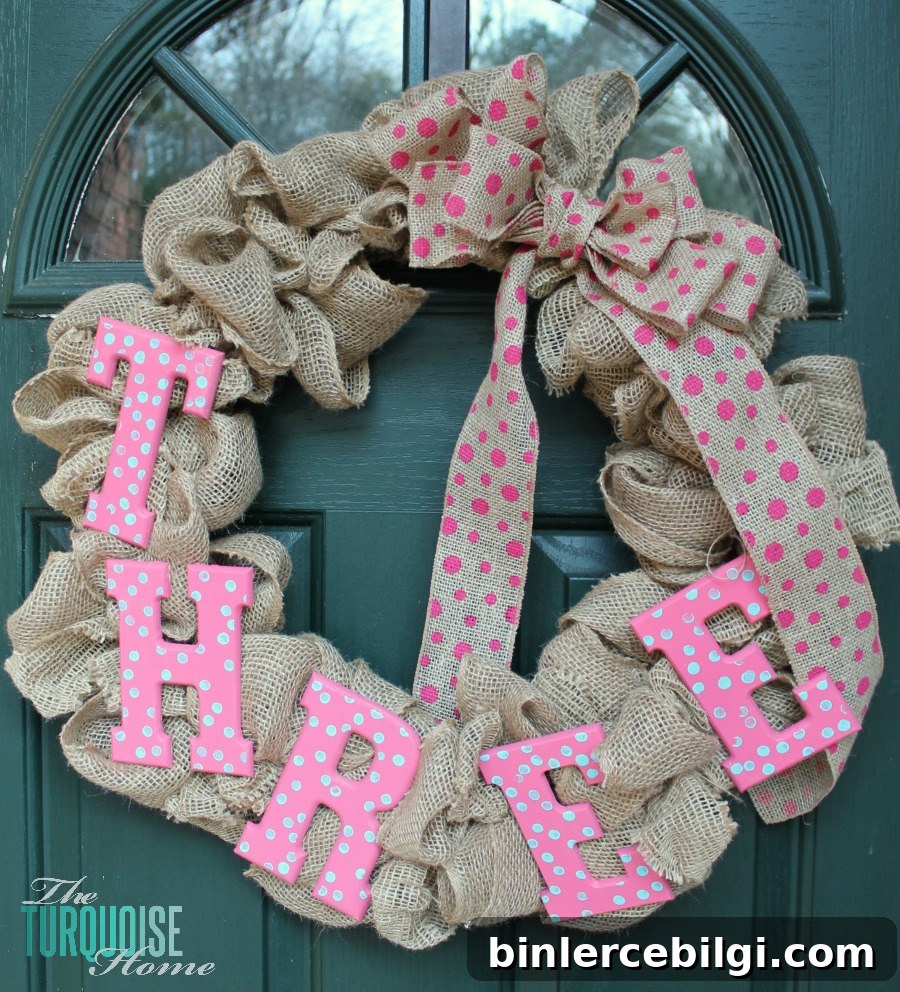
I especially love the polka-dotted burlap ribbon I used for a Valentine’s touch; it’s a simple way to add personality without overwhelming the rustic burlap texture. After Valentine’s Day I’ll swap that ribbon for a plain or seasonally toned bow—the top ribbon is an effortless swap that dramatically changes the wreath’s look.
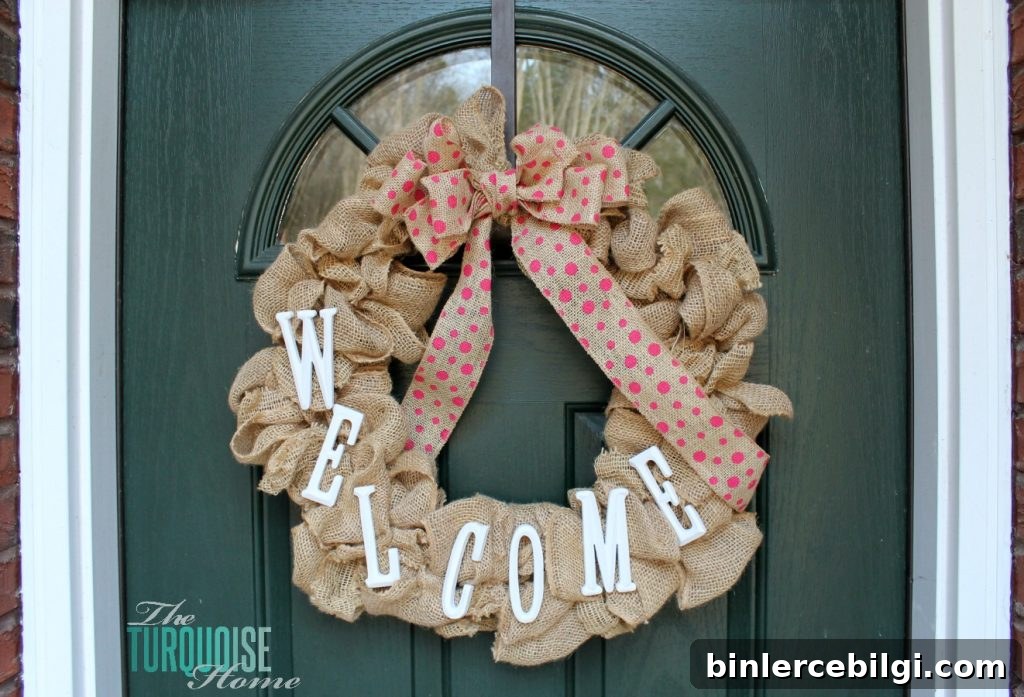
In short, this is a highly adaptable wreath that works year-round—simple, cute, and quick to update. Below are the details, materials, and tips that helped make this project straightforward and repeatable.
The Details…
To build this wreath I followed a well-known tutorial called “Top This Top That” that demonstrates the easiest method for creating a burlap wreath: simply weave the burlap in and out of the wire wreath frame until it’s full and fluffy. The technique is uncomplicated and perfect for a quick craft session—think one nap-time or half a nap-time project depending on how long you have.
Note: I used a lot more burlap than expected. The original tutorial suggests 12–15 yards, but for an 18-inch wire frame I used closer to 30–40 yards. I purchased 20 yards of non-wired burlap ribbon (the non-wired variety works best for this weaving technique), and supplemented with about 10+ yards of wired burlap I already had on hand so I didn’t need another trip to the store. Look for sales or coupons when buying ribbon to save money.
Materials I used:
- 18-inch wire wreath frame
- Non-wired burlap ribbon (primary material)
- Patterned burlap ribbon for accent (polka dots)
- Large wooden letters and smaller letters for seasonal messages
- Floral wire and a staple gun
- Hot glue gun for small details
- Scissors and optional ribbon for a bow
I bought larger wooden letters for a birthday version and smaller “welcome” letters for a general display. The polka-dotted burlap came from a craft store and added just the right amount of color and pattern. For the bow I used a simple burlap bow tutorial that guides you through creating a full, attractive bow without much fuss.
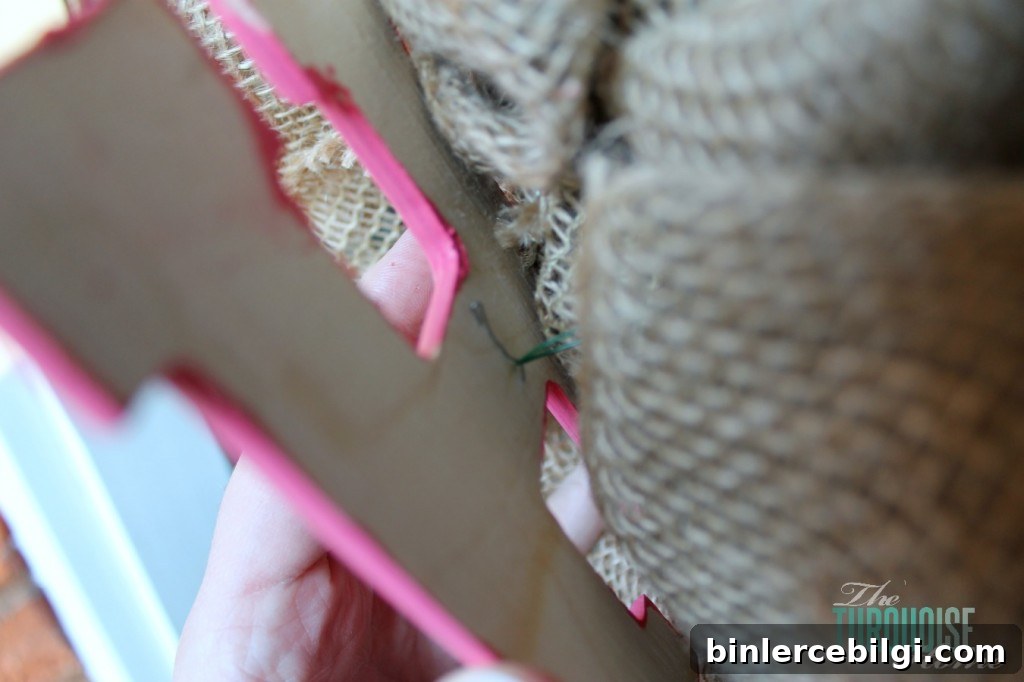
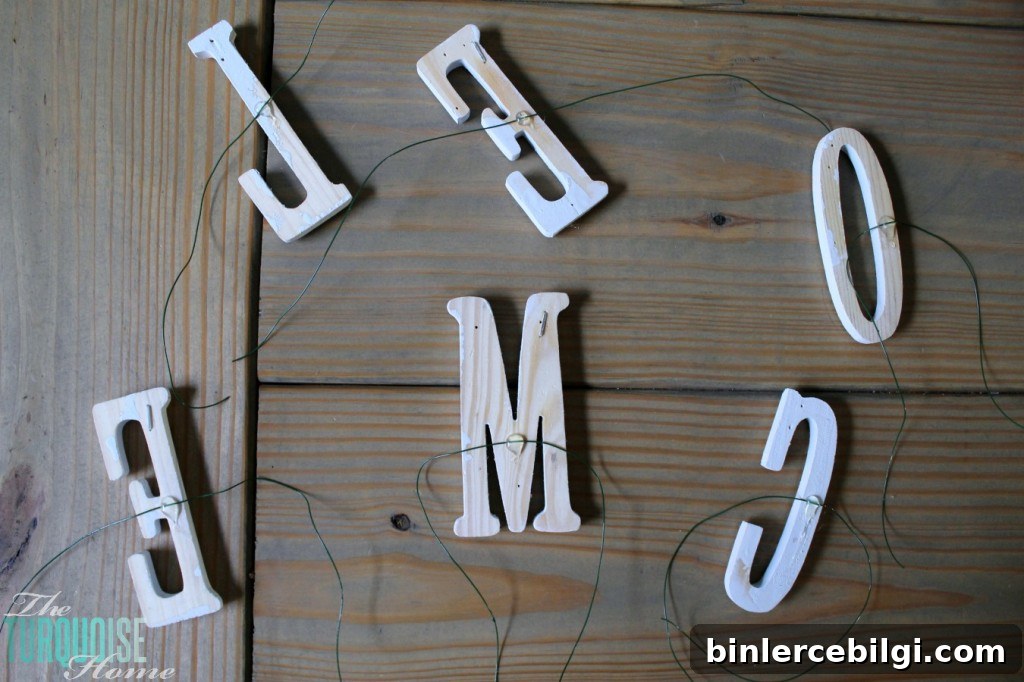
The smartest trick, which I learned from my sister-in-law, is how to attach letters so they’re easy to change. Instead of gluing letters permanently, she staples a short length of floral wire to the back of each wooden letter and ties them onto the wreath frame. That way the letters stay secure but can be removed and replaced for different occasions.
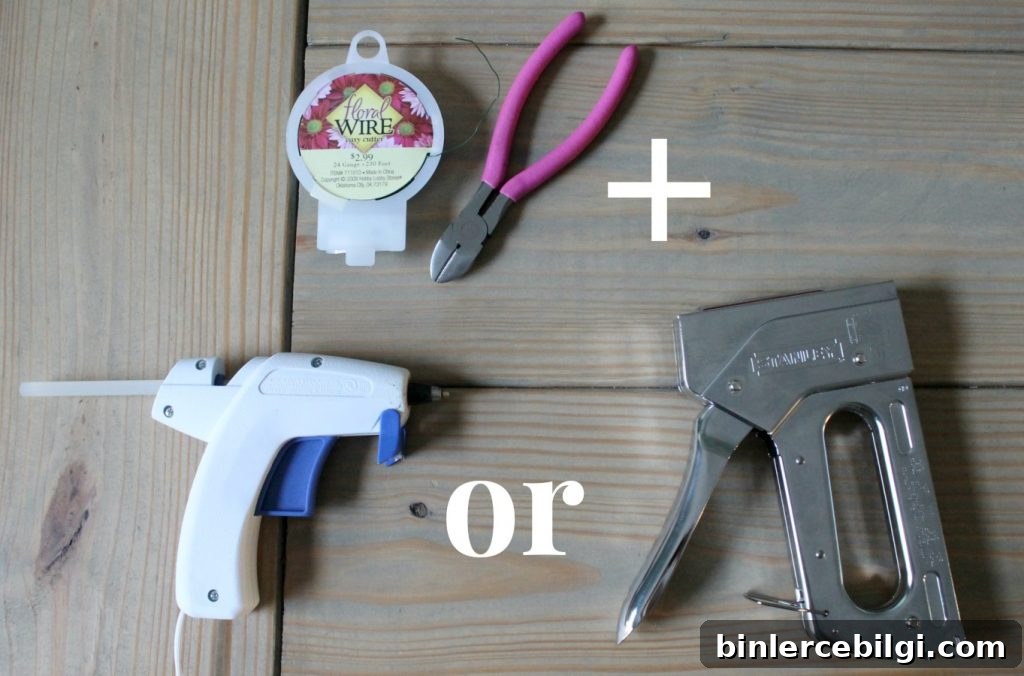
For larger letters, stapling the floral wire to the backs and tying them on worked perfectly. For smaller letters I used a little hot glue to secure them to a short piece of wire, then tied that wire to the wreath. Be careful not to pull too hard on glued sections when tying; the glue can break away if stressed. If you secure the small letters gently, they hold up fine.
This wreath is one of my favorite DIY projects—versatile, forgiving, and fun to personalize. My only regret is waiting so long to make it. If you’ve been holding onto craft supplies, this is the perfect easy project to finally use them up.
Do you ever buy craft supplies and then wait forever to use them? What’s your favorite year-round wreath style? Share ideas and variations that work for you—whether rustic burlap, bright summer fruit themes, or classic cotton stems.
More Posts You Will Love:
- 25 Amazing DIY Fall Wreaths
- DIY Summer Lemon Wreath
- Cotton Wreath Free Printable (with your monogram!)