
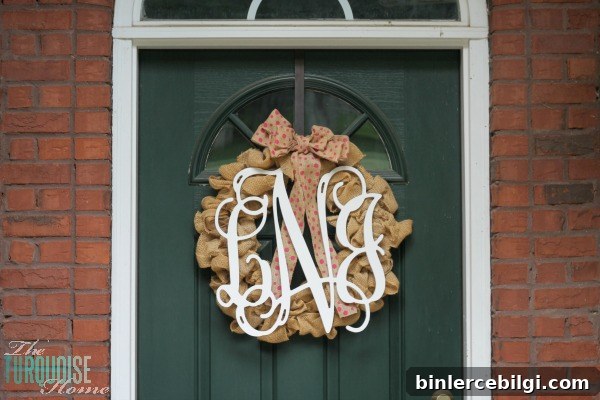
DIY Burlap Wreath with a Painted Wooden Monogram
Happy Monday! I hope you had a restful weekend and found time to recharge. We were finally home for the first time in about two months, and I used the opportunity to do some much-needed cleaning and a bit of DIY. Being away so often tends to wear me down, so a lazy, productive weekend at home felt wonderful.
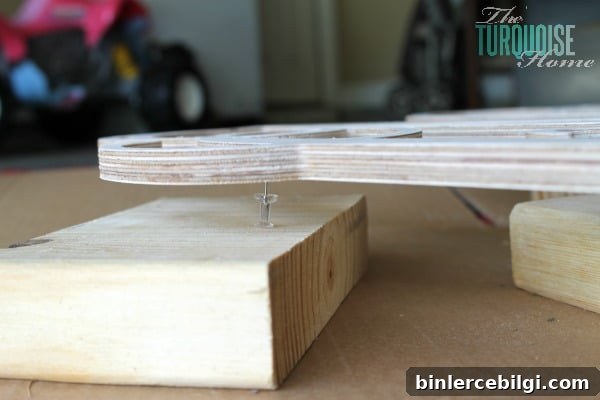
Since we were home, we finally tackled a craft project I’d been thinking about for months: a wooden monogram for our burlap wreath. My husband (we call him Coach) volunteered to spray paint the monogram—that was a good call since I’m pregnant and wanted to avoid paint fumes—and he did a fantastic job getting thin, even coats all over the piece.
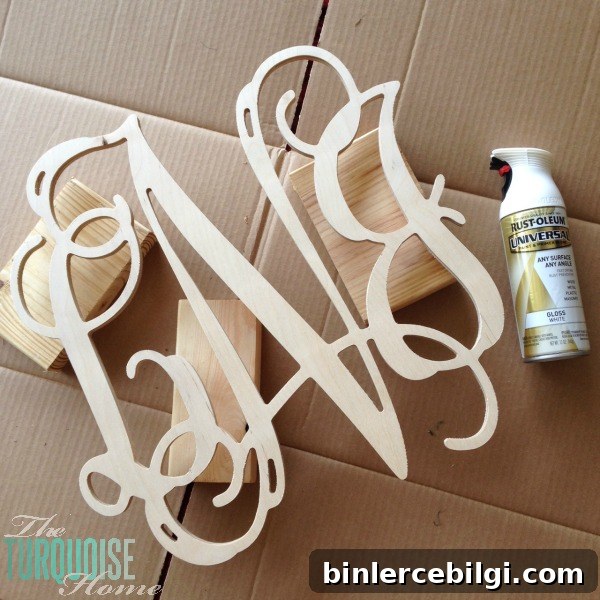
I’ve had the wooden monogram sitting around for a long time—the exact style I bought is an 18-inch Classic Viney—but it took me ages to actually put it together. Once it was painted and dry, I attached floral wire to the back to secure it to a simple burlap wreath I made earlier. The wreath itself is one of those easy, versatile burlap designs that works for many seasons and can be dressed up with different accents.
Full disclosure: I did have a minor crafting mishap and stapled my thumb while securing the wire. It hurt at the moment, and a few hours later my thumb was pretty sore, but nothing serious—just a reminder to slow down and be careful when working with staples and small tools. Accidents happen, and they don’t have to derail a project.
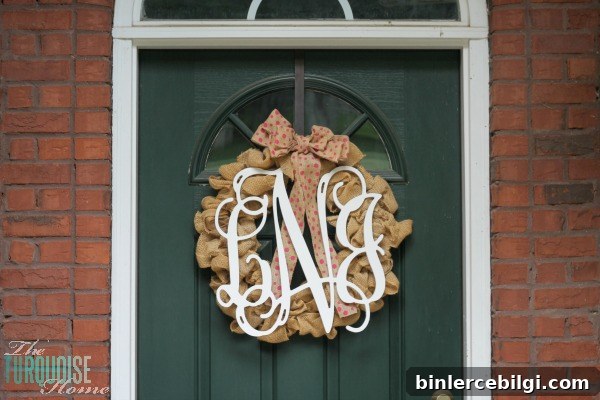
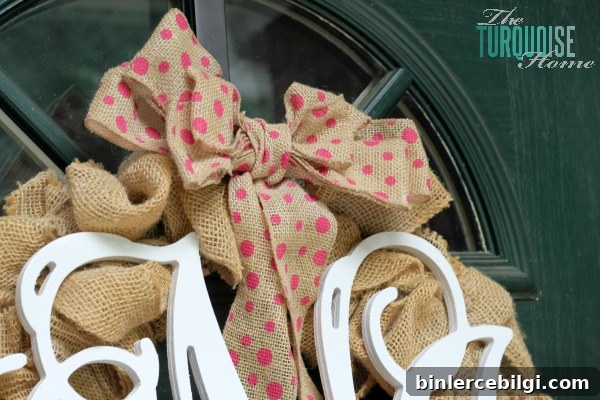
At first I hung the wreath on the door with just the painted monogram. It looked clean and classic, but it felt like it needed a pop of color. I temporarily added a bow I had from a previous project (a pink polka-dot ribbon I used for a birthday wreath). It’s not a perfect match for this look, but the bow adds warmth and personality until I find something more fitting for summer—or until I dive into full-on fall decorating.
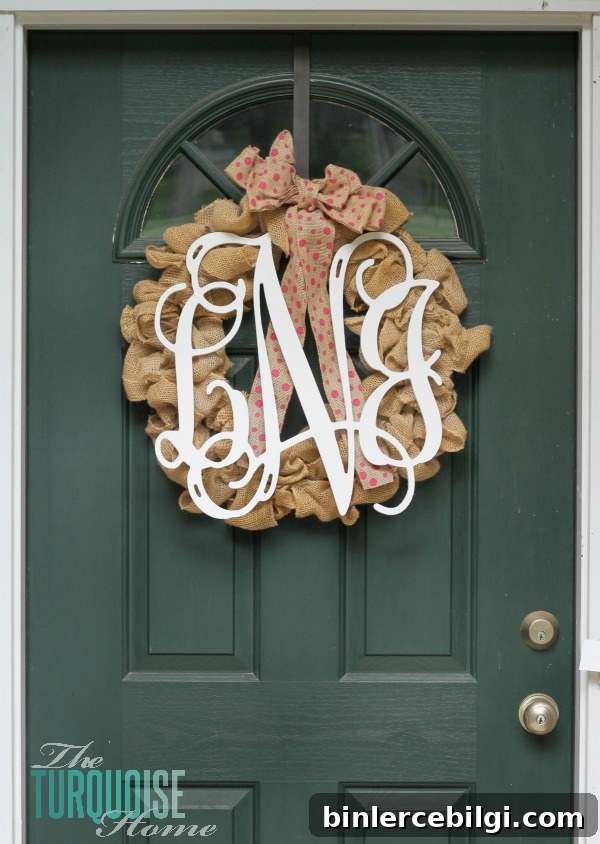
I love the simplicity of this combination: the natural texture of burlap paired with a crisp, painted wooden monogram. It gives the front door a welcoming, personalized touch without feeling overdone. If you’re making something similar, consider these small tips:
- Use thin, even coats of spray paint to avoid drips and get a smooth finish.
- Attach floral wire or durable twine to the back of the monogram so it hangs securely from the wreath.
- Start with a neutral base like burlap and swap seasonal accents—bows, small florals, or greenery—rather than rebuilding the wreath each season.
One confession: I haven’t changed our decor from spring to summer this year. While many bloggers swap out colors and accents for each season, sometimes life gets busy and you stick with what works. I’m leaning into a relaxed approach this year and keeping things simple until I’m ready to plan a bigger seasonal refresh. Fall is my favorite season to decorate, so I’m already looking forward to that once the calendar turns.
On a related note, retail shelves can be surprising: some craft stores display holiday merchandise far earlier than expected. I prefer to enjoy each season as it comes and decorate thoughtfully, rather than jumping ahead to the next holiday. That said, shopping early does have its benefits if you’re planning large seasonal crafts in advance.
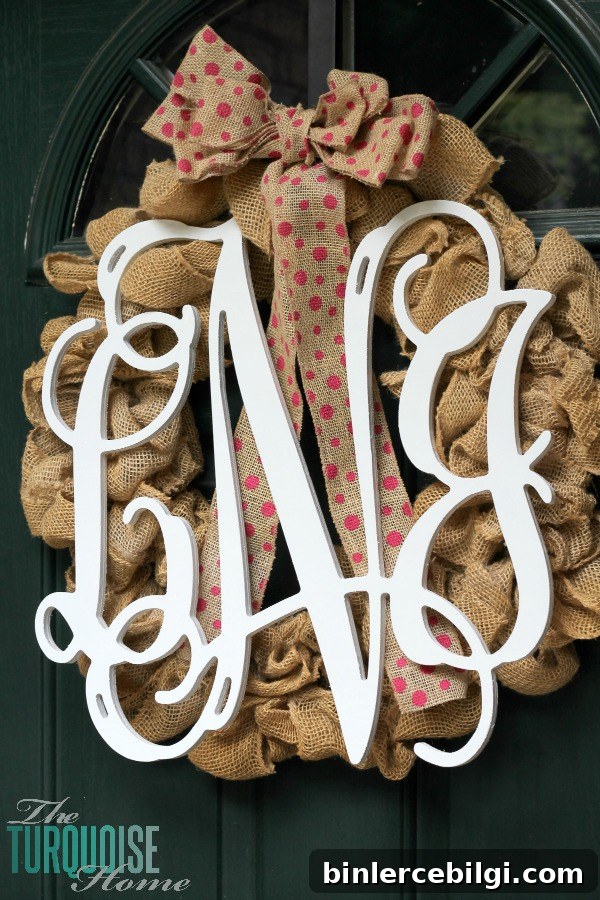
All in all, this was a satisfying, low-cost DIY that added instant curb appeal to our home. If you like simple, personalized front door decor, a burlap wreath with a painted wooden monogram is an easy project to customize for any season. How do you feel about changing decor between seasons—do you update everything, or keep it simple like I did this year?
Thanks for reading, and happy crafting.