
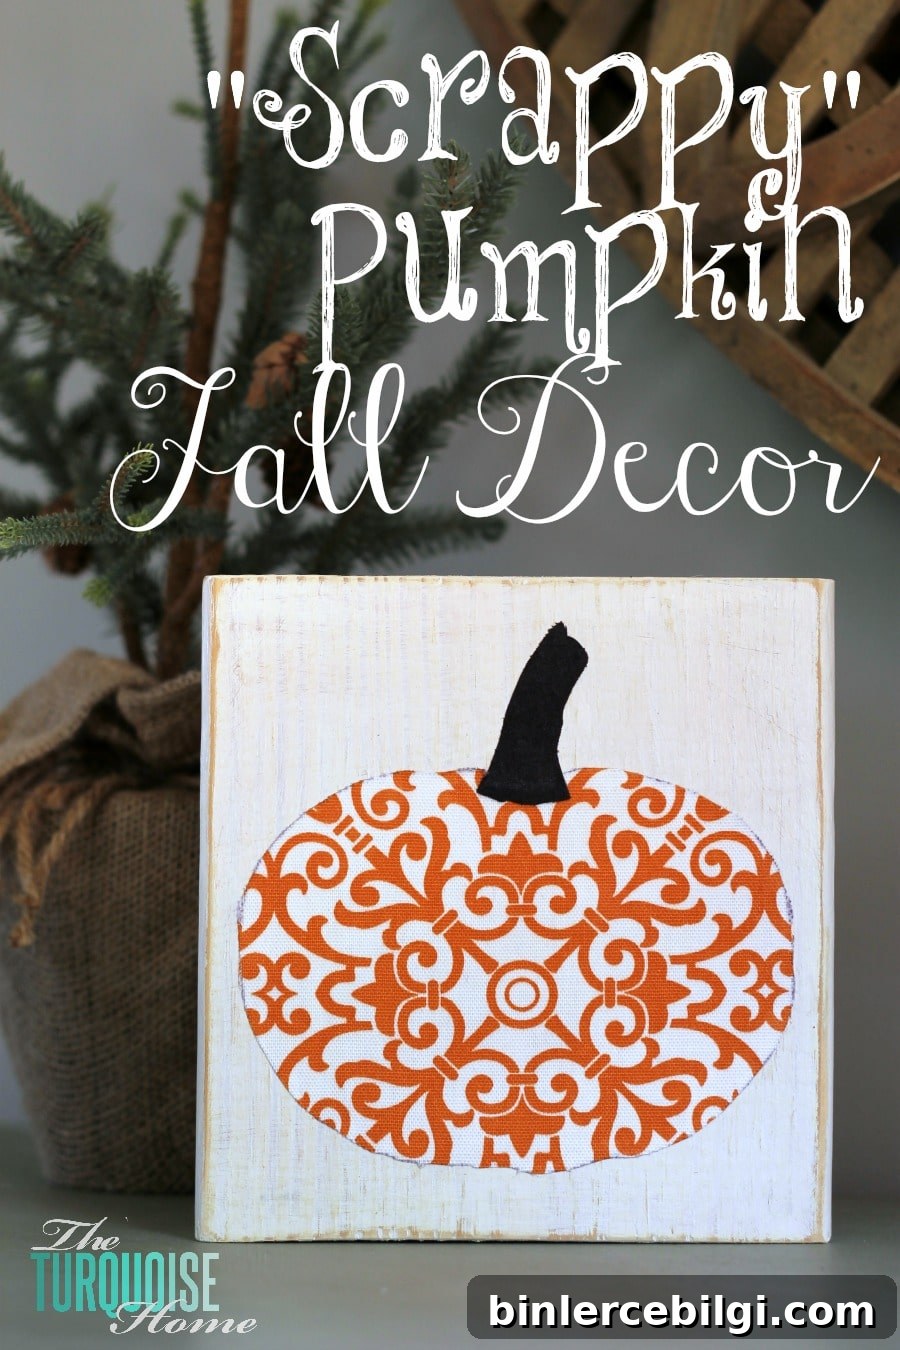
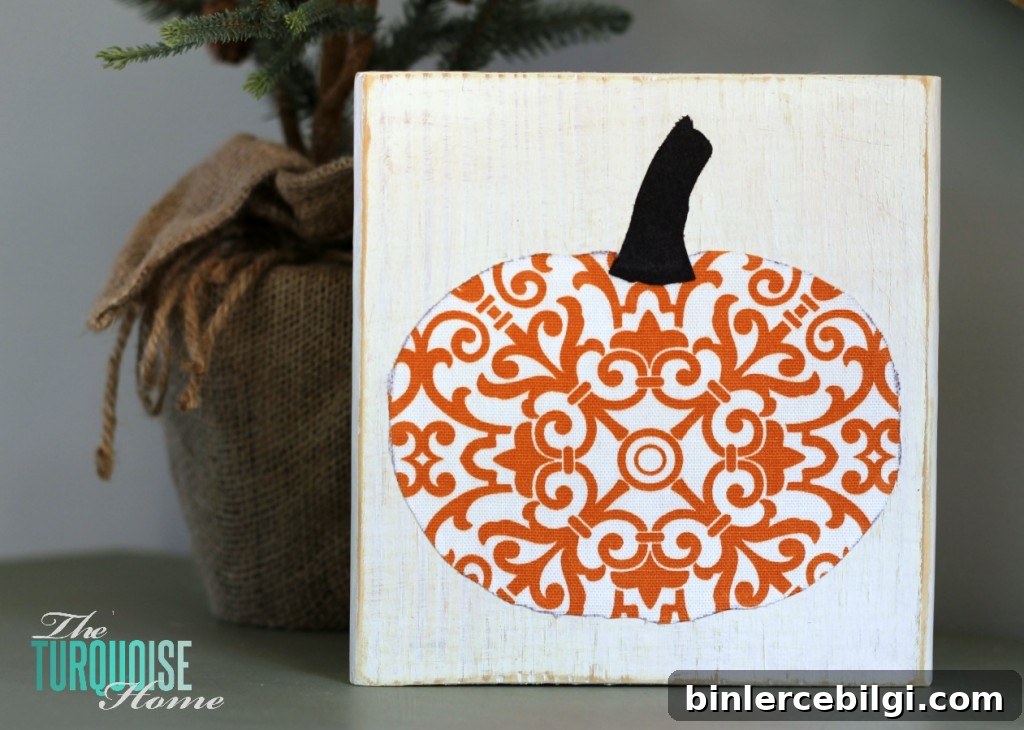
Use scraps of wood and fabric to make this adorable “scrappy” DIY pumpkin decor!
I love taking forgotten bits and pieces and turning them into something useful or charming for my home. That’s the heart of DIY—rescuing the plain, the worn, or the leftover and transforming it into something with personality. For this project I used a piece of wood from my scrap pile and some fabric remnants to make a small, rustic pumpkin sign that fits perfectly into my fall décor. Best of all, I used items I already had on hand.
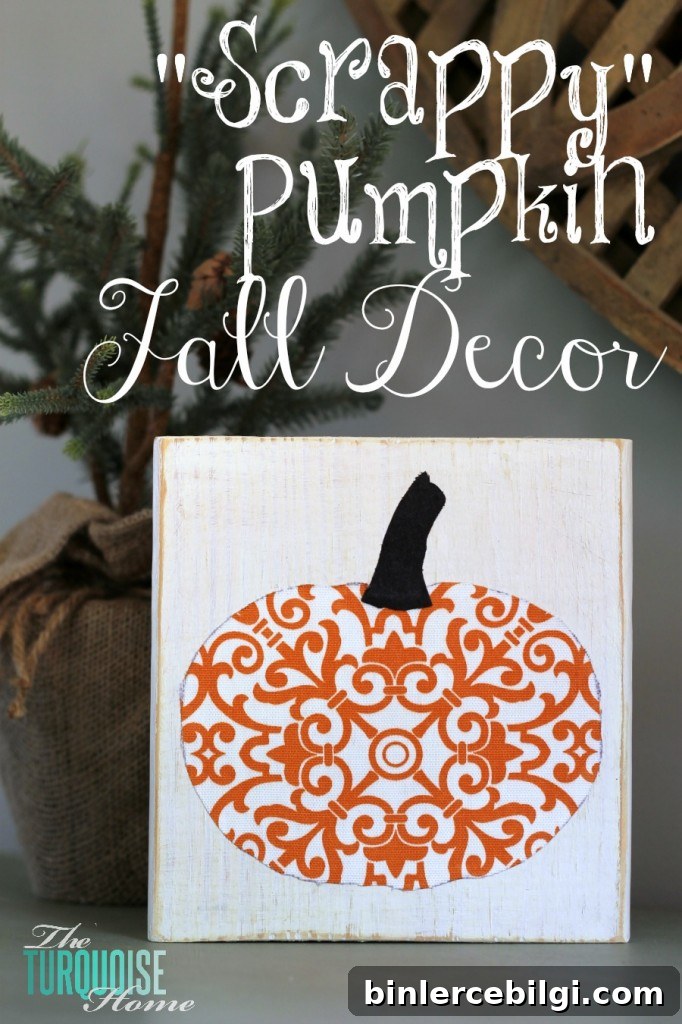
Calling it “scrappy” felt right because the materials were scraps—scraps of wood and scraps of fabric stitched together into something sweet. Once this little pumpkin was finished, it got me into the mood to switch over my mantel from summer to fall decor. If you enjoy using what you already own and adding seasonal touches, this project is an easy and satisfying way to decorate.
This post contains affiliate links for your convenience. See my full disclosure policy.
What you’ll need to make Scrappy Pumpkin:
- Wood scraps — a small board or offcut that will comfortably hold your pumpkin shape.
- Fabric or decorative paper with fall tones or any pattern you prefer.
- A printed pumpkin cutout or a hand-drawn pumpkin shape to use as a template.
- Paint for the wooden block (a neutral antique white or any color you like).
- Mod Podge or another decoupage glue/sealer.
- Miter saw for cutting the wood (optional) or a hand saw if that’s what you have.
- Sandpaper for smoothing edges and distressing the paint (optional).
How to Make a Scrappy DIY Pumpkin Decor
This is a quick one-hour craft (not counting paint drying time) that uses basic supplies and very little fuss. Below are the steps I followed to make my scrappy pumpkin.
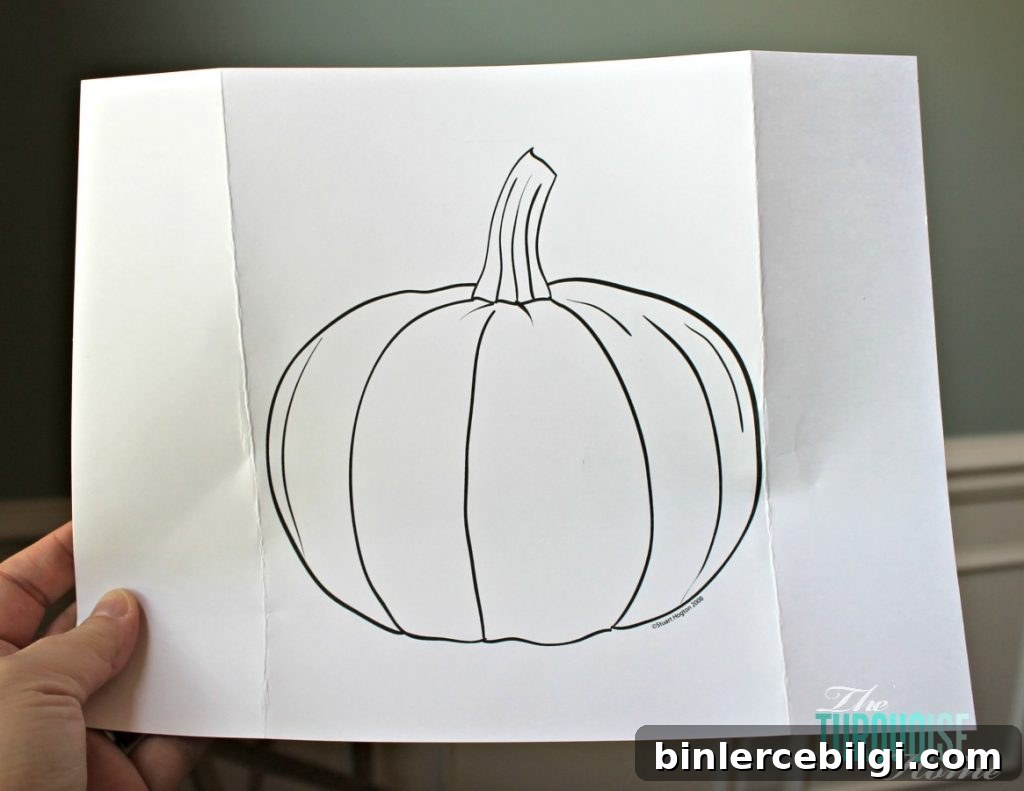
1. Find a Pumpkin Shape and Print it Out
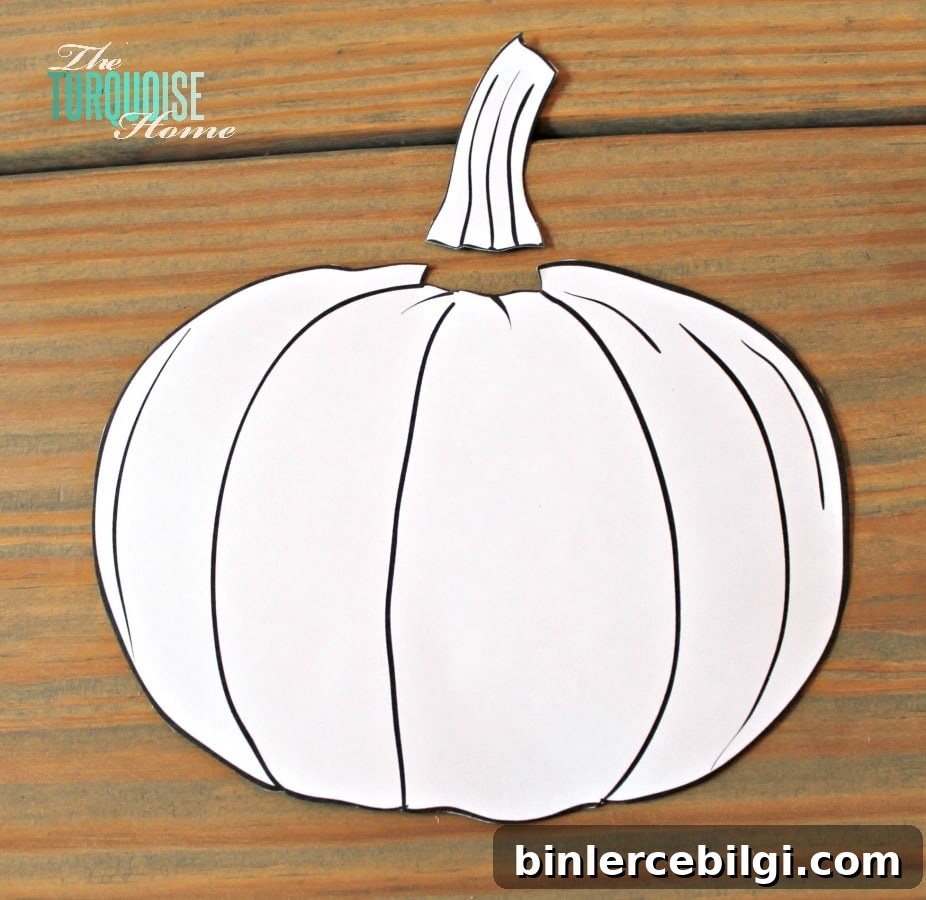
Choose a pumpkin outline that suits the style you want—round and plump, tall and narrow, or even stylized. I printed a simple pumpkin silhouette at 100% scale to use as my template. You can trace a hand-drawn shape if you prefer; the goal is a shape that will fit comfortably on the piece of wood you plan to use.
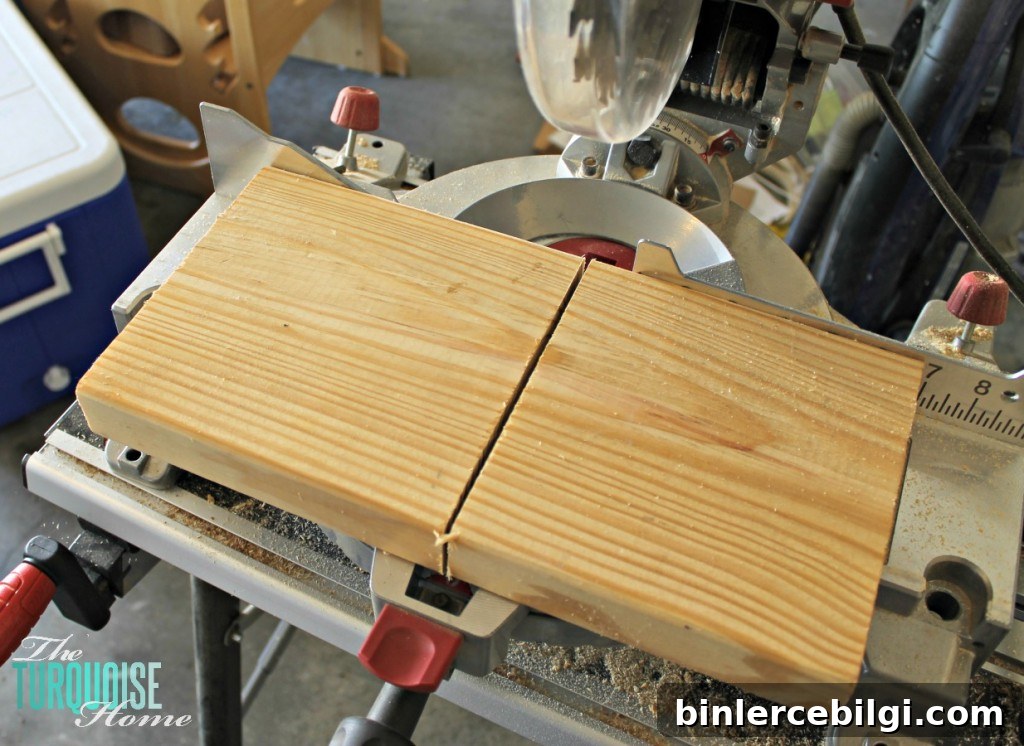
2. Cut a Block of Wood to Fit the Pumpkin
Select a wood scrap that will accommodate your template. I used a miter saw to cut my piece down to size, but a hand saw or jigsaw will work just as well. The board should be large enough to leave a small border around the pumpkin shape so the finished piece reads like a small sign or plaque.
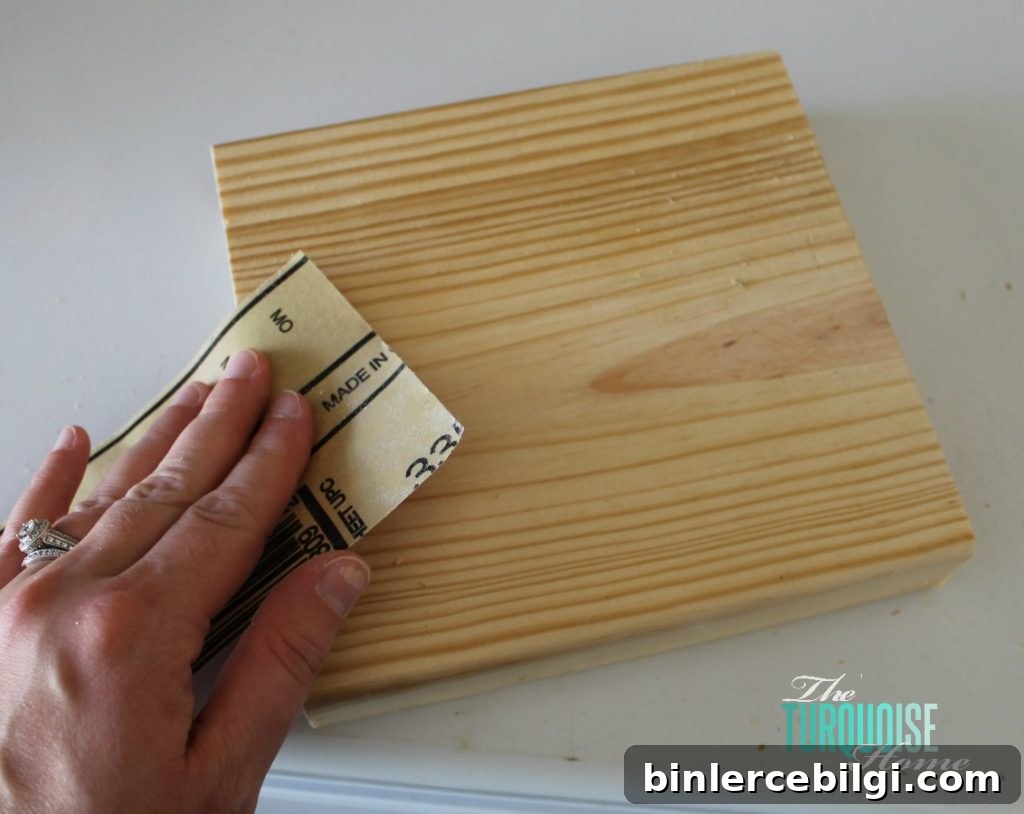
3. Sand the Rough Edges of the Block
Sand any rough corners and splintered edges so the board is pleasant to handle. Smoothing the edges also helps the paint and fabric sit flat against the wood.
4. Paint the Block
Paint the wood in a color that complements your fabric. I used an antique white leftover from another project and painted both the front and back since the piece would be displayed standing up. If you plan to hang the sign, painting the back is optional.
5. Sand the Edges for a Rustic Look (Optional)
After the paint dries, lightly sand the edges and corners to give a worn, rustic finish. This step adds character and helps the piece blend into vintage or farmhouse-style decor.
6. Cut Out Your Fabric Using the Pumpkin Shape
While the paint dried, I traced my printed template onto the back of the fabric and cut it out. I chose a contrasting fabric for the stem and cut that separately. If you have a fabric-cutting tool such as a Silhouette with a fabric blade, that can make the job faster, but scissors work perfectly. Press the fabric first if it has wrinkles so it lies flat.
7. Glue the Pumpkin on the Wood Block
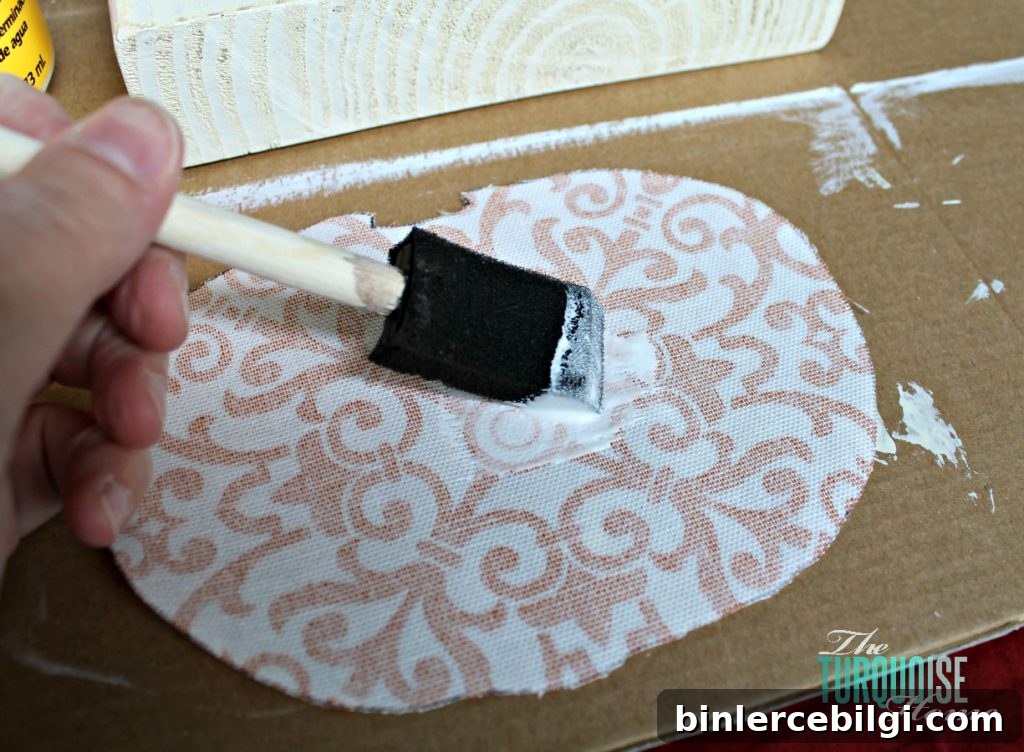
Adhere the fabric pumpkin and stem to the painted board using Mod Podge or a similar decoupage glue. Once the pieces are positioned, brush a coat of Mod Podge over the fabric to seal and secure it to the wood. Allow it to dry thoroughly—this will keep everything in place.
And that’s all there is to it—an easy, inexpensive fall accent made from scraps. It’s simple, portable, and can be tucked into a vignette, set on a shelf, or displayed on a mantel.
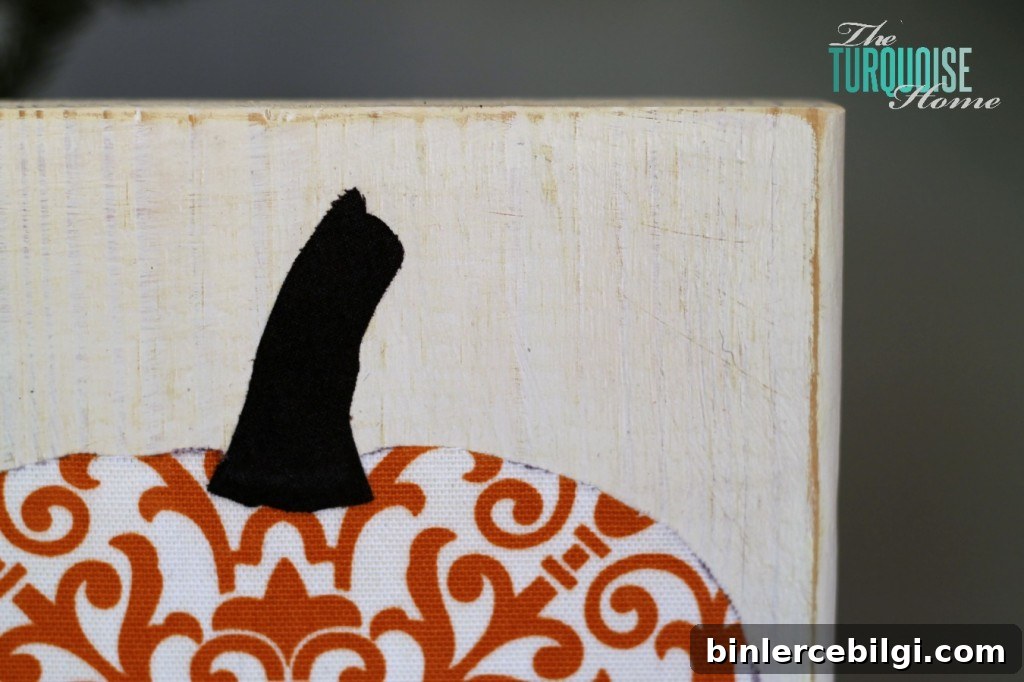
I wasn’t sure what to call this piece—plaque, fabric board, or wood and fabric sign—but “scrappy pumpkin” felt right. If you have leftover fabrics from past projects, this is a great way to reuse them and add a handmade touch to your seasonal decorating. I even considered making a few to sell at a yard sale to give old decor a second life.
If you enjoyed this idea, try different fabrics, paint colors, or sizes to create a collection. Small variations—plaid, floral, burlap—will each give a unique look and make great handmade gifts or seasonal decor pieces.
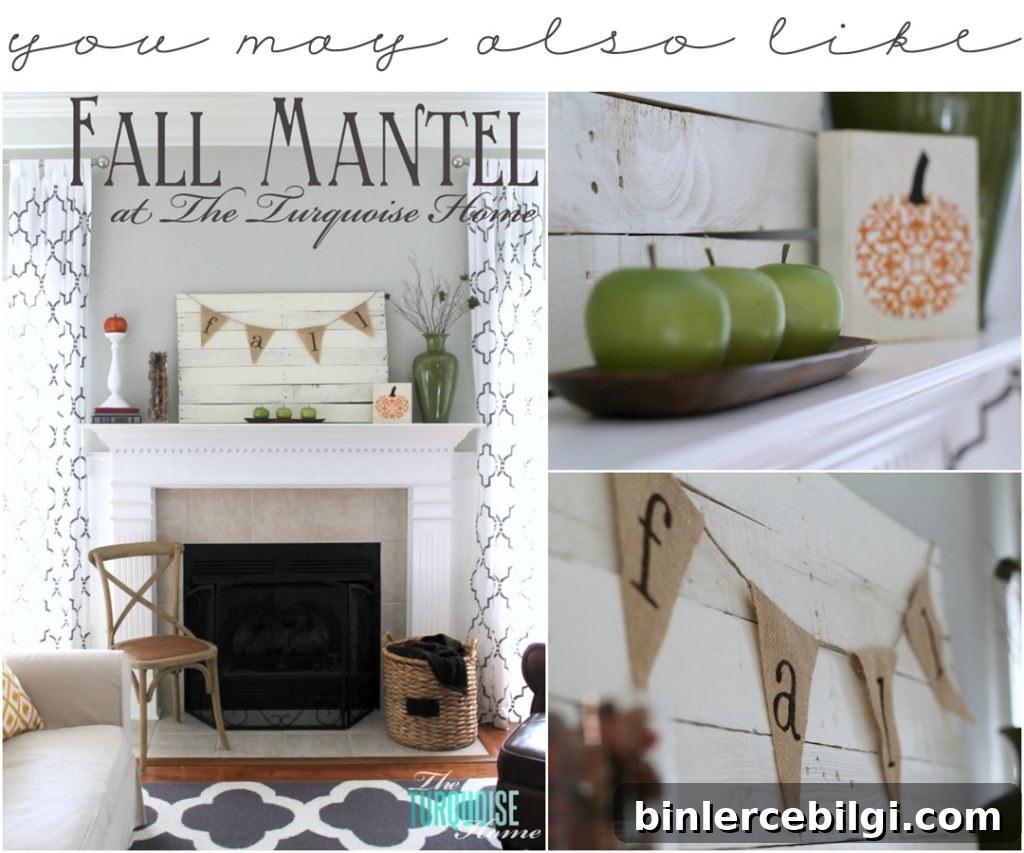
Fall Mantel Reveal
More Posts You Will Love:
- DIY Chinoiserie Pumpkins {with video tutorial}
- The Best Realistic Fake Pumpkins
- 25 Amazing DIY Fall Wreaths
- Fall Kitchen Decor Ideas
Wishing you a cozy and creative season—happy crafting!