
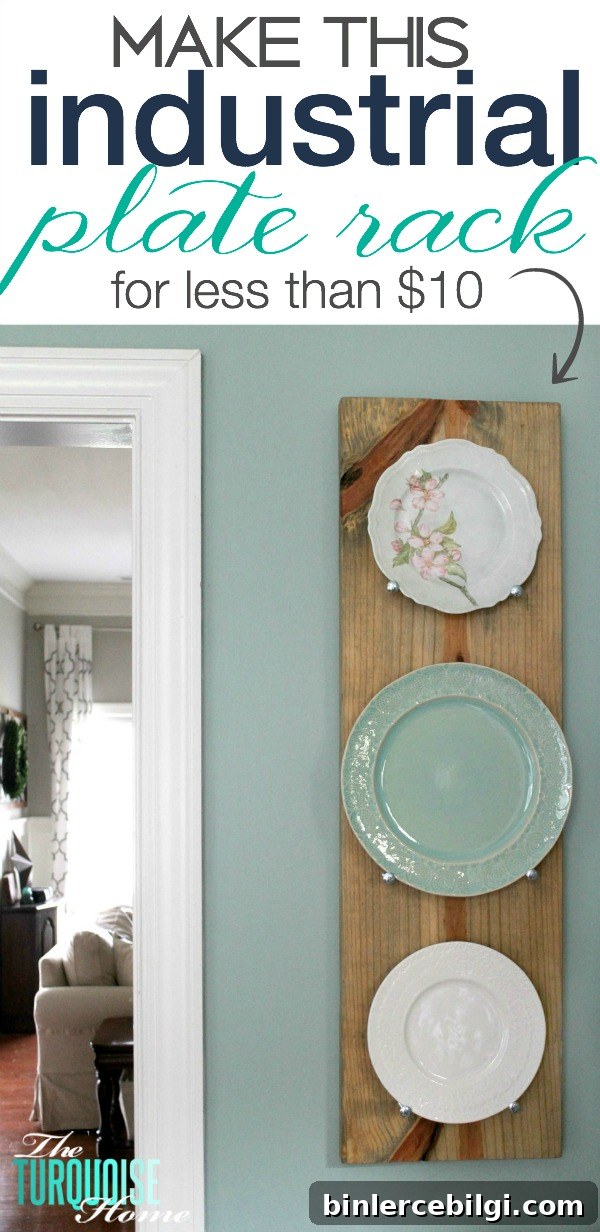
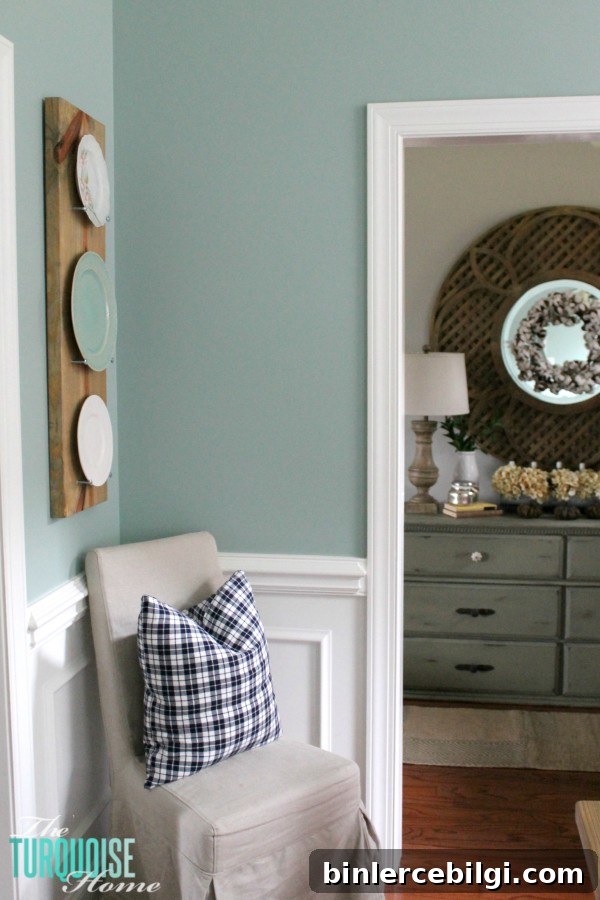
Make a DIY industrial plate rack to showcase your favorite plates on the wall. You only need two inexpensive supplies and six simple steps to build it.
This easy industrial-style plate rack has been on my to-do list for a while, and I’m so glad I finally made it. I used a few materials I already had around the house and finished a unique, attractive piece of wall decor in just a few hours. Even if you need to buy supplies, the project can cost less than $10.
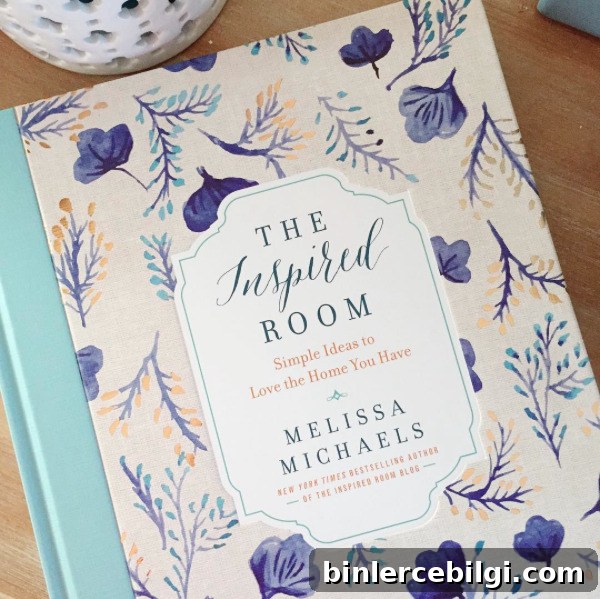
A recent decorating book I was reading reminded me that some of the best decorating decisions happen quickly and without overthinking. That inspired me to pull three plates from my decor closet that I’d been saving to build a plate display.
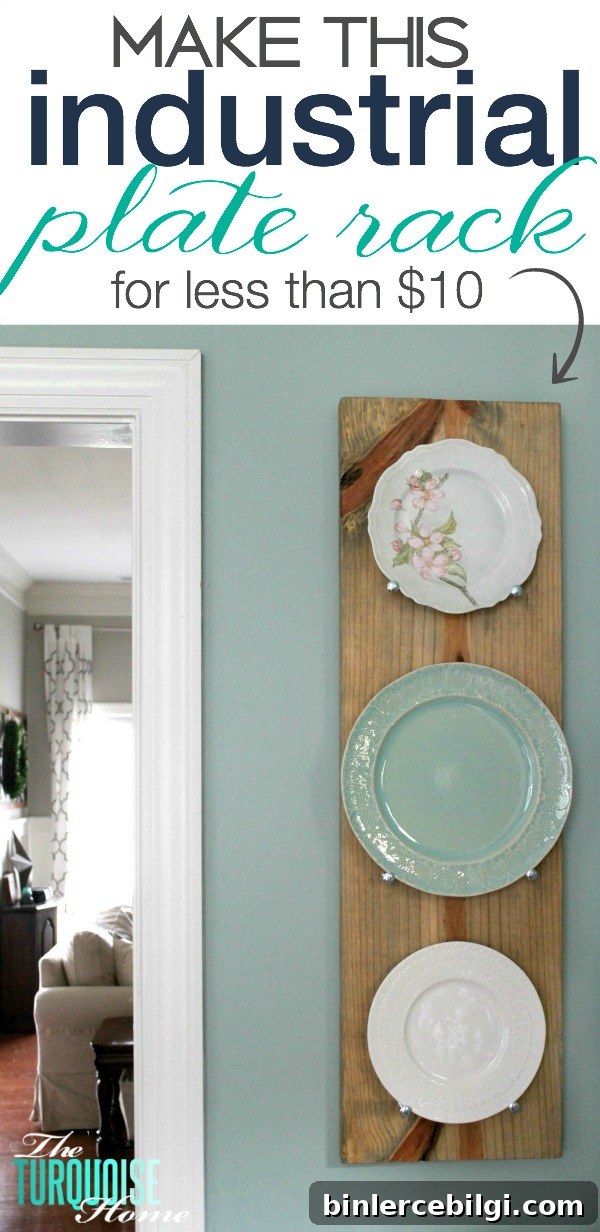
I’d considered hanging the plates directly on the wall, but one plate matched the wall color and would have disappeared. I wanted a backdrop, so I searched for a simple rack idea and found a tutorial that inspired this industrial approach. Best of all, I already had most of the supplies.
Clearing out the closet, using leftover materials, and finishing a quick, practical project—definitely worth the effort.
I did have to stop by the hardware store to pick up a few carriage bolts and a new bottle of glue, but both were inexpensive. A little planning and a short trip yields a great result.
OK, so here’s what you’ll need:
- Carriage bolts (mine are 2″ long)
- 2 x 12 board (I used a length I had on hand and cut it to size)
- Gorilla glue or a strong construction adhesive
- D-ring hangers
- Self-drilling drywall anchors (if you can’t mount to a stud)
- Supplies on hand: miter or circular saw, sander, drill
How to Make a Plate Rack
1. Determine Your Board Size
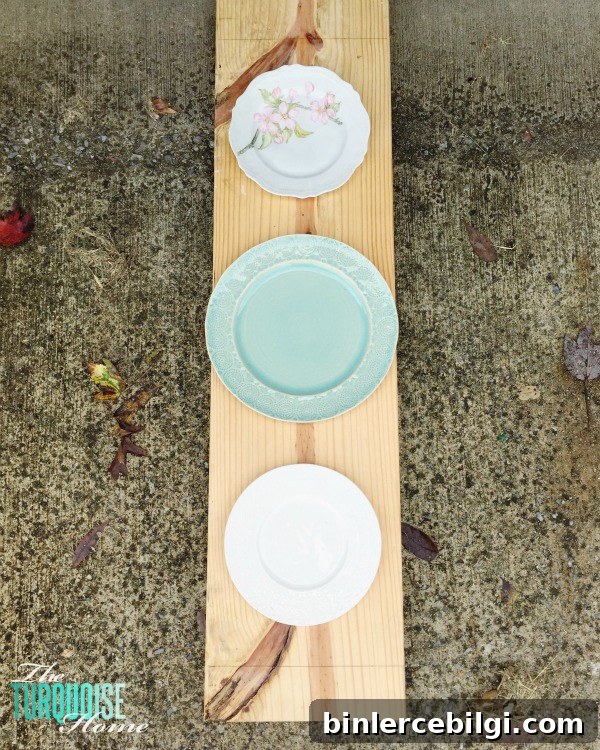
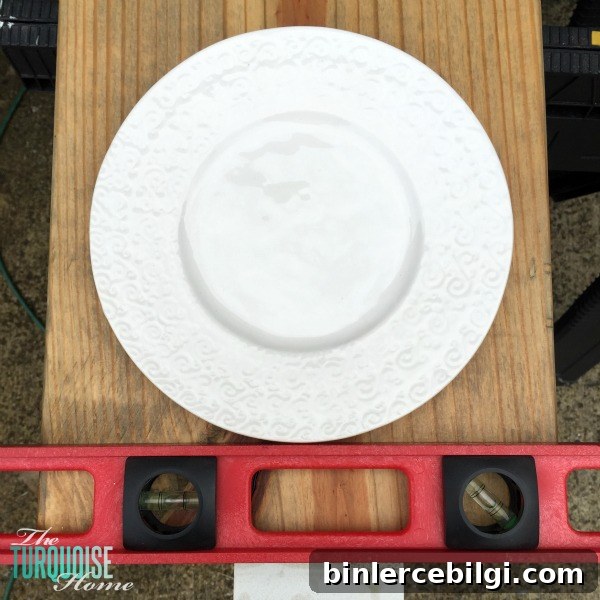
Decide how wide you want the rack to be by laying out your plates on the board and measuring the spacing between them. Use a level to keep the layout straight and mark where you’ll cut the board.
2. Cut the Board to Size
Cut the board to the measured length. A miter saw makes this quick and accurate, but a circular saw will work as well.
3. Sand Down Any Rough Edges
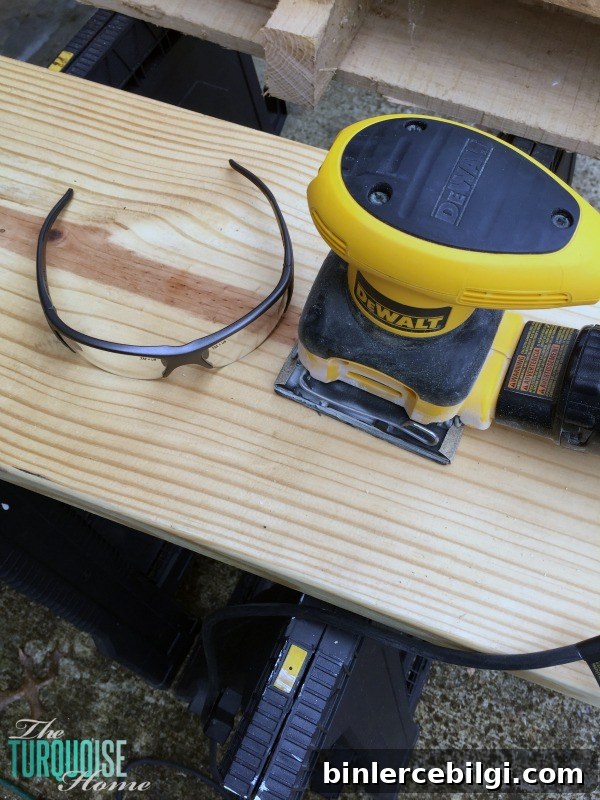
Sand the board smooth and remove any marks. Sand with the grain to avoid visible scratches when you stain it. I prefer a square-style orbital sander because it’s less likely to leave sanding marks.
Wear eye protection while cutting and sanding to keep dust out of your eyes.
4. Stain the Board
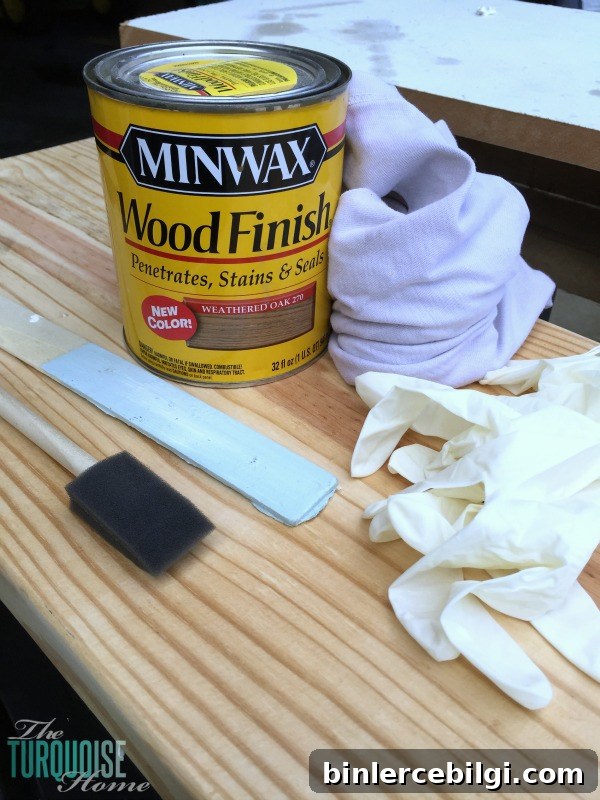
Stain the board in a color that complements your room. I used a weathered-oak tone so the rack would coordinate with my farmhouse table in the same room. Keep disposable gloves handy when working with stains or oil-based products to protect your hands.
5. Add Bolts
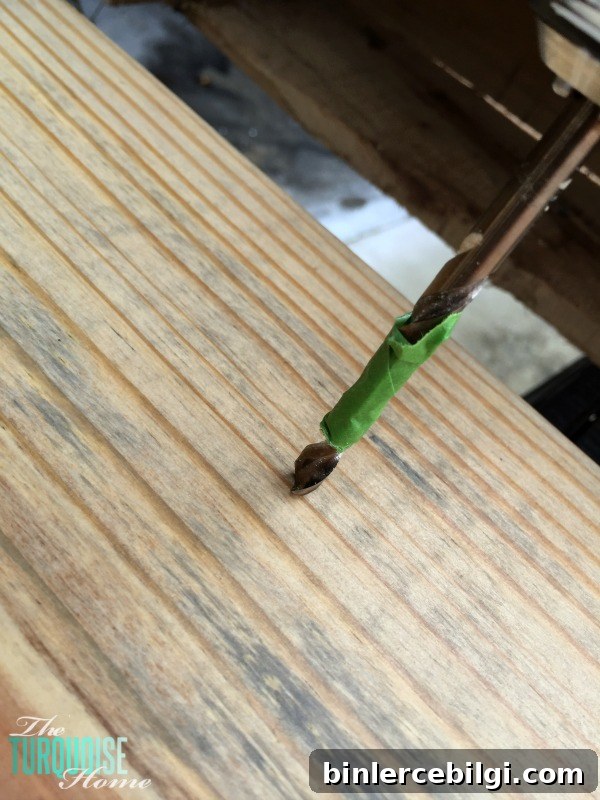
When the stain is dry, mark where each bolt will go. I placed the plates on the board and marked custom positions since my plates are different sizes. If your plates are uniform, you can space the bolts using a tape measure.
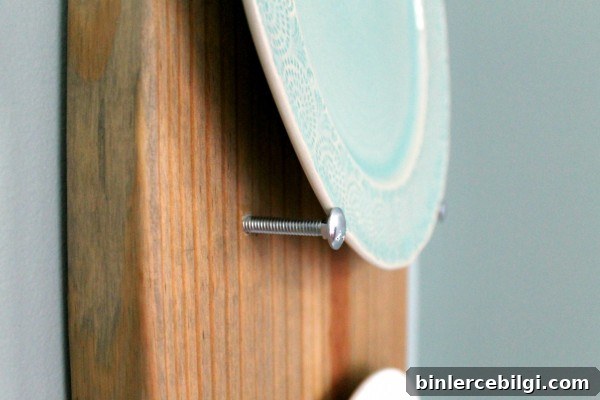
Drill shallow holes so only about 1/2″ of the bolt is embedded in the wood and roughly 1 1/2″ of the bolt protrudes to hold the plate. Glue the bolts in place with a strong adhesive, and watch closely as some glues expand while curing—wipe away any squeeze-out before it dries.
6. Attach the Hangers and Mount
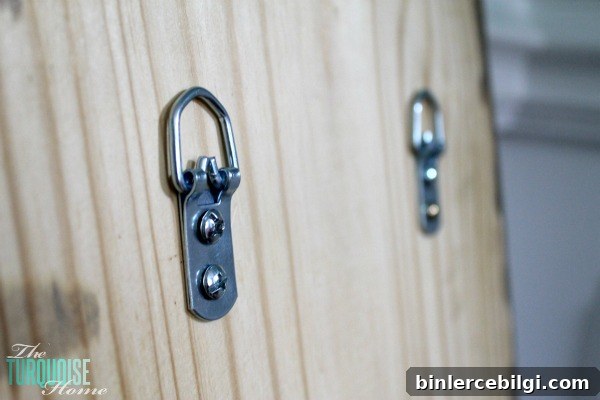
Once the glue has cured, attach D-ring hangers to the back of the board for secure hanging. If you can’t attach the rack to a stud, use reliable self-drilling drywall anchors. These anchors hold heavy items well when a stud isn’t available.
Place the plates on the bolts. For extra security, consider a small piece of Velcro behind the top of each plate so they don’t slip forward.
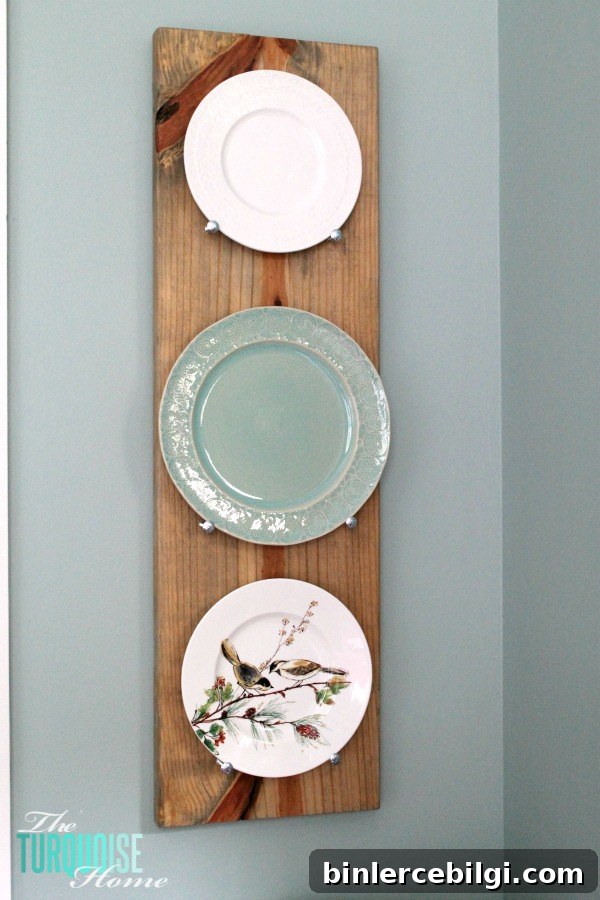
And there you have it: a simple, industrial plate rack that displays your plates and frees up closet space. I love seeing my plates on the wall instead of hidden away.
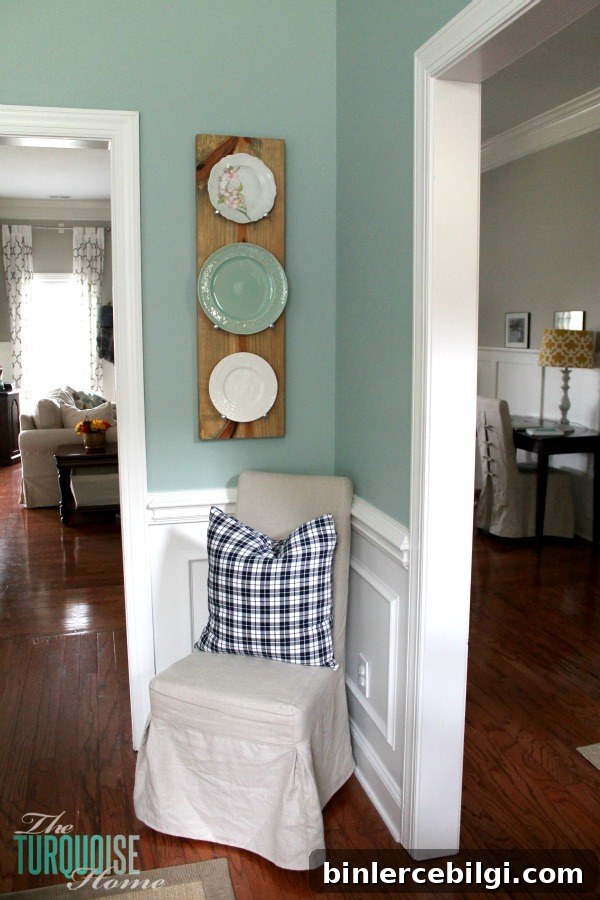
The white and turquoise plates I used were purchased from a retailer, and the dogwood plate I found years ago—items with sentimental value make displays feel personal.
Finishing a project like this feels great. It’s a quick, budget-friendly way to add personality to your walls and show off pieces you love.
Full disclosure: photos are staged—sometimes toys get tucked out of view for pictures. Real life with kids is rarely picture-perfect, but that’s okay.
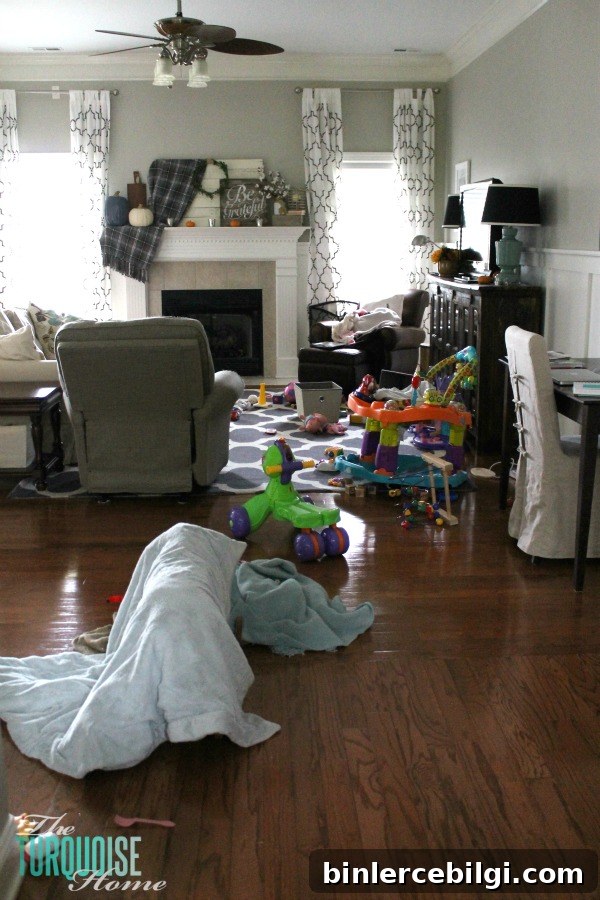
Nobody’s home is perfect all the time—especially with little ones—so don’t let that stop you from creating projects you’ll enjoy.
Your challenge this week: pick one project you’ve been putting off and start it. Even a small finish can feel hugely satisfying. Come back and share how it went!
More posts you might enjoy:
- How to Decorate with Winter Decorations for Christmas
- DIY Photo Transfer to Wood (Step-by-Step Tutorial)
- 5 Must-Have Tools for the DIYer
- 10 More Essential Tools for a Beginner DIYer
- DIY Farmhouse Table