
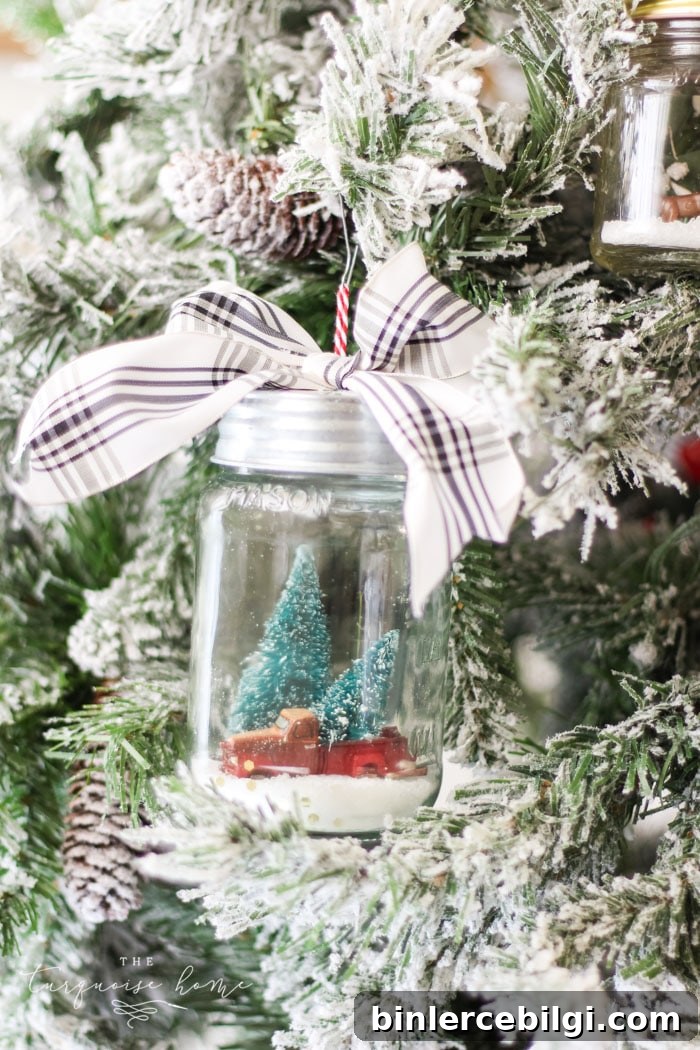
Create a tiny snowy scene inside a glass jar with this adorable DIY Christmas snow globe ornament—only five easy steps!
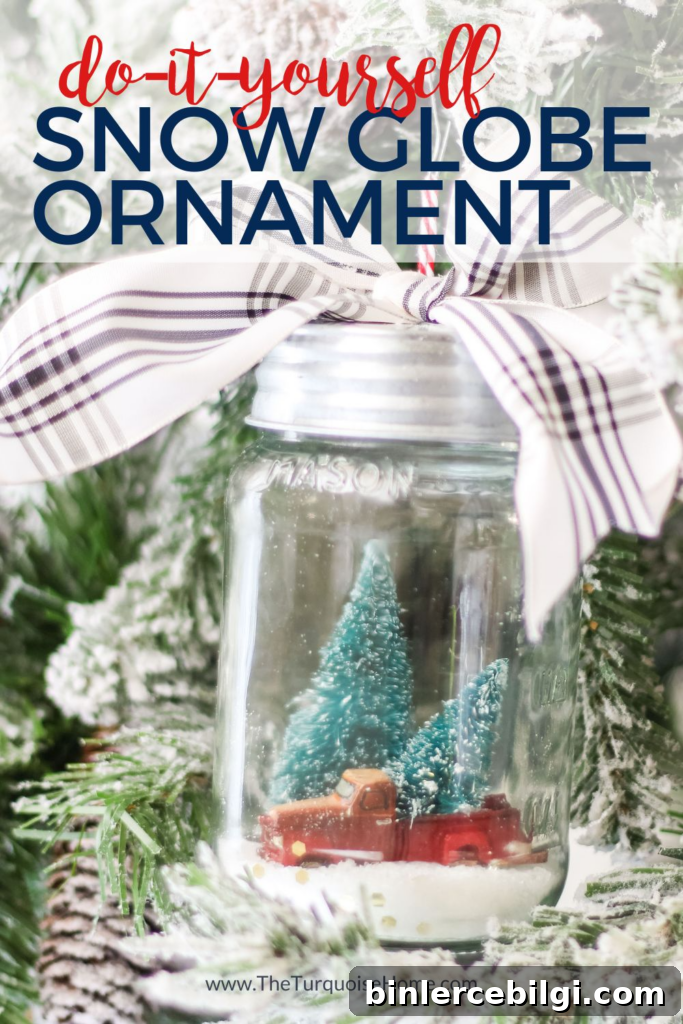
I love crafting a new Christmas ornament each year, and this mason jar snow globe idea quickly became a favorite. It lends a cozy, handmade touch to the tree and is simple enough to make with basic supplies. I started by using small glass jars and tiny miniatures to create little winter vignettes — think miniature deer, tiny trucks, bottle brush trees, and a dusting of faux snow. Kids and grown-ups alike enjoy these sweet, pocket-size scenes.
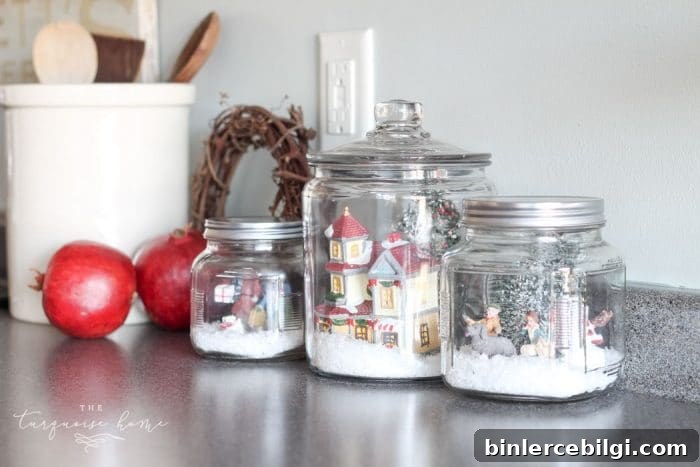
Glass jars with patterned sides can obscure the view, so clear-sided jars work best. I repurposed some empty candle jars I had on hand and cleaned them thoroughly before crafting. Reusing jars is both eco-friendly and economical, and it gives your ornament a bit more weight and shine compared with plastic options.
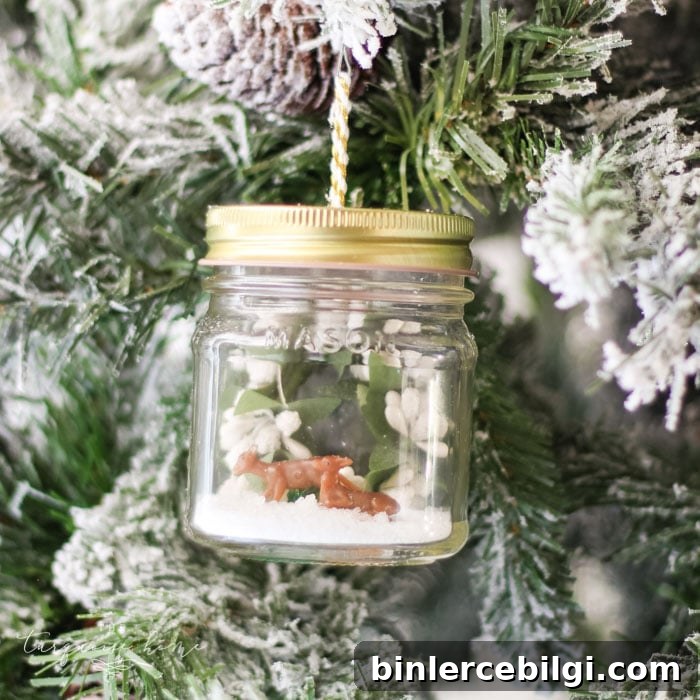
Shopping the dollhouse and miniature sections at craft stores is a great way to find tiny figurines for these jars. Look for mini reindeer, trucks, wreaths, lamp posts, and bottle brush trees. If a figurine sits too low once snow is added, you can raise it slightly with a small glue dot or a scrap of cork so it peeks out of the snowy surface.
This post contains affiliate links for your convenience. See my full disclosure policy.
Supplies You Will Need to Make a Mason Jar “Snow Globe” Ornament
- Small glass jars or mason jars (16 oz. and 8 oz. sizes work well)
- Miniatures: tiny trucks, tractors, deer, wreaths, or village figures
- Bottle brush trees or other small trees
- Fake snow or Epsom salt as a white snow substitute
- Hot glue gun and glue sticks
- Hammer and a large nail (to create a hanger hole in the lid)
- Jute, string, or thin ribbon for hanging
- Scissors
- Optional: small cork pieces, glitter, and decorative ribbon or twine
How to Make Mason Jar “Snow Globe” Ornaments
Step 1 — Choose Your Jars and Clean Them
Select clear jars so your miniature scene is visible from every angle. Candle jars, jelly jars, or classic mason jars all work. Remove any labels and adhesive residue, then wash and dry the jars thoroughly. A clean surface helps glue adhere better and keeps the scene looking crisp.
Step 2 — Make a Hanger in the Lid
Use a hammer and a large nail to punch a hole through the center of each jar lid. Thread a piece of jute, thin rope, or ribbon through that hole and knot it on the inside so you can hang the ornament. Test the knot to make sure it’s secure before moving on.
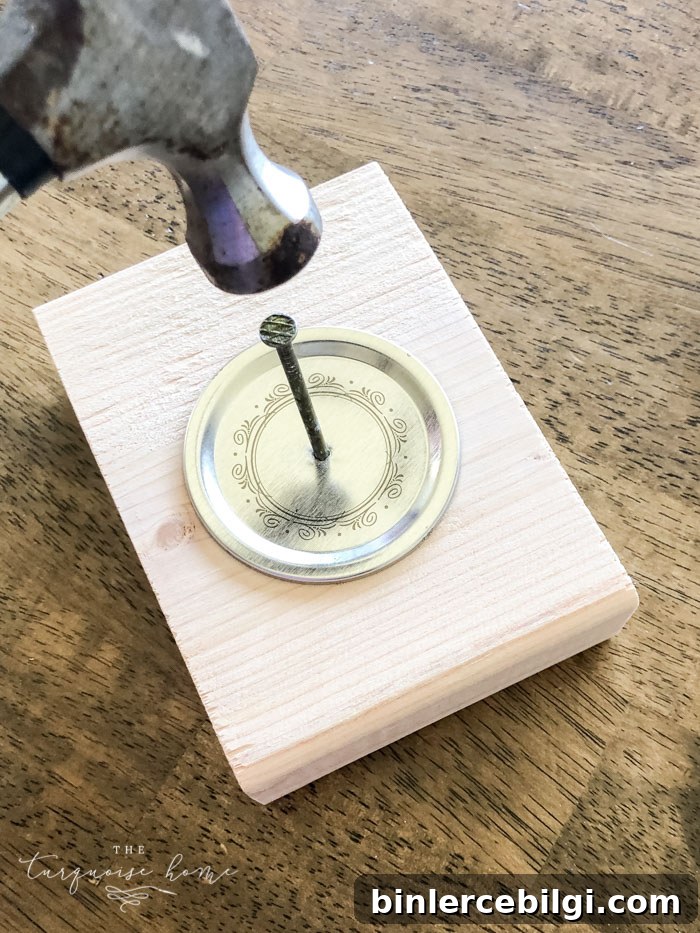
Step 3 — Build the Scene Inside the Lid
Arrange your miniature pieces on the underside of the jar lid so that, when the jar is screwed on, the scene sits upright. Use hot glue to attach each piece firmly. If a piece would otherwise sit too low in the snow, glue a small scrap of cork or foam underneath it to raise it slightly. Trim any excess glue for a neat finish.
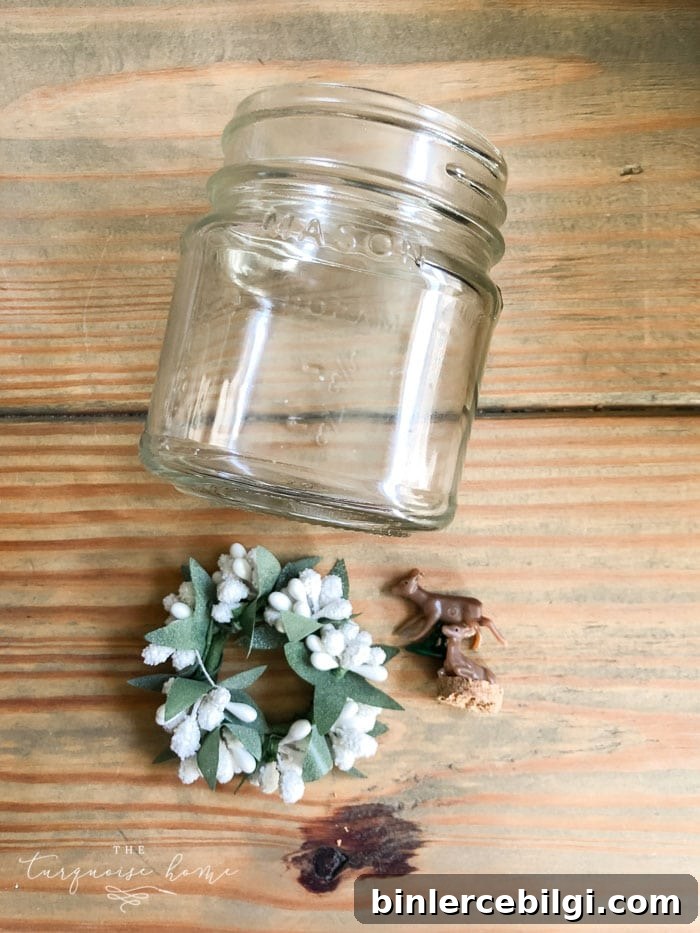
Small adjustments—like shortening a bottle brush tree to fit in a truck bed or angling a deer so it faces forward—make the scene feel intentional. Glue pieces down so they won’t shift when you add the snow.
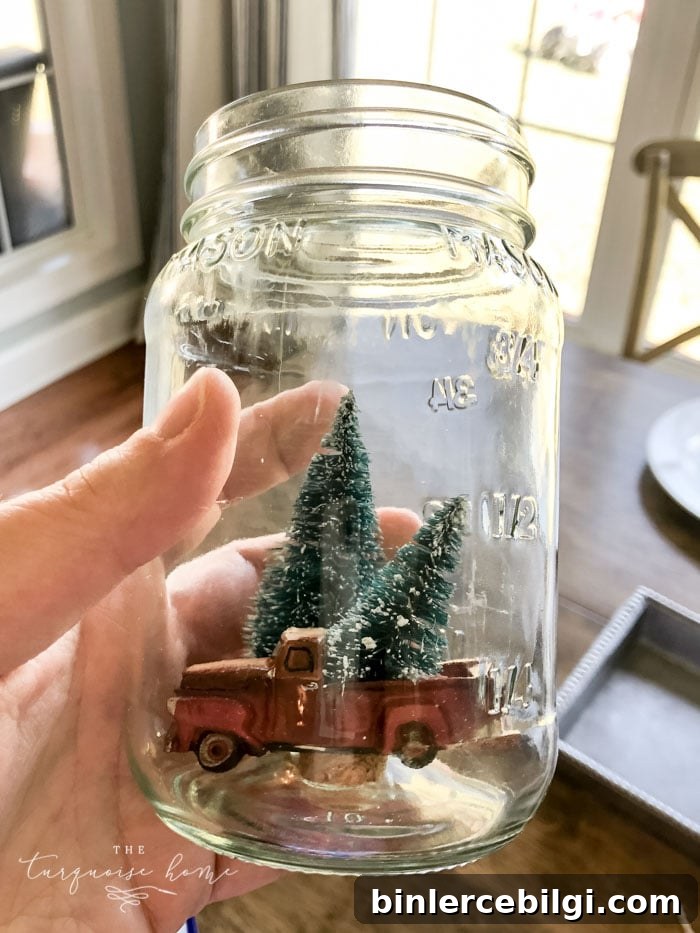
Step 4 — Add a Layer of “Snow”
Fill the bottom of the jar with a thin layer of fake snow—about a quarter inch works well—to create the ground. Place the lid (with your glued scene attached) onto the jar and screw it on tightly. You can add a little glitter to the tree or vehicle for sparkle; craft-store glitter or iridescent flakes add a nice festive touch. If you prefer no loose glitter, use glitter paint sparingly on miniatures before gluing.
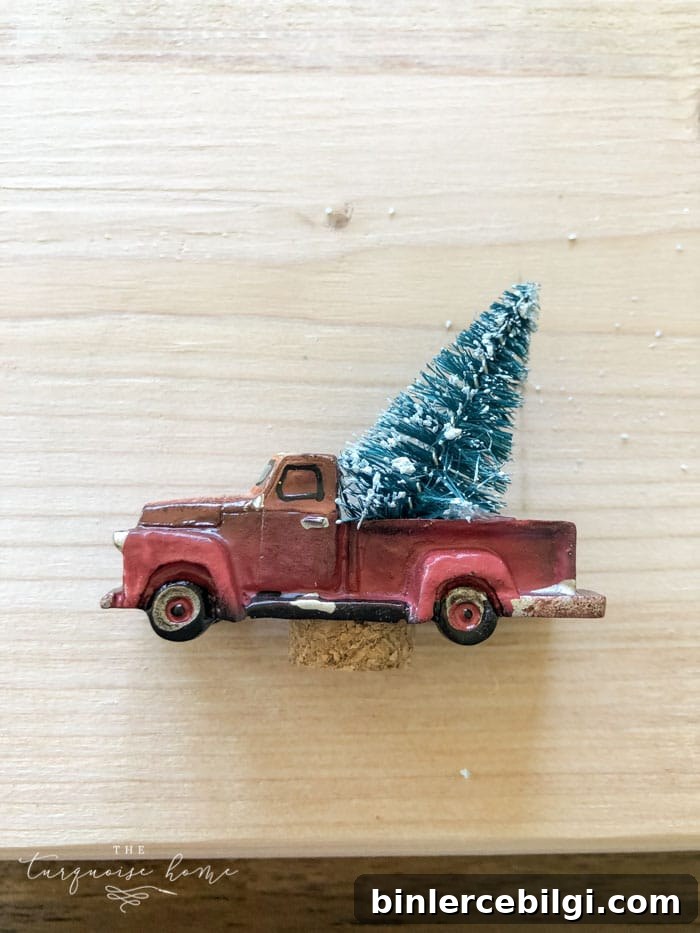
Step 5 — Close the Jar, Finish the Top, and Add a Bow
Screw the lid on securely. Trim any extra glue or visible knots. Tie a decorative ribbon or small bow around the jar neck, or wrap rustic jute for a farmhouse look. Test the hanger and trim the string length so the ornament sits nicely on the tree. That’s it—simple, charming, and ready to hang.
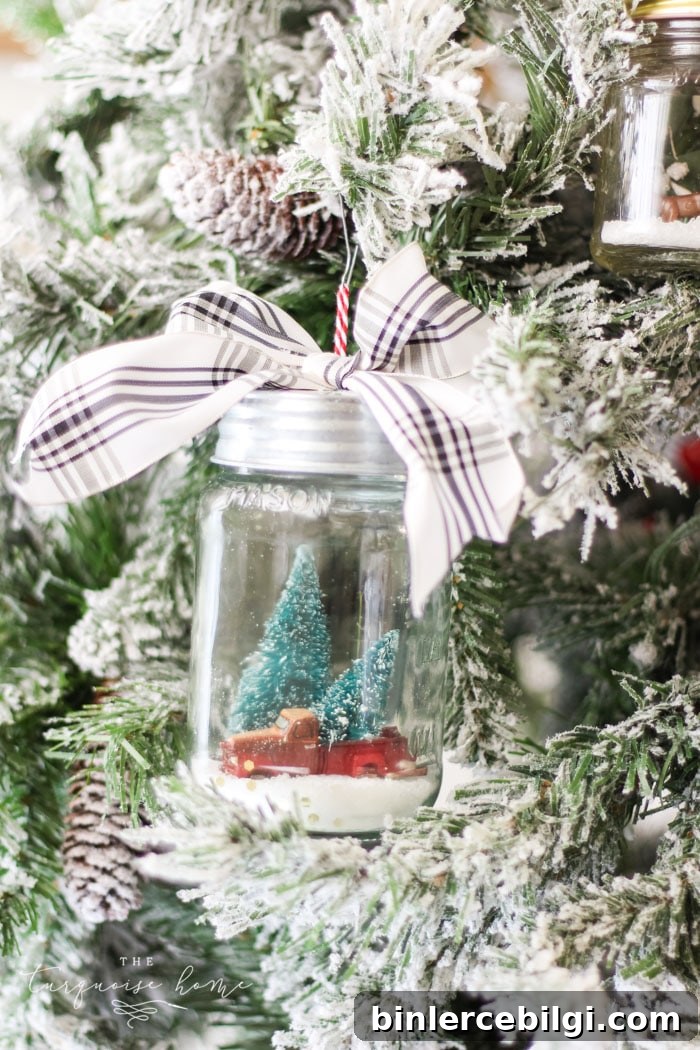
These mason jar snow globes make lovely gifts, party favors, or additions to a homemade ornament collection. They’re customizable—use vintage miniatures for a nostalgic feel, bright plastic pieces for a colorful tree, or natural elements like tiny pinecones for a rustic vibe. Store them in a safe place between seasons to preserve the small pieces and keep the jars clean.
Tips and Variations
- Substitute Epsom salt for fake snow in a pinch for a realistic sparkle.
- Swap hot glue for a stronger adhesive when attaching heavier miniatures.
- Make a set with coordinating scenes—a small village, a farm theme, or woodland animals—for a cohesive look on the tree.
- Use battery-operated fairy lights inside larger jars for illuminated scenes (ensure batteries are secure and safe before gifting).
More Christmas Projects You’ll Love:
- 40+ Amazing DIY Christmas Gift Ideas
- DIY Wood Finial Ornament
- Mini Wooden Christmas Sign Ornaments
- Chalkboard Wood-Slice Ornaments
- DIY Paper-covered Ornaments