
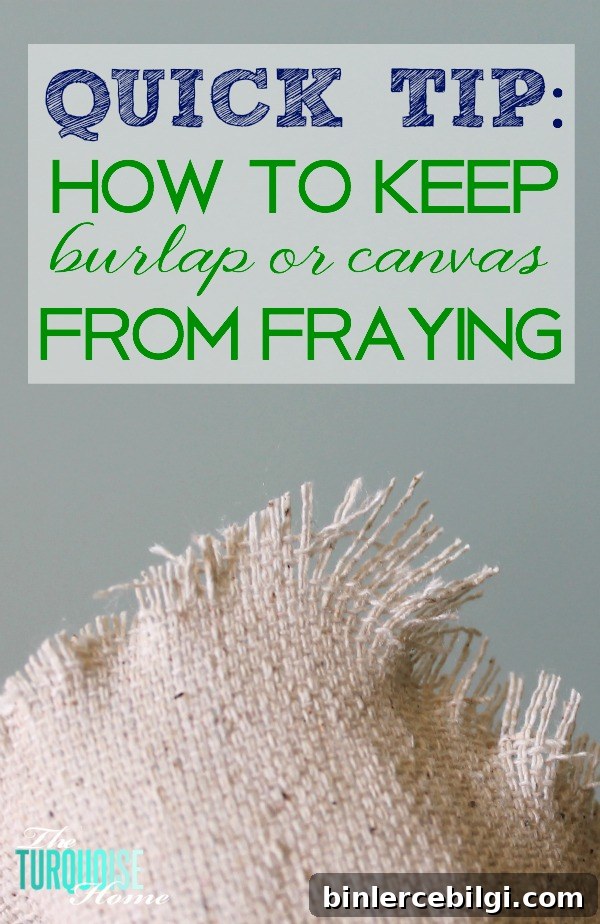
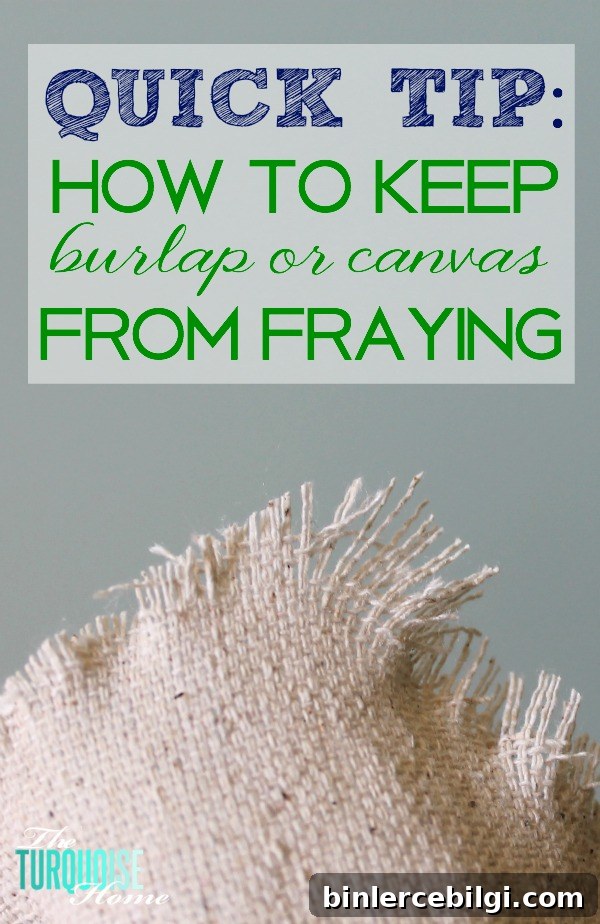
Learn an easy method to stop burlap or canvas from fraying after you cut it.
It’s been a little quiet here while I wrestled with a sewing project for Baby G’s nursery. What started as a straightforward DIY turned into a fabric challenge: I needed to sew burlap or a canvas-like material and kept running into frayed edges that made my stitching fall apart.
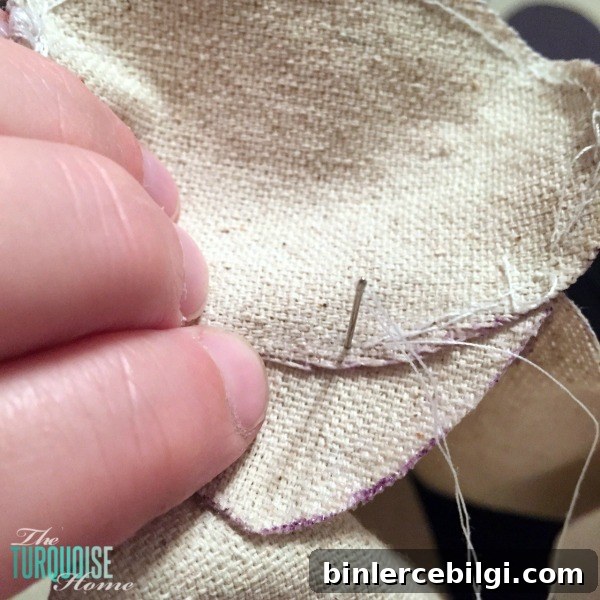
My first attempt used a thin canvas-style fabric. It looked right, but it was too lightweight and frayed the moment I cut it. Next I tried a heavier drop cloth canvas, thinking the weight would help. Unfortunately, as soon as I started stitching, the raw edges unraveled and the seams didn’t hold. I either needed a quick fix to stabilize the edges, a different material, or to abandon the idea entirely.
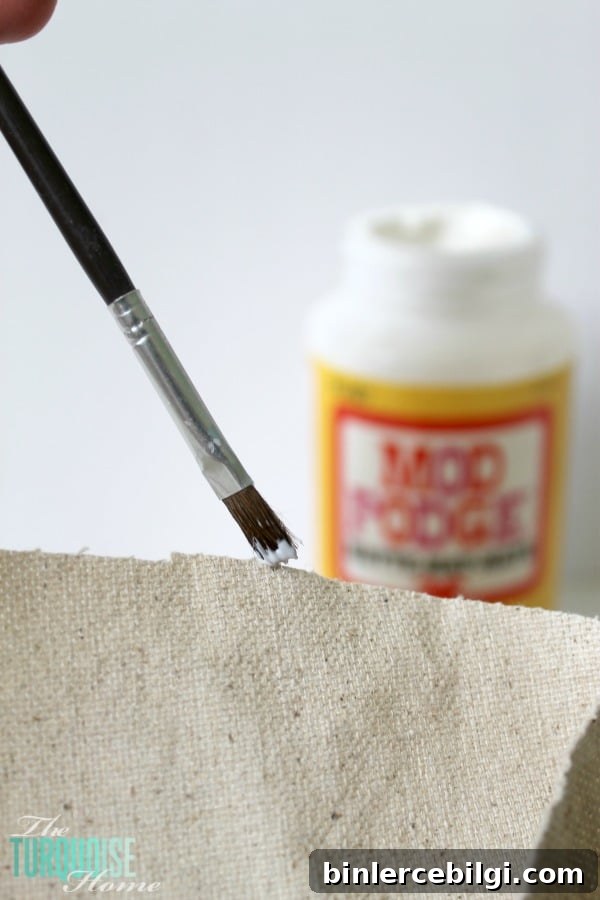
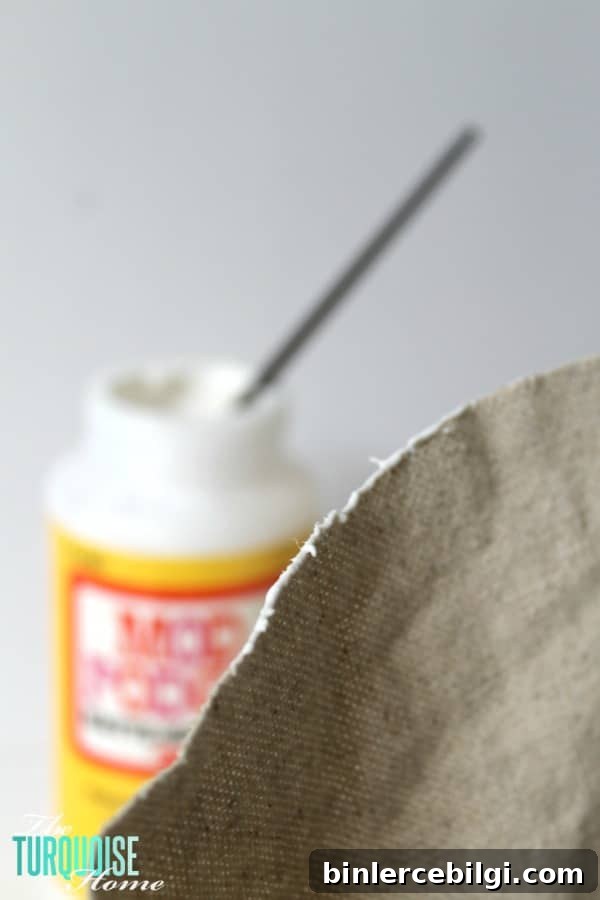
What solved the problem for me was simple and fast: Mod Podge. If you’re familiar with decoupage or fabric crafting, Mod Podge is a common sealer and adhesive. I realised that sealing the raw cut edge of the canvas or burlap with a thin coat of Mod Podge would lock the fibers in place so the fabric could be sewn without unraveling.
Here’s how I used it to prevent fraying on burlap or canvas:
- Cut your burlap or canvas to the desired shape, keeping the edges as straight as possible.
- Use a small, stiff paintbrush or a narrow foam brush to apply a thin line of Mod Podge directly to the cut edge. Work with short strokes so you control the amount—less is more.
- Allow the Mod Podge to dry completely before handling or sewing. Dry time will vary with humidity, but a thin coat typically dries in under an hour. If you need added strength, apply a second thin coat after the first has cured.
- When you stitch through the sealed edge, sew slowly and use pins or clips to hold layers securely. The sealed edge should no longer unravel under the needle.
A few practical tips for the best results:
- Test on a scrap first: Different burlap and canvas weaves soak up sealant differently. Testing lets you confirm the right brush, amount, and dry time before working on your final piece.
- Seal both sides for extra durability: If the fabric is especially loosely woven, run a thin coat on both sides of the cut edge to lock in fibers from every angle.
- Trim excess fibers after sealing: If stray threads remain after the sealant has dried, trim them carefully with sharp scissors.
- Consider stitch choice: For bulky canvas or loosely woven burlap, use a longer stitch length and a heavier needle for your machine to avoid bunching or skipped stitches.
I was thrilled to get back to sewing once the edges were stabilized. The Mod Podge allowed me to continue my project without scraping it, and the seams stayed intact as I worked. If you’re dealing with frayed raw edges while sewing burlap or canvas, this quick edge-sealing trick can save time and frustration.
Once dry and sewn, the sealed edges remain flexible enough to handle and press, yet strong enough to prevent unraveling. I’m back on track with the nursery project and excited to finish—stay tuned for the final reveal.
Any guesses on what I’m making? 🙂 (See my finished DIY plush deer head in my project gallery.)
More Posts You Will Love:
- Timeless interior design choices that last
- How to hang curtains: easy steps and tips
- DIY Christmas decorations on a budget
- Ideal cabinet knob placement
- Family command centers to get organized