
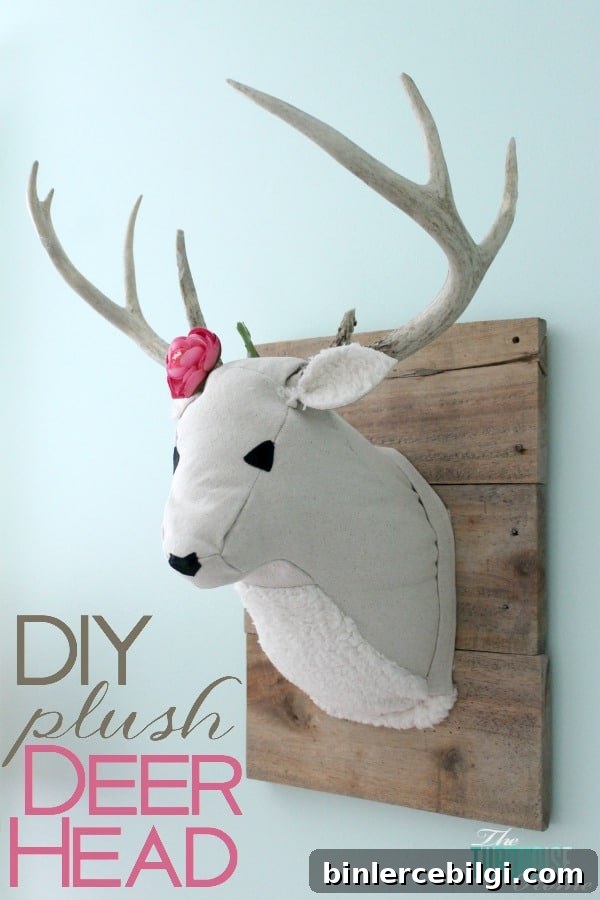
DIY Plush Deer Head for a Woodland Nursery
When I started planning Baby G’s woodland nursery, I pictured a plush faux deer head mounted above the changing table. After searching online for the right look and price, I found a great DIY tutorial and decided to make my own. The finished piece is handmade and imperfect in all the best ways—exactly the cozy, personal touch I wanted for her room.
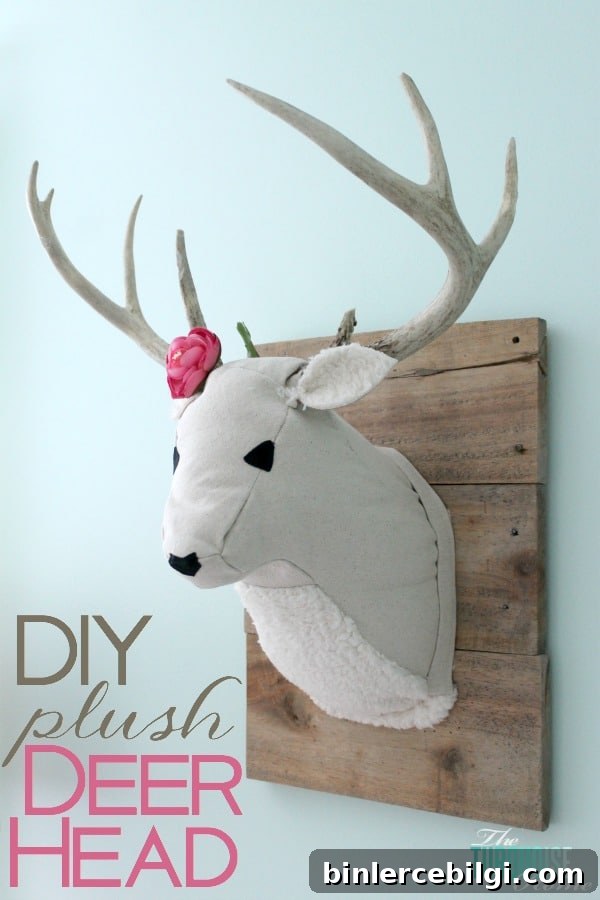
This project took patience and a few trial runs, but the result is worth it. The plaque, antlers, and stand were fairly straightforward; shaping fabric to read like a deer’s head was the most time-consuming part. Below I’ve summarized the materials and the major steps so you can try it yourself.
- Set of real deer antlers
- Drill and screws
- Wood for plaque and stand (I used 1×4 reclaimed barn wood for the plaque, lattice trim to back the plaque, and scrap 1×2 and 1×3 for the stand)
- Wood glue
- Brown fabric (I used canvas drop cloth)
- Faux white fur fabric for the inner face
- Small piece of black fabric for the nose
- Poly-fill stuffing
- Staple gun
- Needle and thread
- Hot glue gun
- Optional: wood stain for the plaque
- Template from Liz Marie Blog for the head pattern
The antlers were the centerpiece. My husband had antlers from a buck he’d taken; if you don’t have a pair, they are sometimes available from taxidermy suppliers or rustic decor sources. For the plaque I used reclaimed barn wood that had been tucked away for the right project—staining it with a weathered oak tone gives a vintage look that suits a woodland nursery.
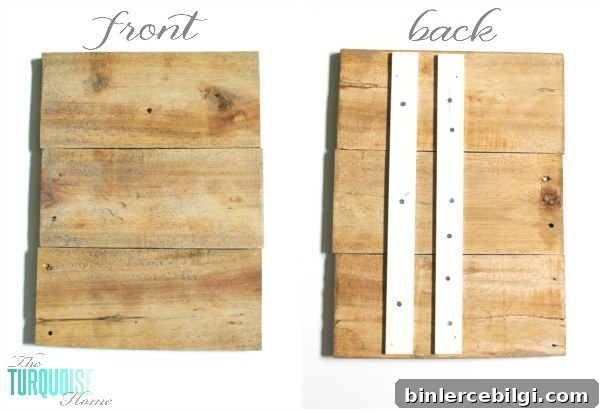
I assembled the plaque using leftover lattice to back the boards so they stayed flat. No new wood purchases were necessary—I love when a scrap pile provides exactly what’s needed.
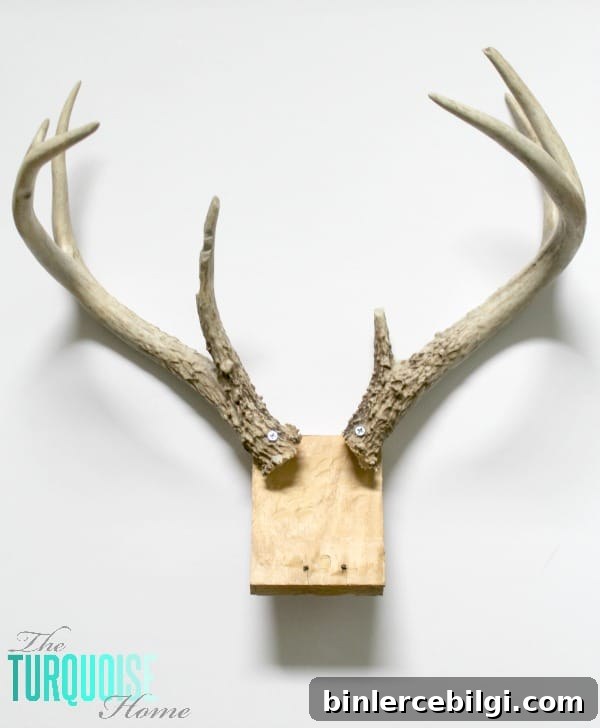
To mount the antlers securely I fastened a small block of wood to the plaque and drilled pilot holes through the antler bases before screwing them in. Antler is very dense, so pilot holes are essential. Take your time positioning the antlers so they sit in a natural, anatomically plausible orientation.
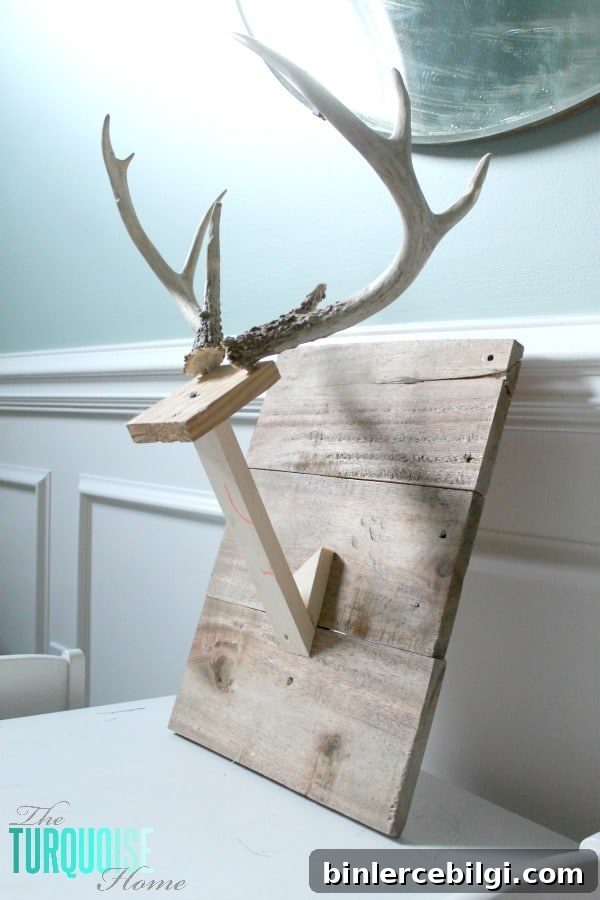
The stand is a simple angled 1×2 with a smaller brace behind it. I glued and screwed those pieces together, then attached the antler block. Once the wood base was ready, I printed a template for the plush head and began cutting and sewing.
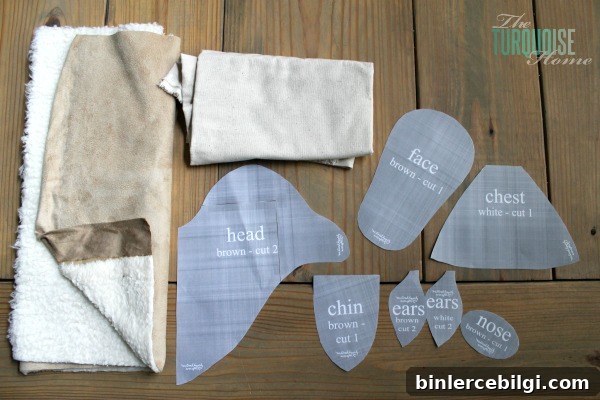
Follow the sewing directions from the template source for the head construction, but be prepared to adjust. My first attempt left the sewn pieces too short to reach and staple onto the plaque, so I lengthened the face and chest pieces and re-sewed them. Fabrics also matter: a thin fabric can fray and fall apart at seams, so I switched to sturdier canvas drop cloth and treated the edges to prevent unraveling.
After sewing the main face pieces, I placed the head on the stand and filled it with poly-fill until the shape felt right. To secure the fabric to the plaque, I stapled the sides first, then added a back piece that I had cut to size. Because stuffing amounts and head shape vary, that back pattern is custom to your final shape rather than provided by the original template.
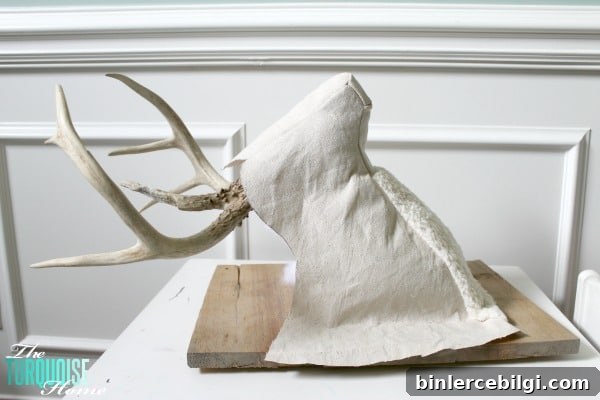
To finish the edges I covered the stapled seams with a long strip of fabric that I folded several times, ironed to hold the creases, and glued around the base to hide staples. I shaped and glued the nose and mouth elements with craft glue, and attached the ears—sewing is ideal, but hot glue is a reasonable shortcut if you want a quicker finish.
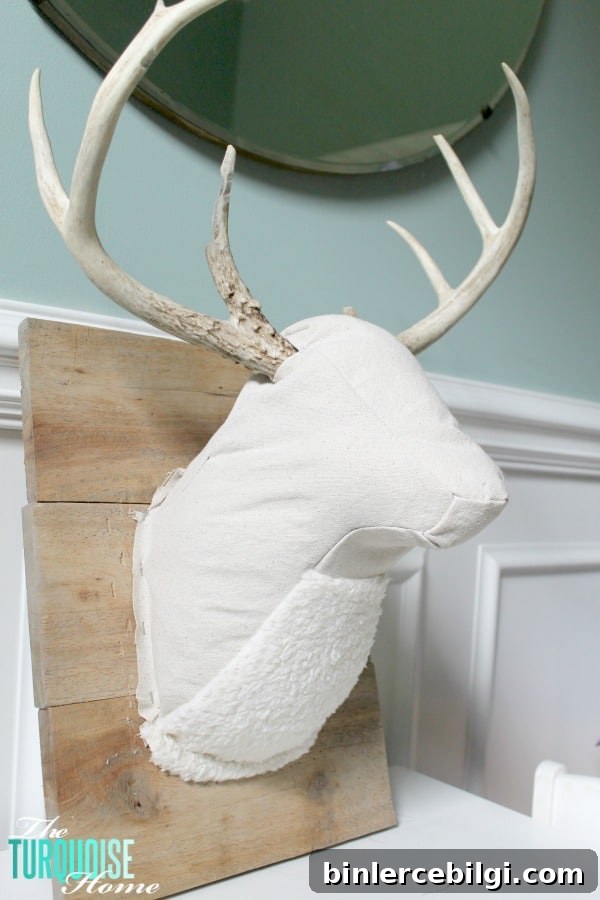
For a feminine touch, I added a small fabric flower to one ear; you can leave it plain for a more neutral look. The result is charming over the changing table and brings the woodland theme together in a soft, personal way.
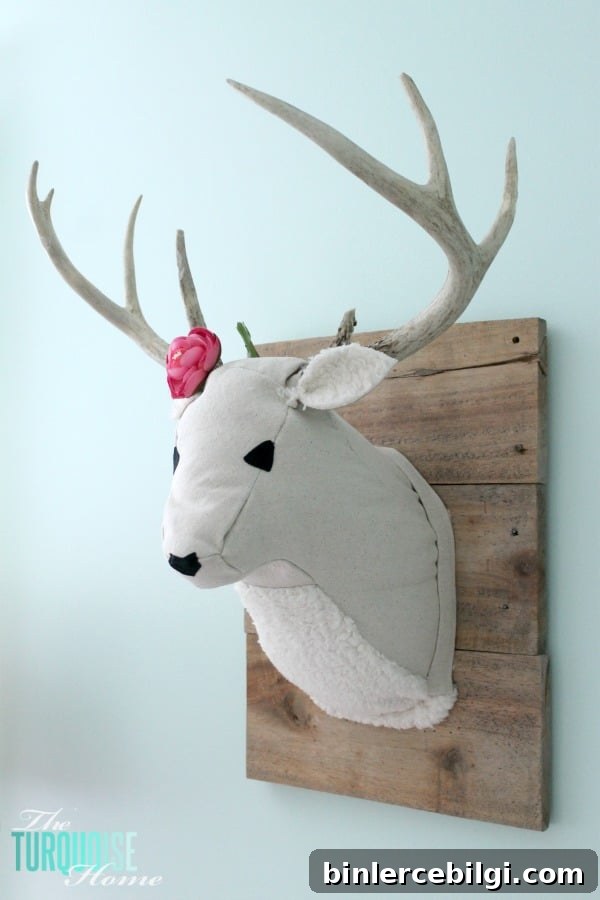
This corner of the nursery is almost complete; a few pieces of wall art and one more small project remain. The deer head is far from perfect, but its handmade character fits the cozy, lived-in feel of the room.
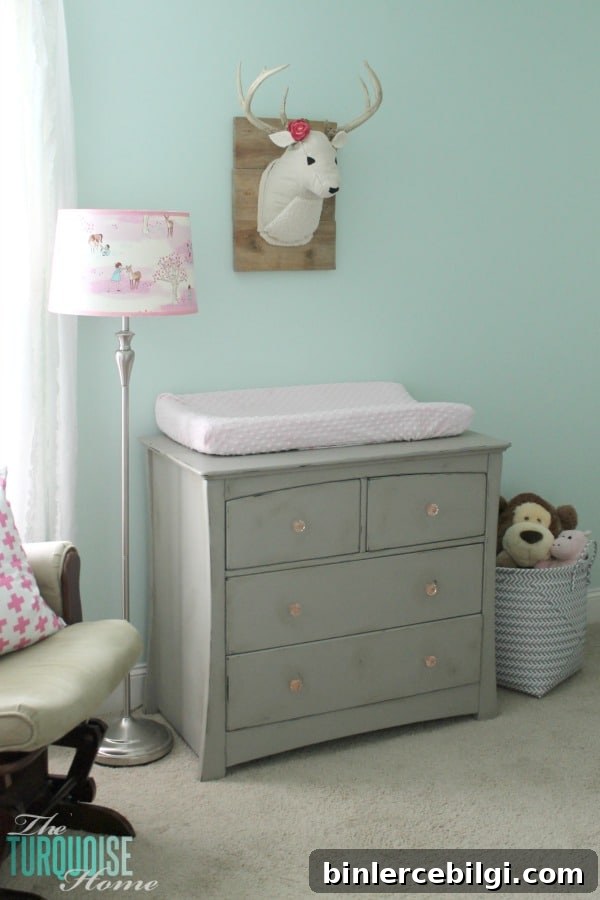
If you want to try this yourself, print the template and read through the sewing steps ahead of time. Expect to make small adjustments for your particular wood base and the amount of stuffing you prefer. Embrace the imperfections—those little handmade details are what make a nursery feel special.
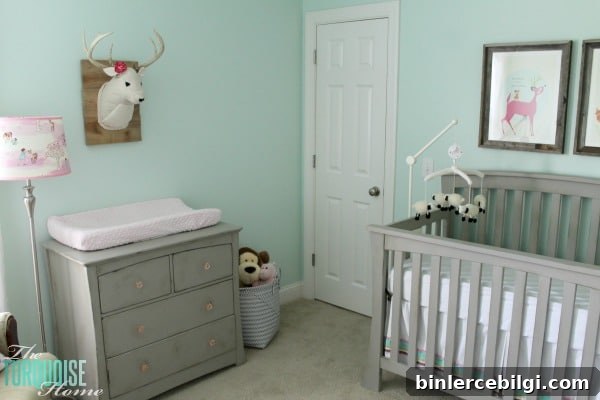
Close-up shots reveal the stitching and texture that give this piece its character. It’s a labor of love, and I think it’s perfect for Baby G’s nursery.
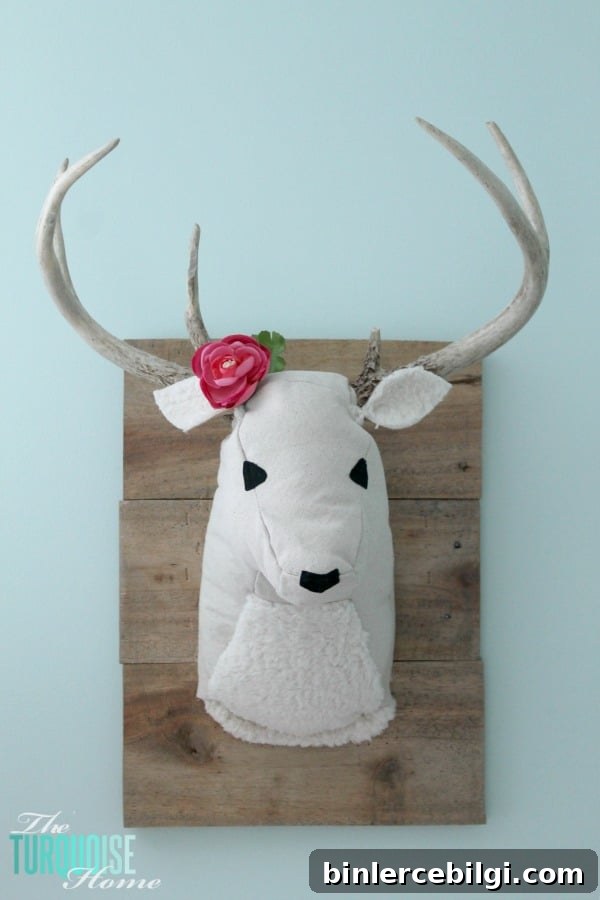
What do you think? I’m smitten with how it turned out.
More projects from Baby G’s nursery:
- DIY Flower and Moss Letter Art
- DIY Bookshelf Ledges for the Nursery
- Benjamin Moore Lido Green {nursery progress}