
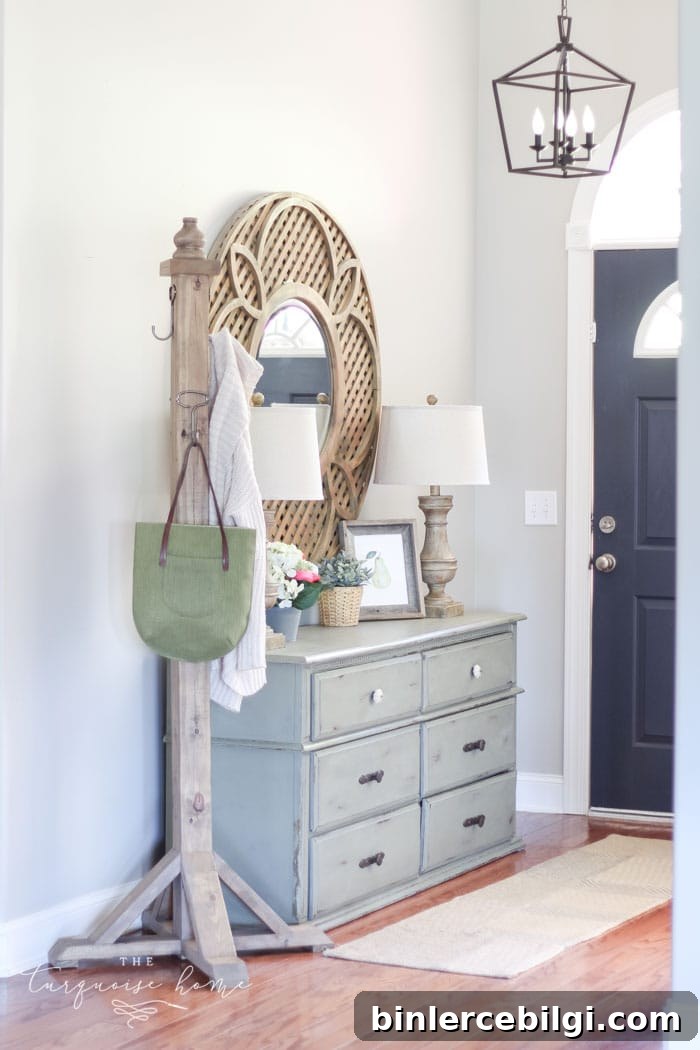
This simple wooden DIY coat rack is built from inexpensive pine boards available at most home improvement stores. With less than $25 in lumber, it’s a straightforward project that adds practical hanging storage to your entryway for coats, bags and scarves.
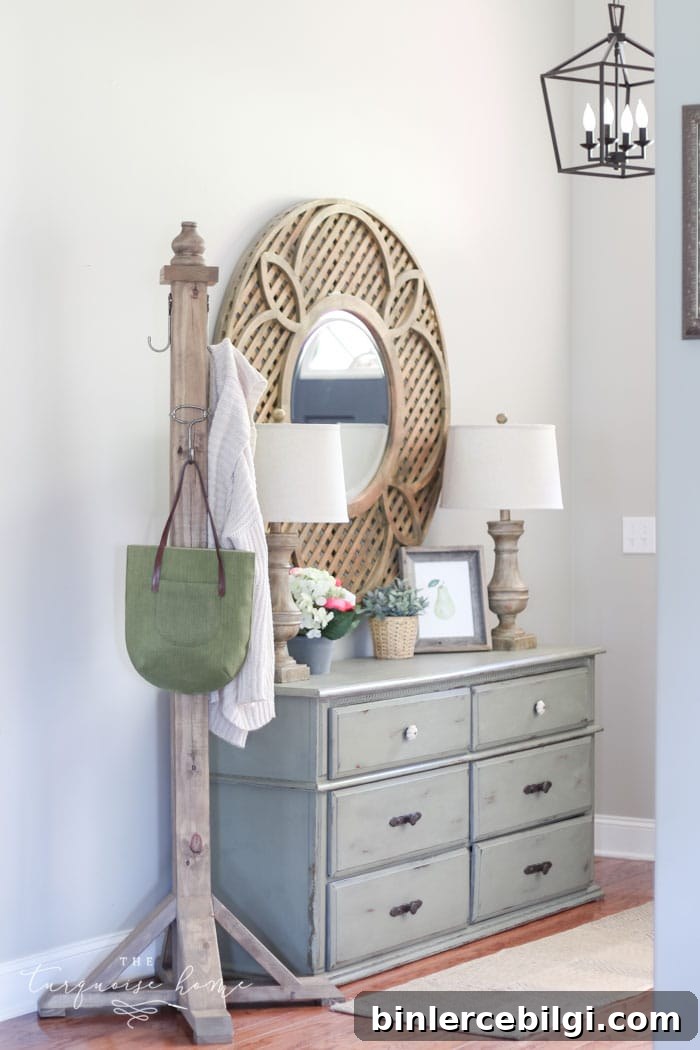
As someone who values hospitality, I finally made a proper place for guests to hang their coats and bags. After realizing my entryway was missing a simple hanging area, I built a freestanding coat rack in a single morning. The plans I followed came from Shanty 2 Chic and were perfect for a first furniture-building project—simple, forgiving, and quick.
For this build I used a 12-inch sliding miter saw, which made cutting a 4 x 4 post much easier than my old 10-inch non-sliding saw. The sliding function and laser guide helped, especially for angled cuts—if you plan to do more projects, upgrading your saw is worth considering. I also used a rolling miter saw stand so I could easily wheel the saw out and set up without lifting heavy equipment.
Below are the supplies and tools I used, followed by step-by-step instructions so you can recreate this coat rack at home. The design is forgiving, so slight variations in wood dimensions are easy to accommodate with careful measuring and dry-fitting before fastening.
Supplies & Tools you’ll need for a DIY Coat Rack
- 1 – 4 x 4 x 8 foot board (post)
- 1 – 2 x 4 x 10 foot board (legs and braces)
- 1 decorative furniture foot for the top (optional)
- 1 scrap piece of 2 x 6 (about 5.5 inches wide) for the top cap
- 1 scrap piece of 1 x 3, about 16 inches long, to make leg feet
- 4 decorative hooks
- Miter saw (sliding miter saw recommended)
- Drill and drill bits
- Sander or sanding block (medium and fine grits)
- Kreg Jig (pocket hole jig) or equivalent joinery method
- 2.5 inch pocket screws (if using a Kreg Jig)
- Brad nailer or finish nails (optional)
- Wood glue
- 2 inch wood screws
- Stain or paint of your choice and a brush or rag
Steps to Build a DIY Coat Rack
Step 1. Cut the 4 x 4 post to 6 feet
Begin by cutting your 4 x 4 to 6 feet long. I found an untreated 4 x 4 at my hardware store; if the post has a slight curve, trim the worst end off and orient the straighter face forward so the rack appears straight once finished.
Step 2. Cut four 2 x 4 legs at 13.5 inches
Cut four pieces of 2 x 4 at 13.5 inches long. Each piece should have one straight end and one end cut at a 45-degree angle. The 13.5 inch measurement is taken from the long point of the angled end to the straight end. These pieces become the four legs of the rack.
Step 3. Cut the 1 x 3 into four foot pieces
Measure the actual width of your 2 x 4 legs—typically about 3.5 inches—and cut the 1 x 3 into four pieces that match that width. These small pieces attach to the bottom of each leg and act as the feet for stability.
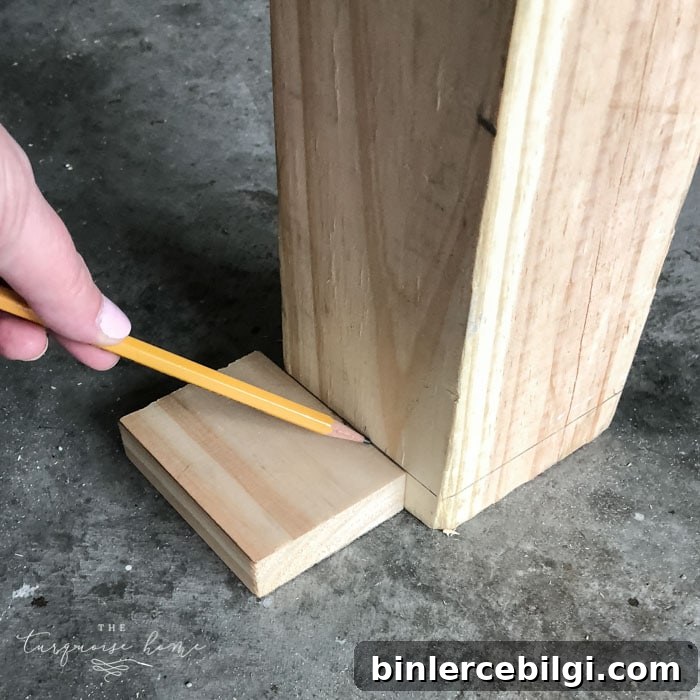
Step 4. Mark the leg attachment line on the post
Use one of the foot pieces to measure around the bottom of the 4 x 4 and mark a line where the legs will attach. I recommend installing the legs a little below that line so the post doesn’t end up slightly taller than the legs—if the post is taller, you may need to trim a small amount off the bottom after assembly.
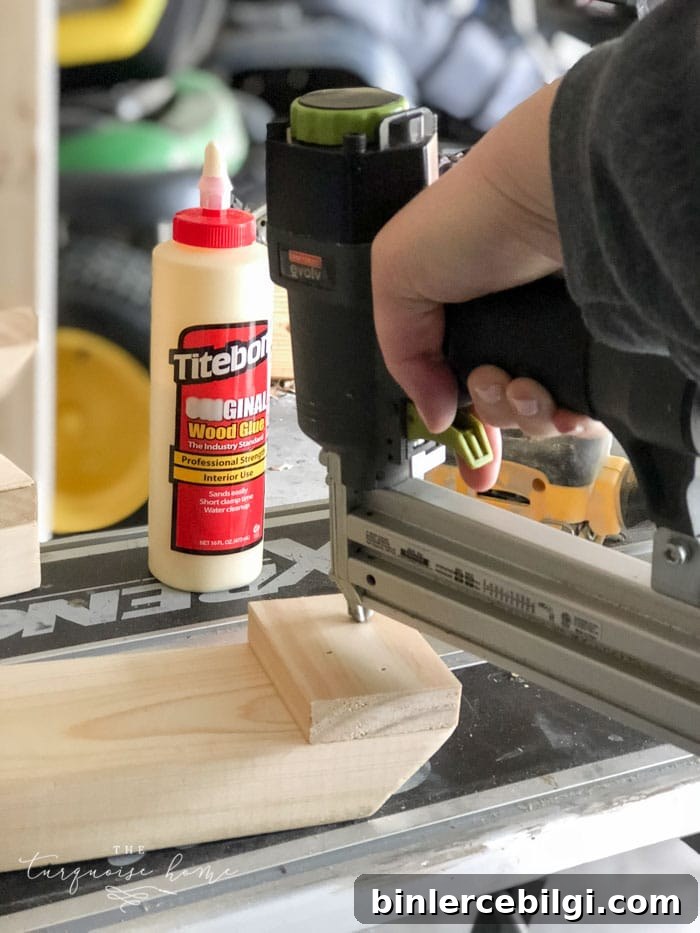
Step 5. Attach the 1 x 3 feet to the 2 x 4 legs
Glue and brad nail or screw the 1 x 3 feet to the bottom of each 2 x 4 leg. Position them flush with the long angled end so the legs sit flat and stable on the floor.
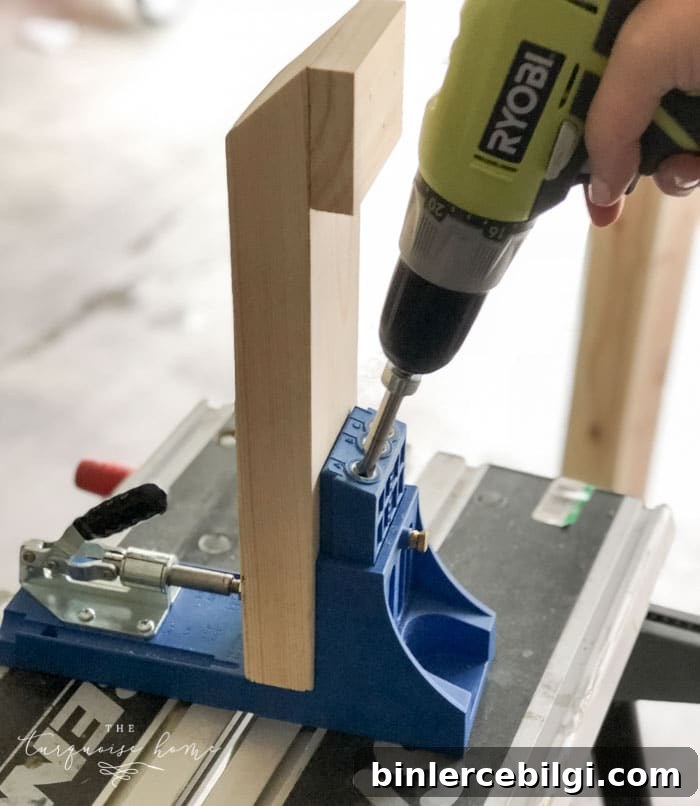
Step 6. Add pocket holes to the straight end of the legs
Use a pocket-hole jig to drill two 1.5-inch pocket holes into the underside of each straight end of the legs. These pocket holes make it easy to attach the legs securely to the post with pocket screws and wood glue.
Step 7. Attach the legs to the 4 x 4 post
Position each leg at the marked line (or slightly below) and attach with wood glue and 2.5 inch pocket screws. Check that the post sits level on the leg feet before fully tightening screws. If needed, trim a small amount from the bottom of the post so the assembly sits flush.
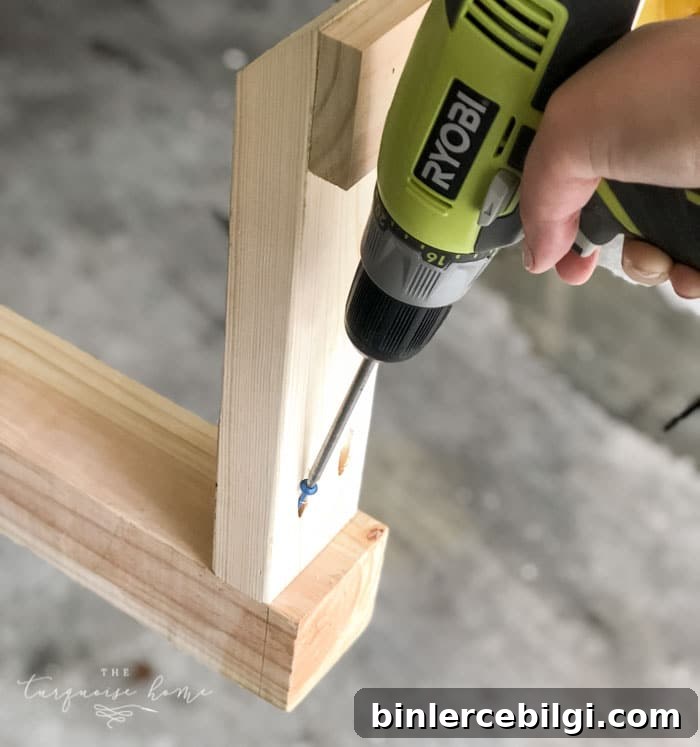
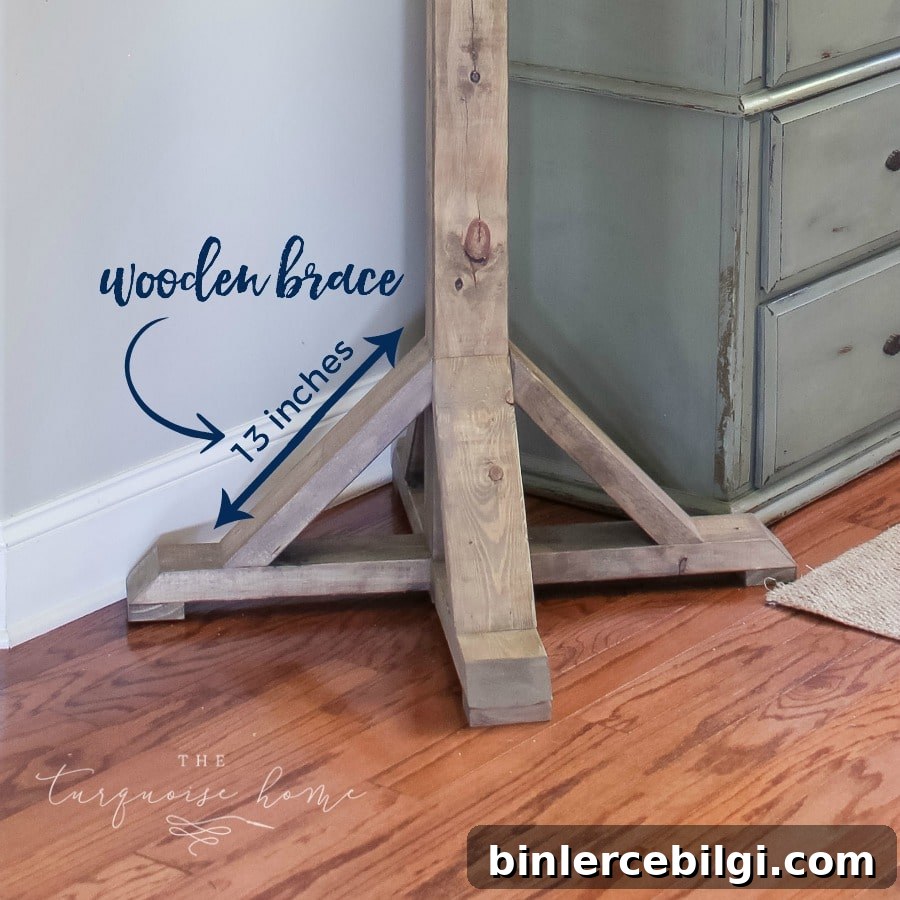
Step 8. Cut four braces from 2 x 4 at 13 inches
Cut four short braces from the 2 x 4 at 13 inches long. Each brace should have 45-degree cuts at both ends, forming a right-angle pair so they fit neatly between the post and legs. These braces help stabilize the structure.
Step 9. Attach the braces
Glue and secure the braces between the legs and the post with brad nails or screws. Make sure they’re flush and provide a strong triangular support on each side of the rack.
Step 10. Cut a 5 1/2″ by 5 1/2″ scrap for the top cap
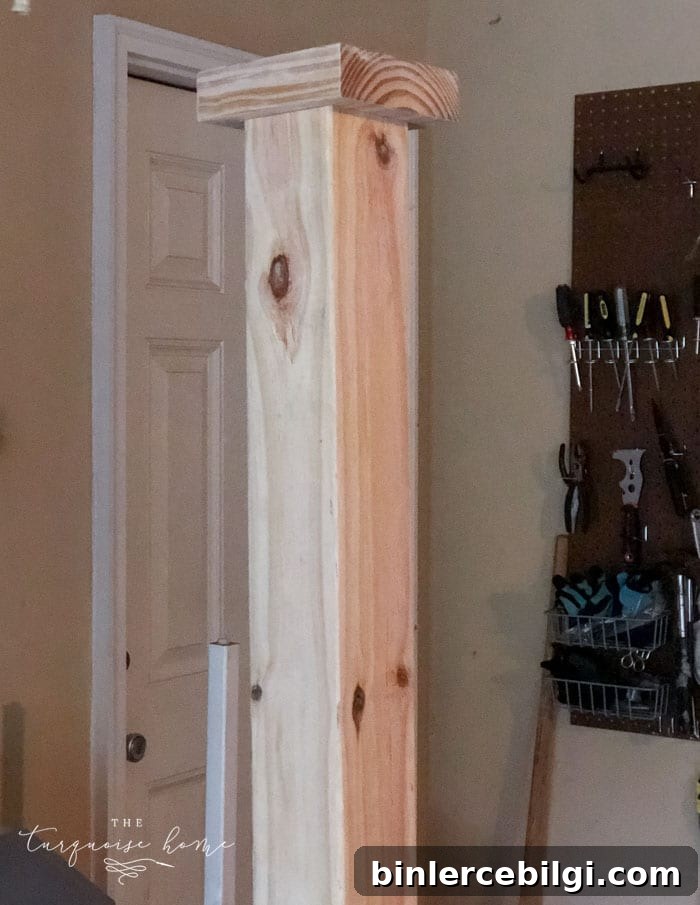
Use a scrap 2 x 6 or similar board and cut a square approximately 5 1/2 inches by 5 1/2 inches. This piece becomes a decorative cap at the top of the post and provides a surface for attaching a furniture foot if desired.
Step 11. Secure the top cap to the post
Glue and screw the 5 1/2″ square piece to the top of the post. Countersink screws from below so the top surface is clean.
Step 12. Attach the furniture foot
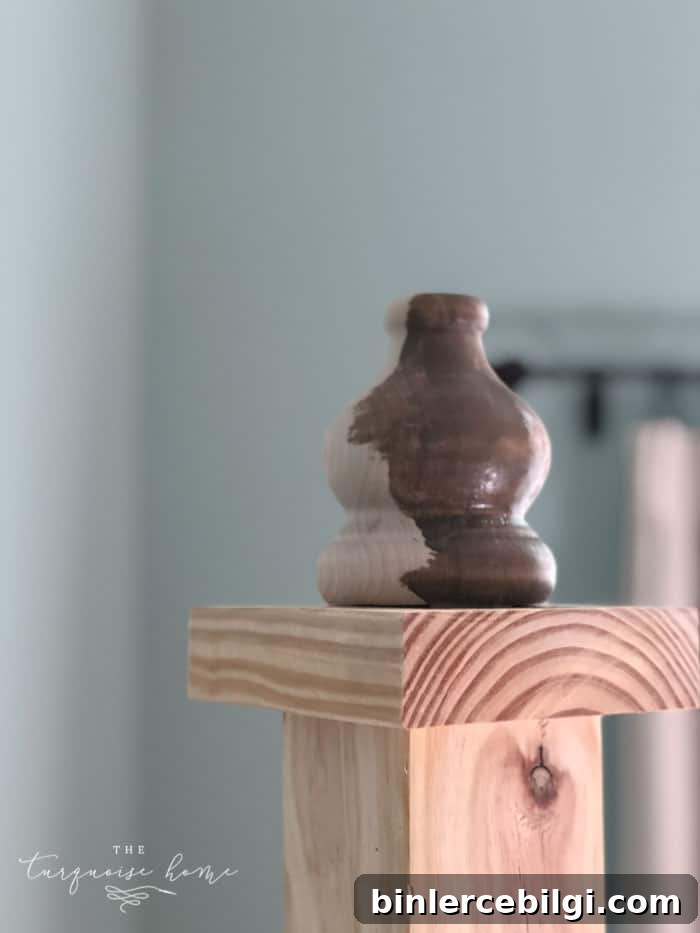
If using a furniture foot, pre-drill a hole in the center of the top cap slightly smaller than the foot’s screw shank. Install the foot so it’s centered and secure.
Step 13. Sand everything
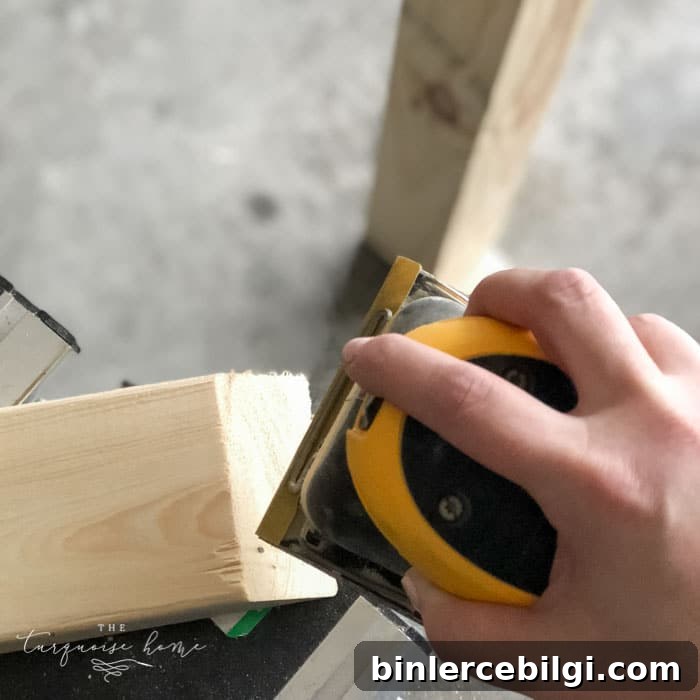
Sand all surfaces with a fine-grit sandpaper to remove splinters and smooth edges. I prefer sanding pieces before final assembly where practical, then doing a final pass after construction. Wipe the entire rack with a damp, lint-free cloth to remove dust before finishing.
Step 14. Stain or paint
Finish the rack with your preferred stain or paint. Water-based stains and paints make cleanup easy and are pleasant to work with indoors. Apply two light coats for an even finish, allowing appropriate drying time between coats.
Step 15. Add the hooks
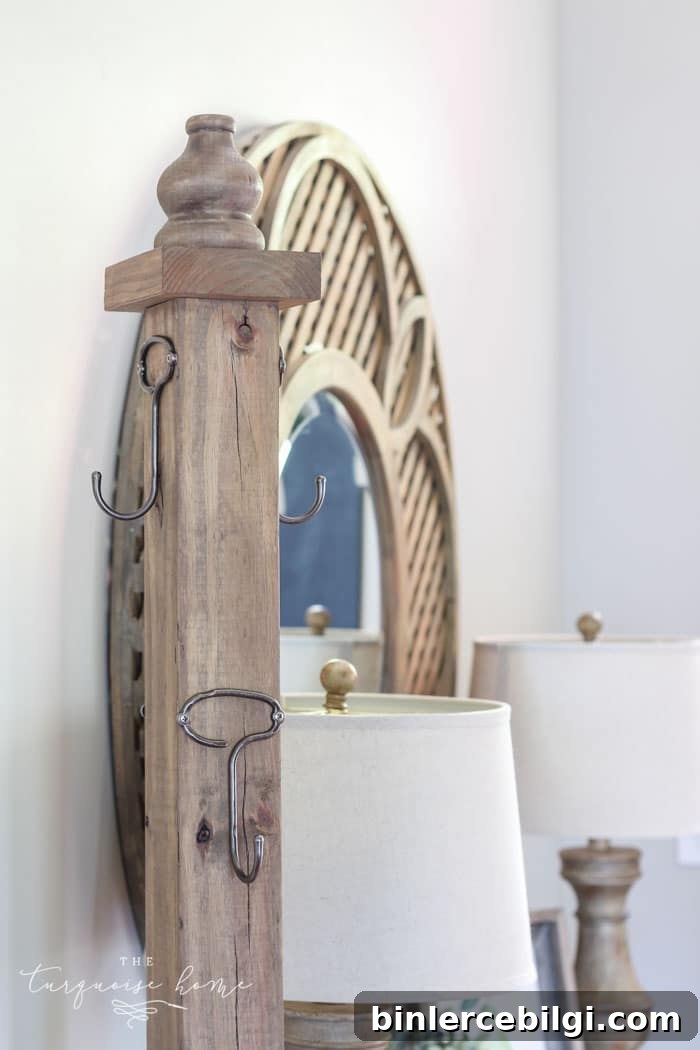
Pre-drill pilot holes for your decorative hooks so the screws go in straight and the wood won’t split. I spaced hooks on two sides about 2 inches down from the top edge and on the other sides about 13 inches down to offer a variety of hanging heights for coats, bags and scarves.
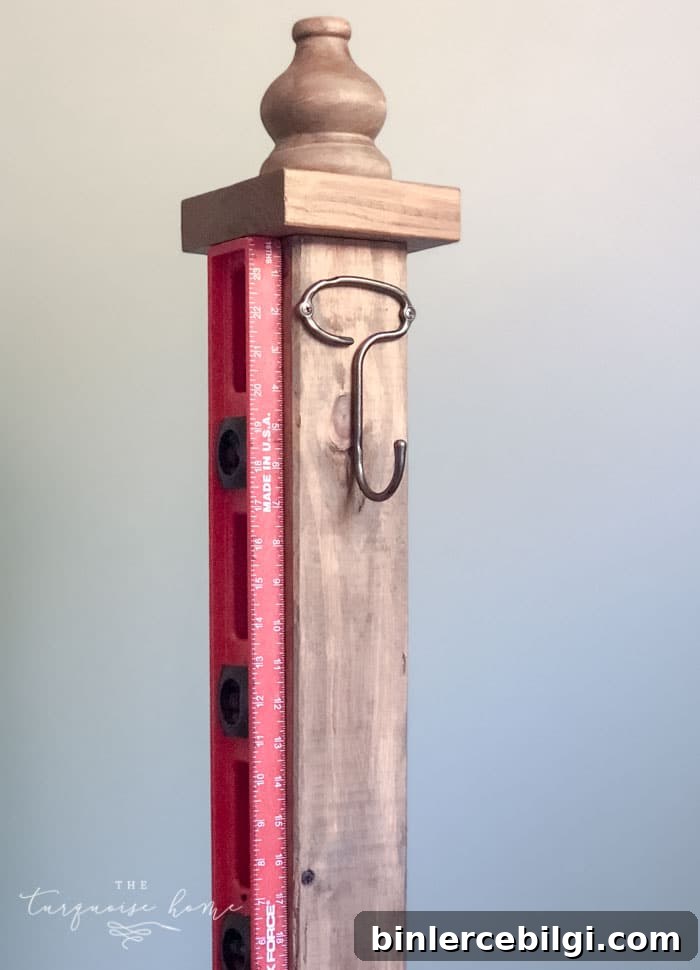
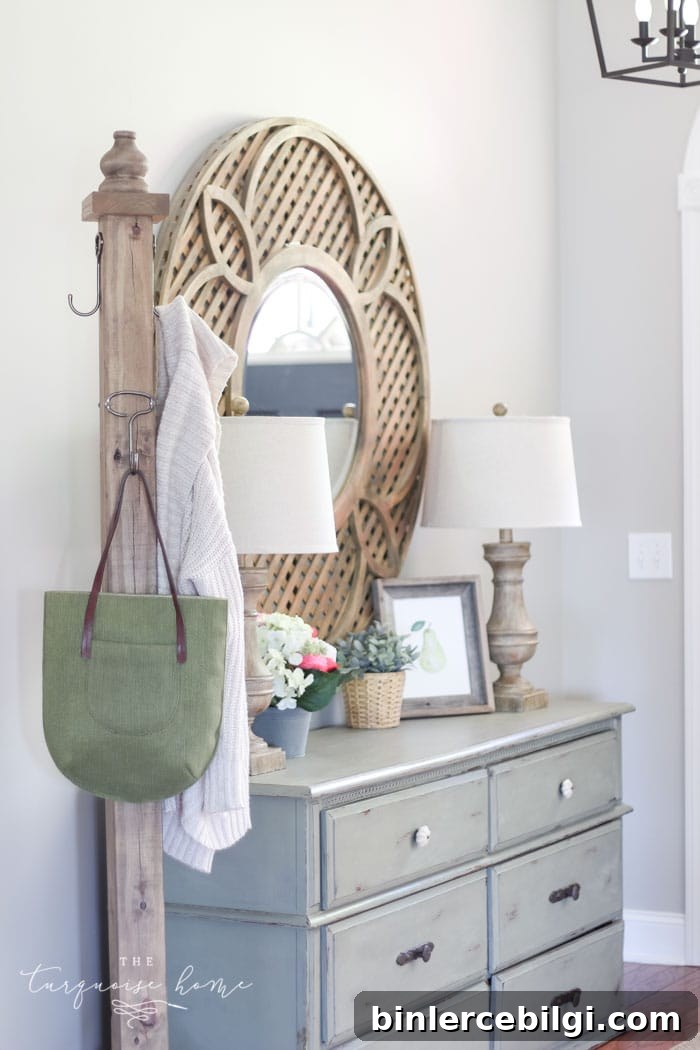
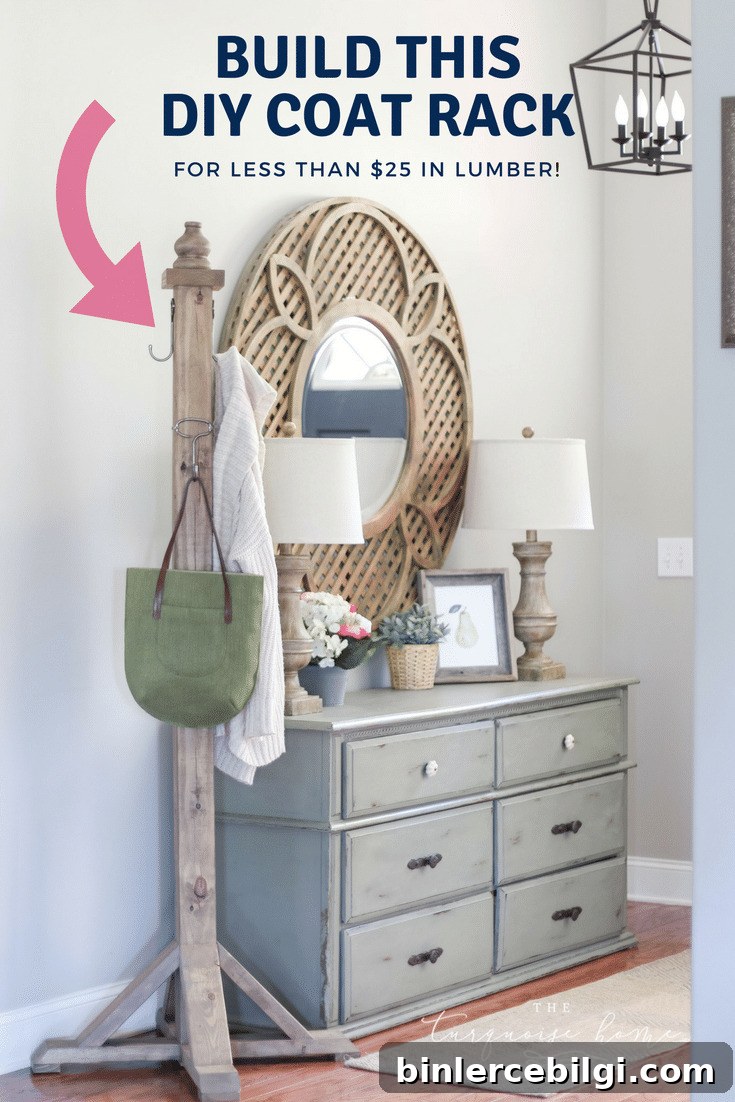
That’s it—your standing coat rack is complete. It makes a welcoming and functional addition to any entryway and is a satisfying beginner woodworking build. Enjoy showing off your handiwork and giving your guests a neat place to hang their things!
Tools and materials referenced in this guide: miter saw, drill, sander, Kreg Pocket Hole Jig, brad nailer, wood glue, pocket screws, wood screws, stain/paint.
Other project ideas you might enjoy:
- How to Choose the Best Entryway Rug
- 17 Stunning, Easy-To-Install Entryway Lighting Fixtures
- DIY Lamb’s Ear and Peony Wreath
- Spring Table Decorations
- 15 Small Entryway Storage Ideas